
CHAPTER 1: SETTING YOUR PREFERENCES
Resizing the display
There are several ways to resize the planner
To resize width:
1. Move the cursor towards the right or left edge, until the cursor icon changes from a single arrow to a horizontal bidirectional arrow.
2. Click, hold and resize.
To resize height:
1. Move the cursor towards the top or bottom of the planner, until the cursor icon changes from a single arrow to a vertical bidirectional arrow.
3. Click, hold and resize.
To adjust the planner’s width and height at the same time:
1. Move the cursor towards any of the four corners of the planner. until the cursor icon changes from a single arrow to a diagonal bidirectional arrow. If you see a vertical bidirectional arrow move a bit to the right until the double arrow changes to diagonal position.
4. Click, hold and resize.
To view the planner in full screen mode:
1. Click the green button with the plus (+) sign located at the top left corner.
5. To get back to the normal size click the “esc” (escape) key.
Opus One’s Preferences
To access Opus One’s preferences menu
1. From the menus at the top of your Mac screen select “Opus One.”
6. Then select “Preferences.“

For a shortcut to the Preferences menu click the following keys: “Command” (Cmd) + “ , ”
The first tab from the preferences menu “General” will allow you to quickly:
- Activate or deactivate Time Zone Support
- Show or Hide Note Marks on Calendar
- Show or Hide Daily and Weekly Planner on the ToolBar
- Set Page Animation and its Flip Speed.
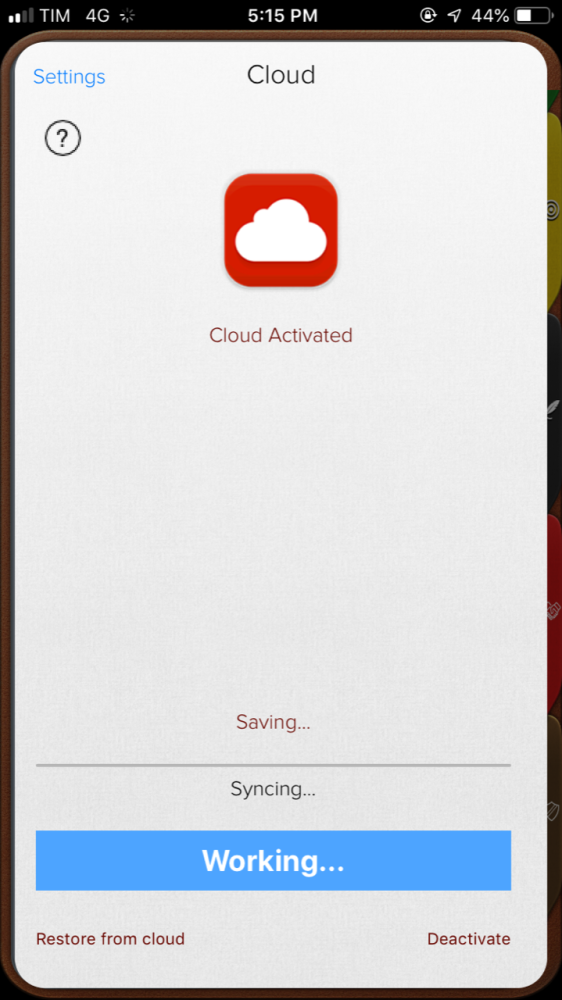
- Activate the Cloud, for sync and backup.

The second tab from the preferences menu “Weather” will allow you to adjust:
- Weather Units
- Use automatic location or enter a city name

The third tab from the preferences menu “Calendar” allows you to choose which calendars should be displayed in Opus One. For more on how to add or edit calendar, please refer to the Calendars section of this manual.
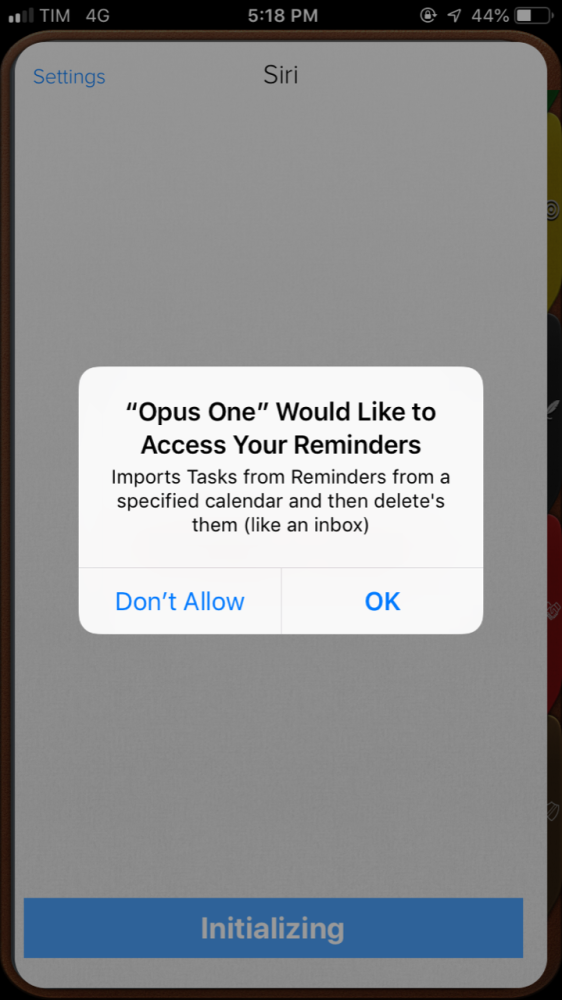
The fourth tab in the Preferences menu “Siri” will allow you to import tasks from Reminders and choose a Calendar to Import. * Please note that Opus One does not sync with Reminders. What it can do is to import tasks from a Reminders list and add these as tasks on Opus One. For more on this feature please refer to the Reminders section of this manual.
Reminders
Opus One has the ability to import tasks from Reminders.
- Important Opus One will only import tasks, this is not a two way sync. After tasks are imported they will be removed from your Reminders List.
To activate this feature:
1. From the menus at the top of your Mac screen select “Opus One.”
7. Select “Preferences.“
8. Select the third tab, “Siri.”
9. Check the box that says “Import Tasks from Reminders”.

Upon activating this feature Opus One will create a new Reminders list “Opus One Inbox” To avoid all of your current Reminders to be imported and deleted, when setting up this feature please keep the default list.
For easy reference, tasks added via Siri or imported from Reminders will show a microphone-like icon.

Please note that Reminders without a due date will be added to Opus One as Master Tasks, while Reminders with due dates will appear on the corresponding Daily List. For more information on adding tasks via Reminders, please refer to the Adding Daily Tasks from Reminders section of this manual.
First Day of the Week
For information on how to change the First Day of the Week, please refer to the Events / Calendar section of this manual.
New functions from Siri:
With siri now it will be easier to create new tasks and change the status. You just need to ask!
Remember that you need to activate Siri in your Opus One.
First, you need to activate Siri on your device.
 |
 |
Use Siri to:
✔️Show all Tasks for today
✔️Show all Tasks for the next 5 days
✔️Show all Tasks from a period of time
✔️Add new Tasks
✔️Change Status of a Task
Post your comment on this topic.