
CHAPTER 13: Weekly Compass
Compass Builder
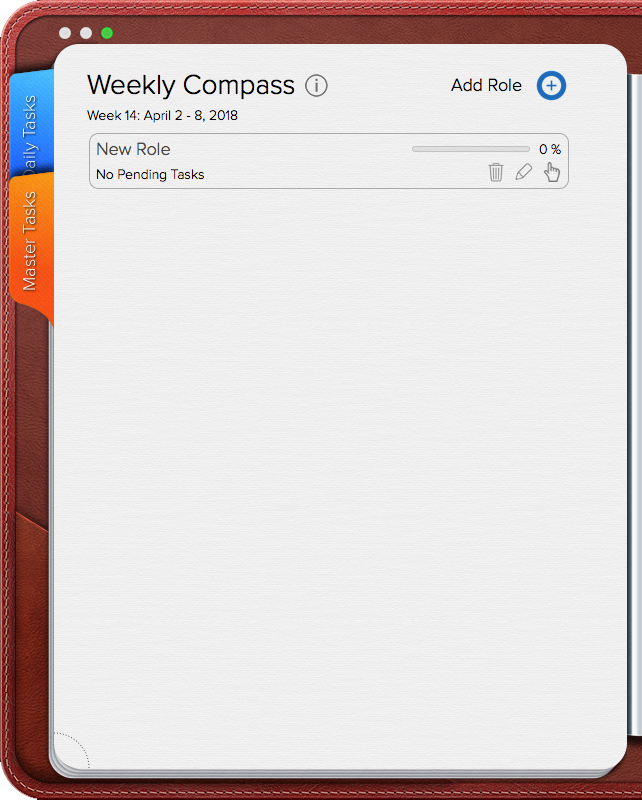
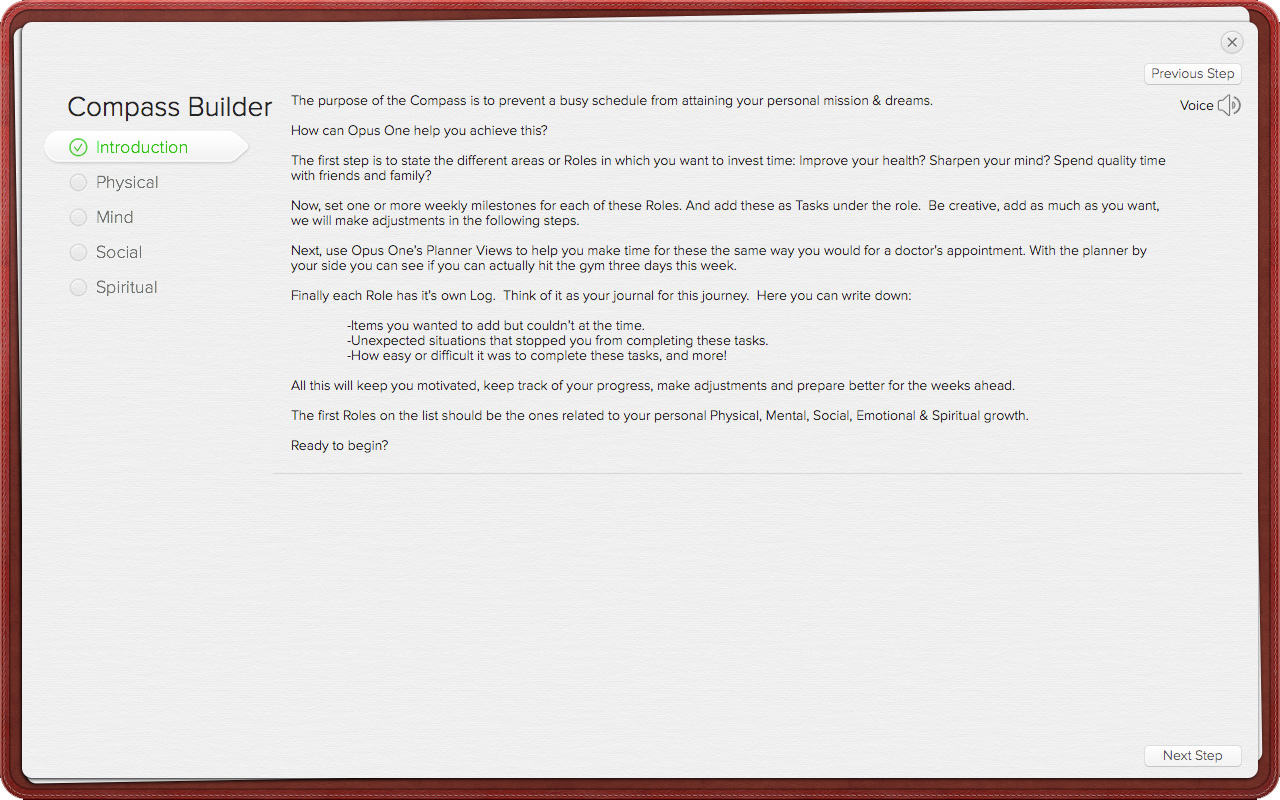
To run the Compass Builder click the “i” sign next to “Weekly Compass” and follow the instructions. The Compass Builder will help you add four basic roles, all of which are related to self development, once you finish you can add more roles, edit the existing ones or delete them.
For Mac:
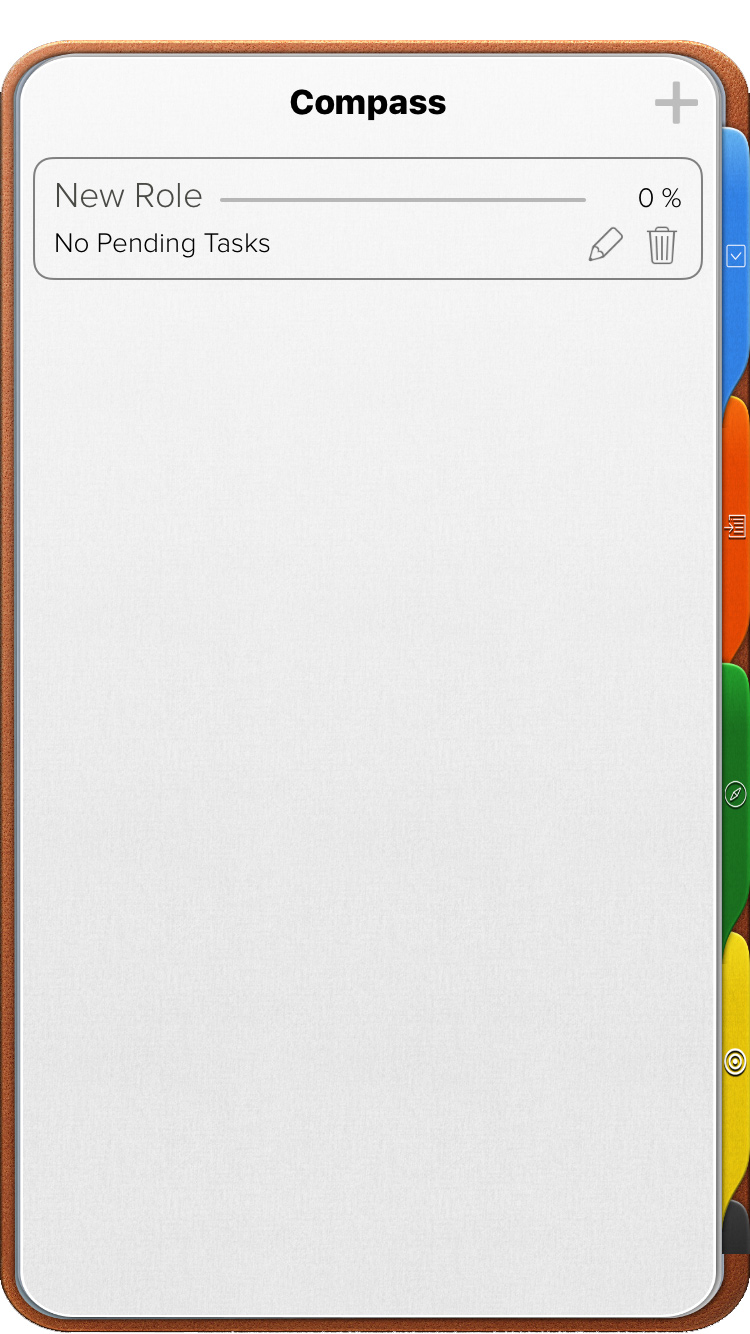
For iOS:
 |
 |
Once you have all the Roles you need, you can proceed to add tasks on each and keep track of your progress with the Compass Log.
Adding Roles
1. Click the “+” sign next to “Add Role.”
2. Enter the Role’s name.
3. To add more information click the pencil icon or give a secondary click and select “Edit”
For Mac: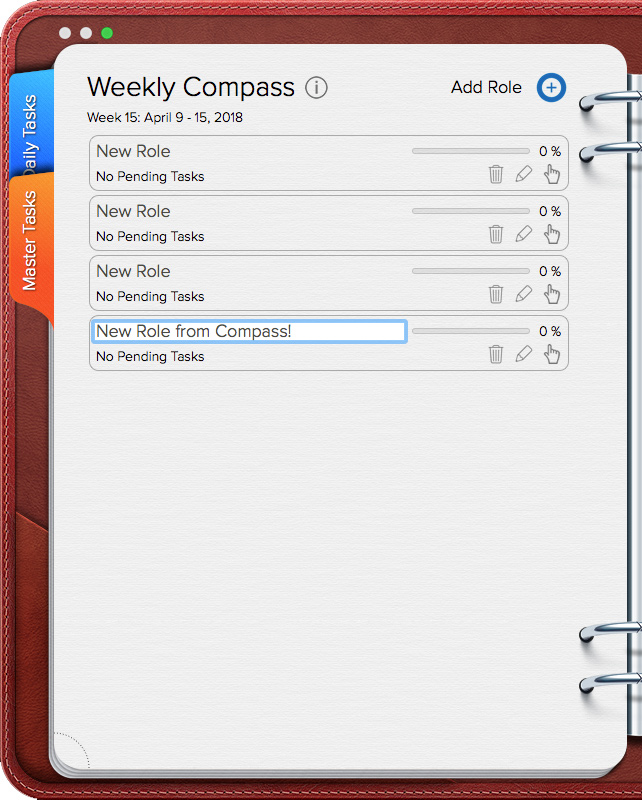
For iOS:
| |
|
Editing Roles
There are several ways in which you can edit a Role.
- Double click the name to edit.
- Drag to a new place to change the order of appearance.
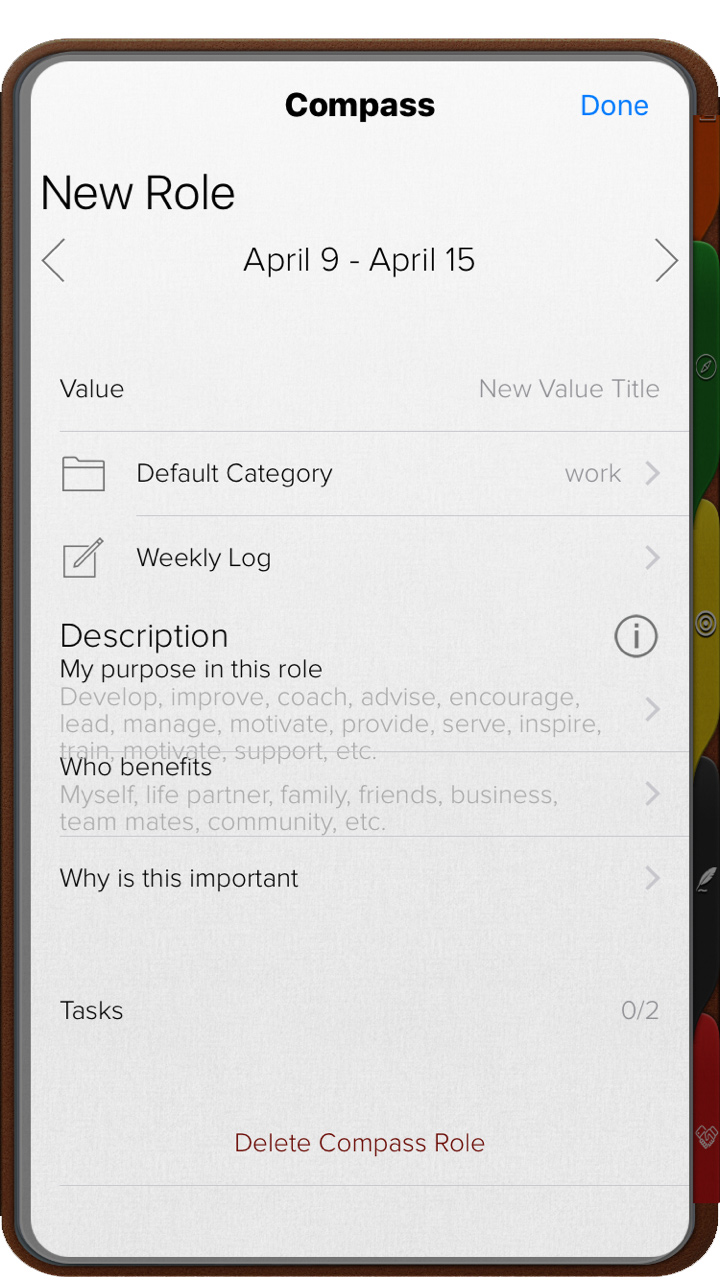
- Or, enter the Role’s Information Card. To access this menu, select a Role, give a secondary click and choose “Edit” or click the pencil icon. Here you can edit the Role’s Info:
• Name
• Supporting Value
• Default Category
• Notes or Log
• Description
• Tasks
For Mac: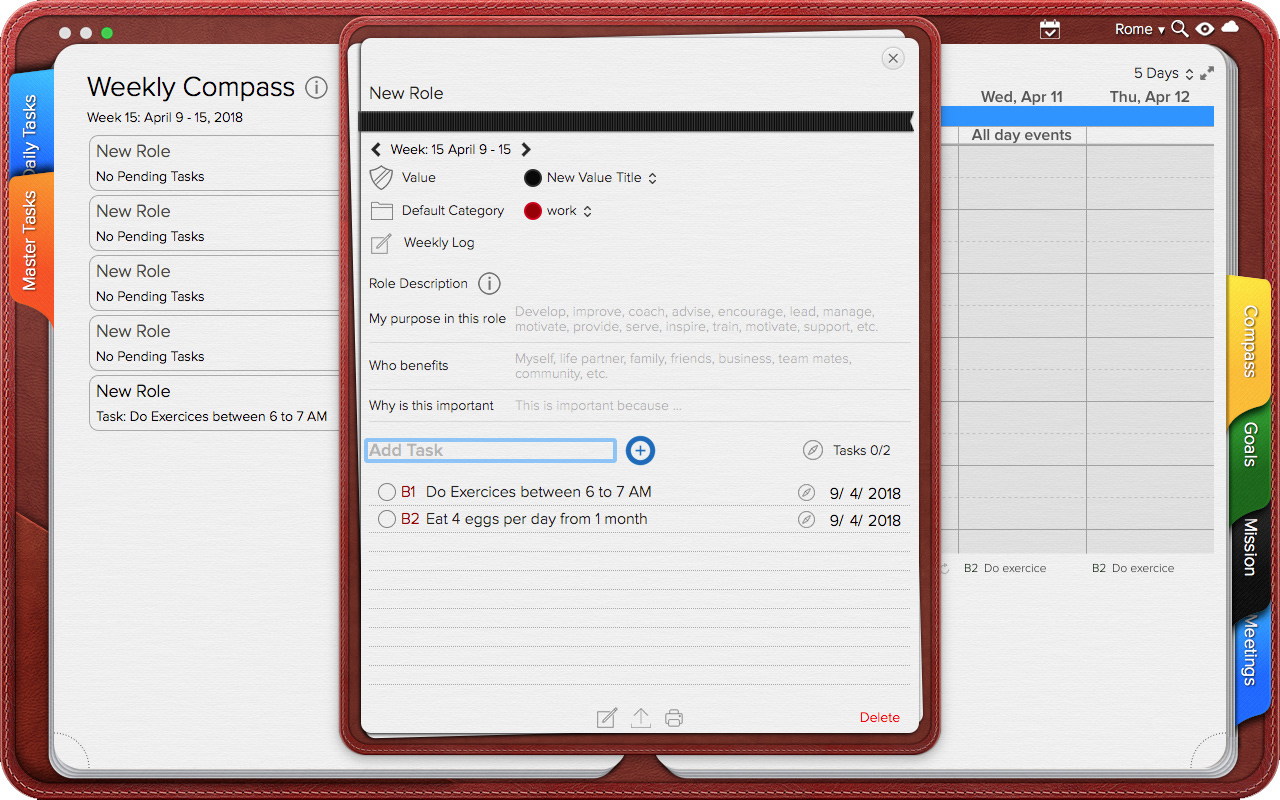
For iOS:
Week
- IMPORTANT It is not possible to Hide or Delete a Role for a week. Deleting a Role will remove it along with it’s information entirely from Opus One.
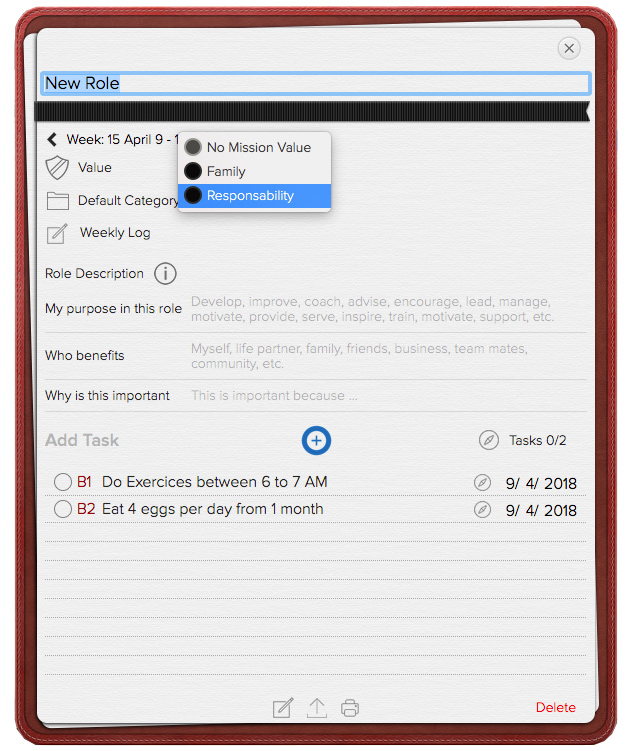
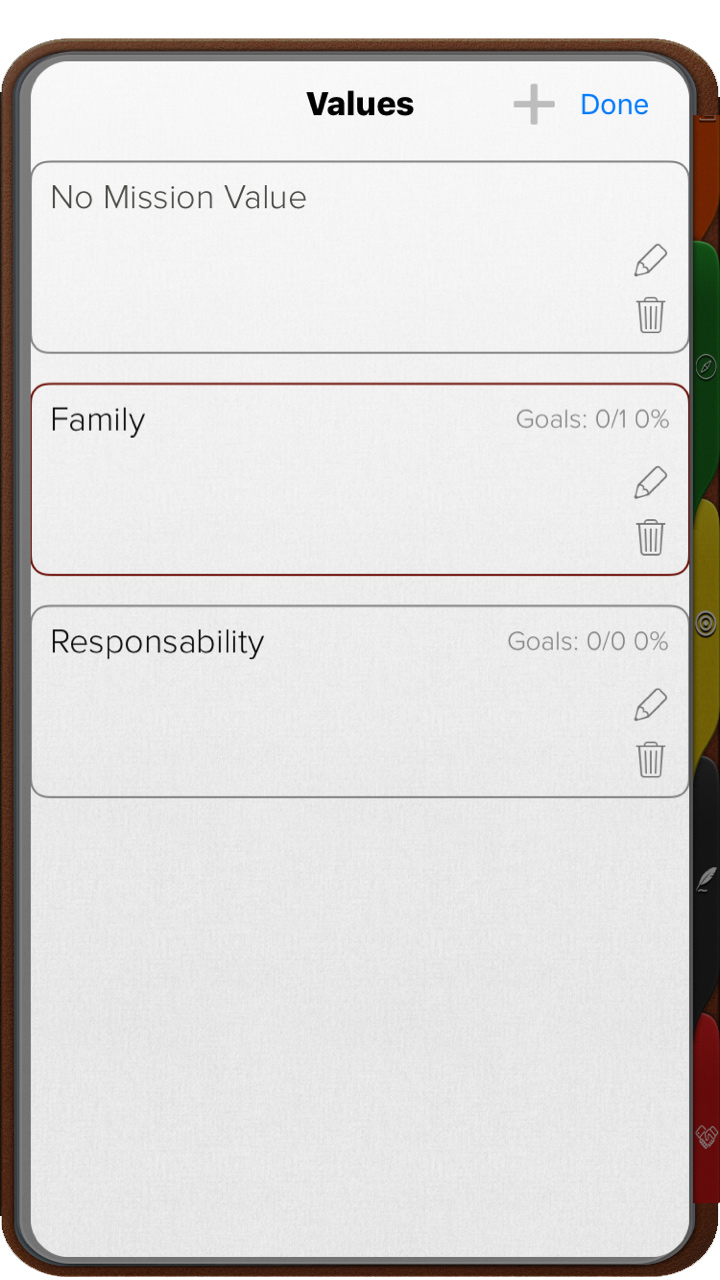
Compass Role Supporting Value
When tasks (either Daily Tasks or Compass Tasks) are linked to one of your Values, the chances of accomplishing them increases. By default set’s the goal’s “Supporting Value” field is set to “None” but you can select other values from the drop down menu.
- Please note that the “Values” drop down menu will only include the “Values” you have added in the Mission Section. To add new values please refer to the Mission Section from this manual.
For Mac: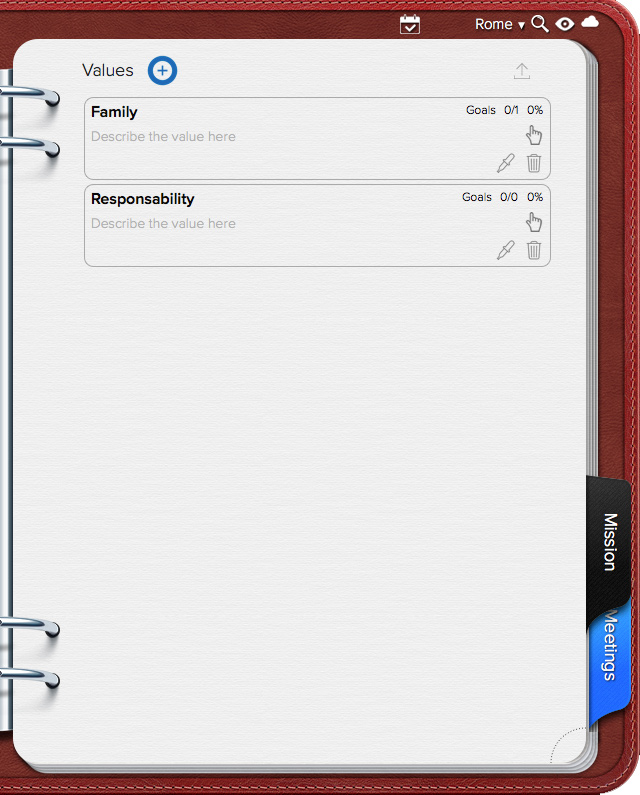
For iOS:
 |
 |
Default Category for Compass Role’s Tasks
Each week you can add tasks to each of your Compass Roles. If you set a default category all tasks added to a Role will be listed under that Category. This change, will only affect future tasks. It will not change the category of tasks that are already part of the Role or tasks added via Drag and Drop.
For Mac: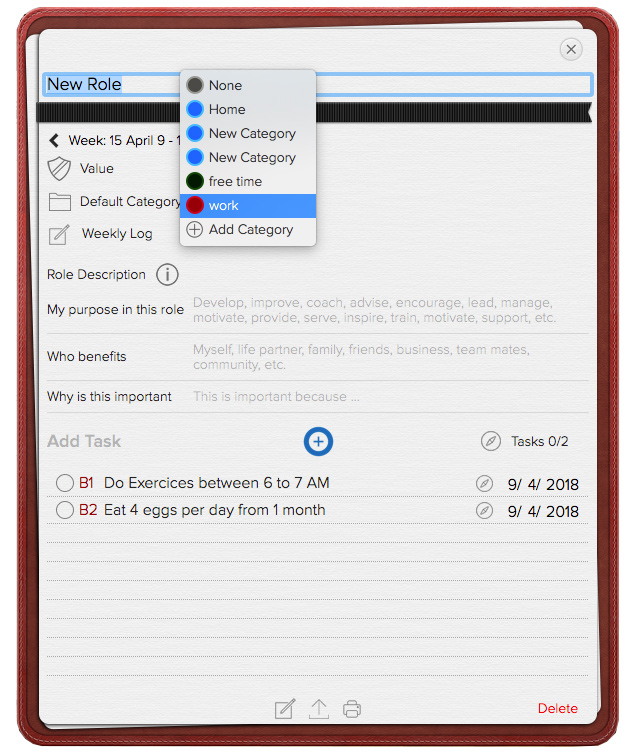
For iOS:
| |
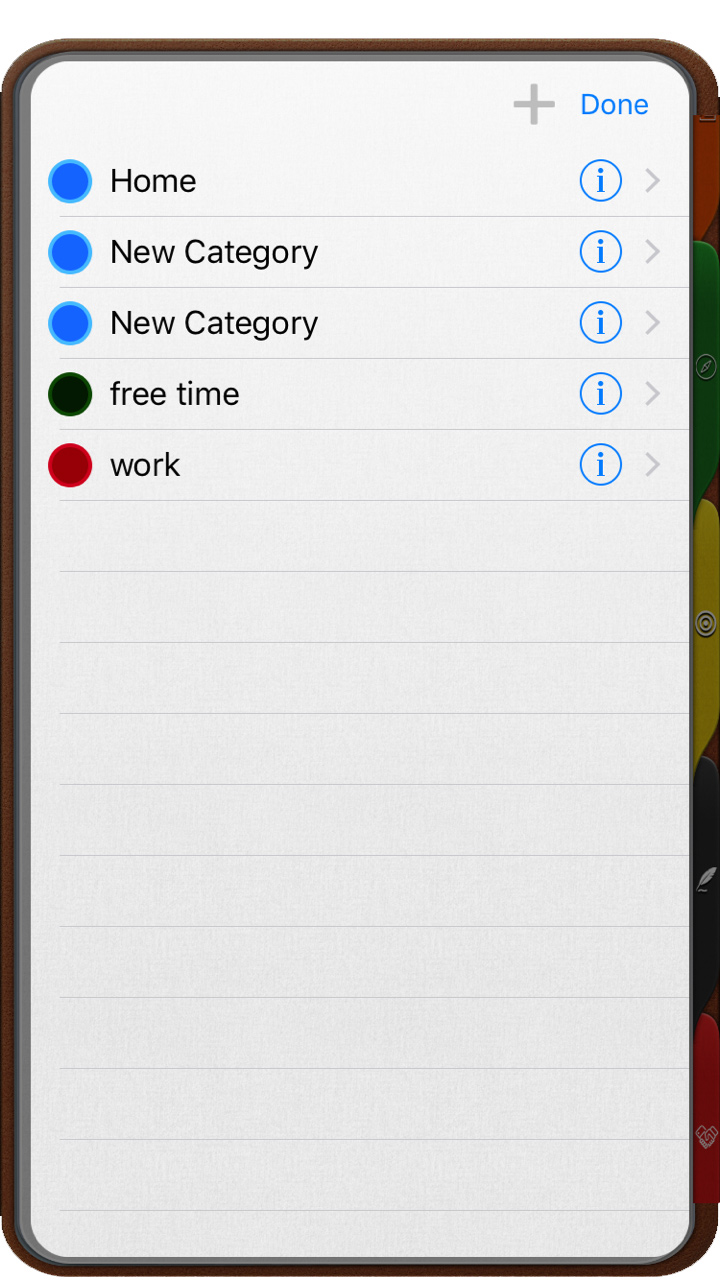 |
- The list of available “Categories” is taken from your Daily Tasks Categories. To add new values please refer to the Daily Tasks & Categories Sections in this manual.
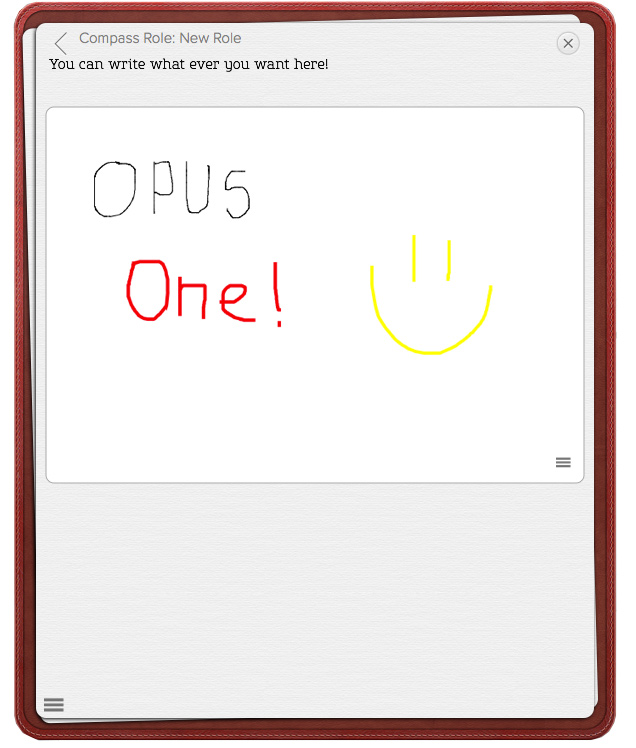
Compass Weekly Log
This space is provided to help you keep track of your weekly progress and you can enter text notes, images, maps, checklists, audio notes and more.
In this section you can write down if the items listed under the Role were completed successfully, as well as what situations prevented you from completing the list, so instead of getting frustrated because of uncompleted items you can prepare better the weeks ahead.
Compass Log’s have the same properties as Daily Notes. For more information, please refer to the Daily Notes section of this manual.
To edit the Compass’ Log:
1. Give a secondary click to a goal and select “Edit” or click the pencil icon.
2. Open the Compass Role’s Information Card.
3. Click “Weekly Log” or go to the bottom of the Role’s Information card and click the notes icon.
For Mac:
For iOs: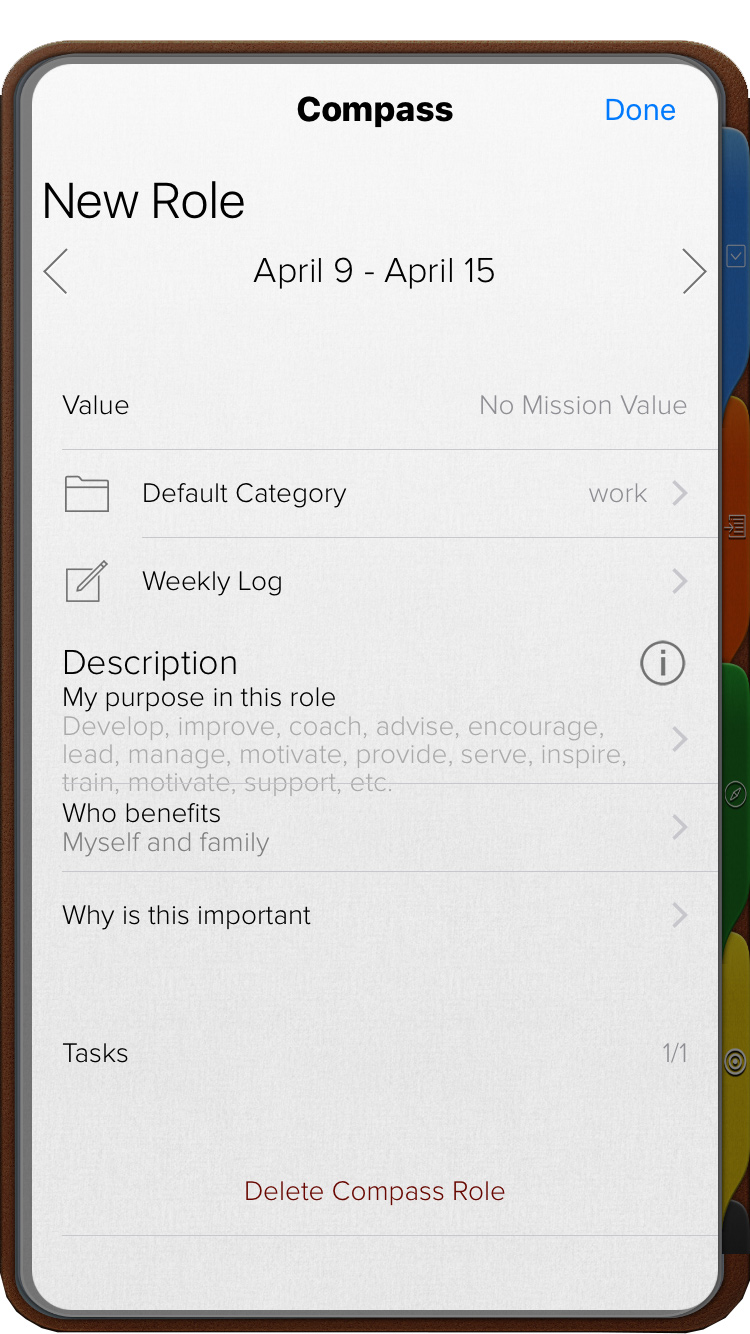
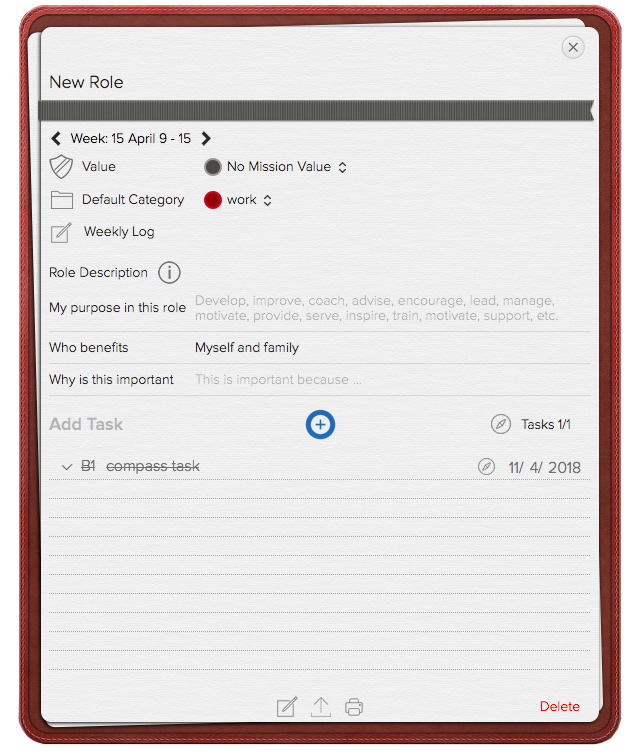
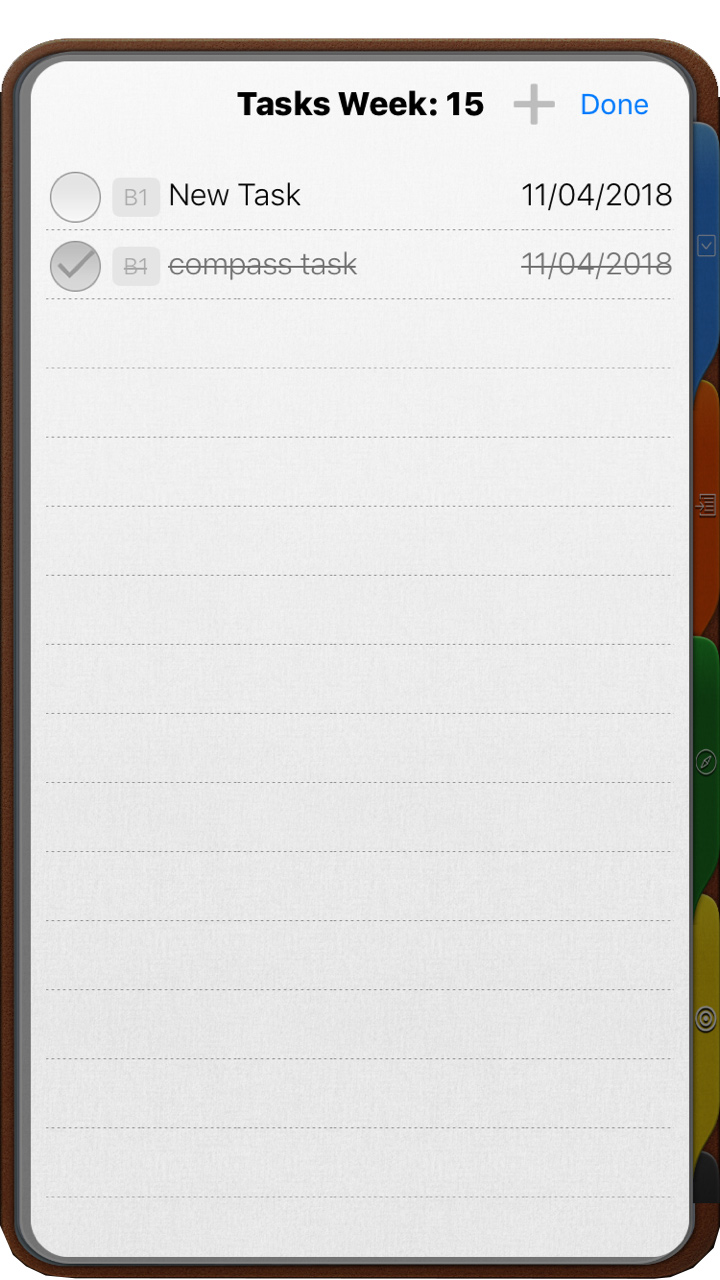
Adding Tasks to Compass Roles
1. Give a secondary click to the Role and select “Edit” or click the pencil icon.
2. Open the Role’s Information Card.
3. Click the “+” sign next to “Add Task”.
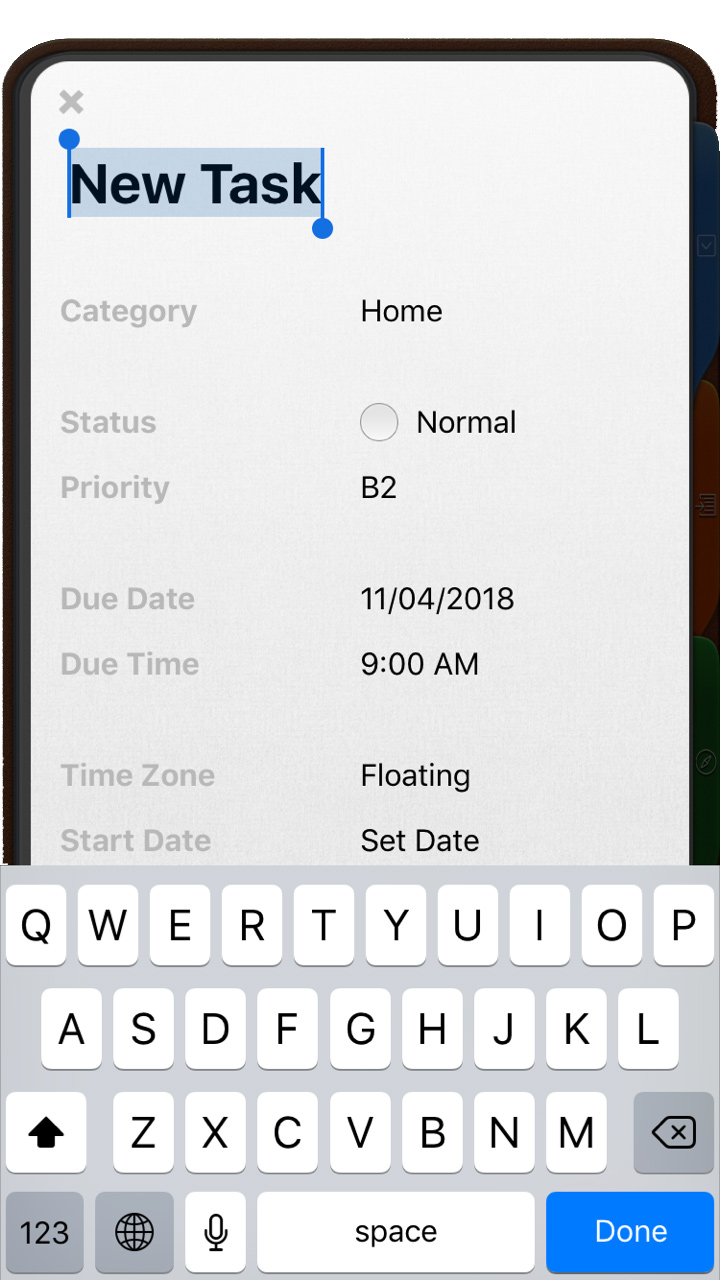
4. Enter the task’s name.
For Mac: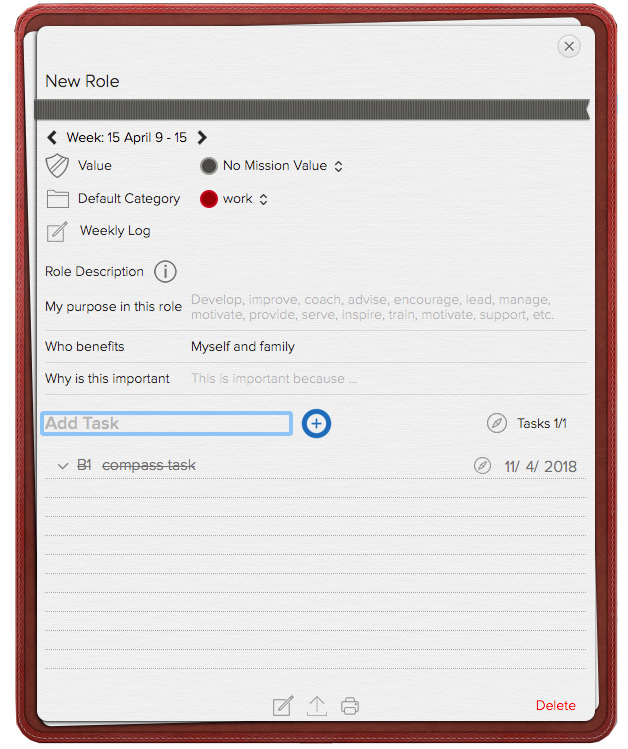
For iOS:
 |
 |
Or
1. Give a secondary click to the Role and select “Edit” or click the pencil icon.
2. Open the Role’s Information Card.
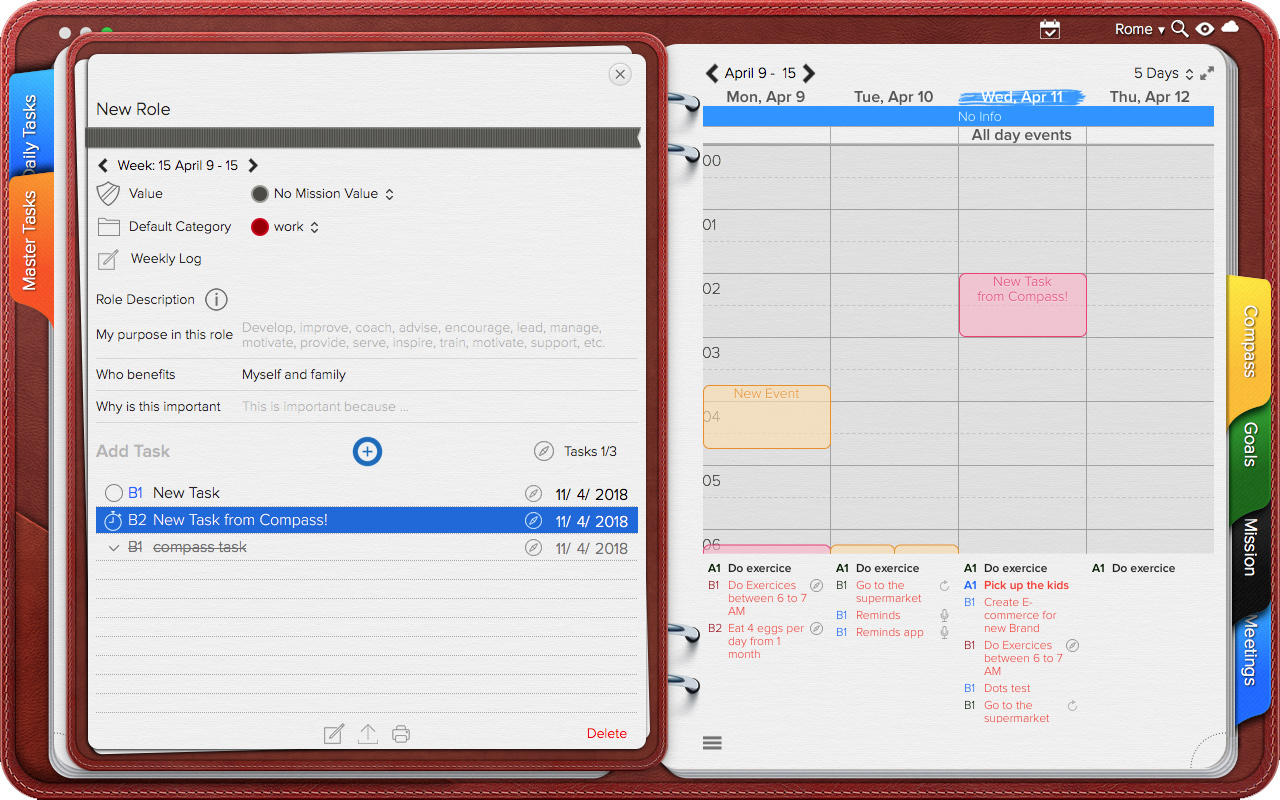
3. Click Daily Task Tab, Master Tasks Tab any of the Planner Views – so you will have on your screen both the Task List or Planner View and the Role Card.
4. Drag tasks from the Daily Task List, Master Task List or the Planner into the Compass Role Card.
- IMPORTANT: You cannot use the drag and drop method to move tasks from Compass Roles to Goals or vice versa.
Compass tasks will feature a compass icon so you can easily identify them on your task lists and they have the same properties as Daily Tasks. For more information on how to add task categories, please refer to the Daily Task section of this manual.
Scheduling Role Tasks
To schedule a Role Task as an event in your Calendar:
1. Give a secondary click to a goal and select “Edit” or click the pencil icon.
2. Open the Role’s Information Card.
3. Drag and drop tasks from the Role Card into the Planner.
- You can schedule tasks individually or you can schedule time for the Compass.
To add a Compass Role as an event in your Calendar:
1. Click on a Role to select it.
2. Drag and drop it into your Planner.
Deleting Roles
Deleting a Role will remove it entirely and permanently from the Weekly Compass Section along with all its information. Except for the tasks, which will be detached from the role and continue to appear in Opus One as Daily Tasks.
- IMPORTANT It is not possible to Hide or Delete a Role for a week. Deleting a Role will remove it along with it’s information entirely from Opus One.
To delete a Role:
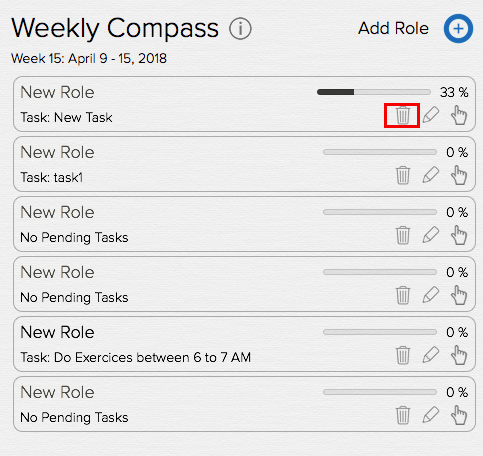
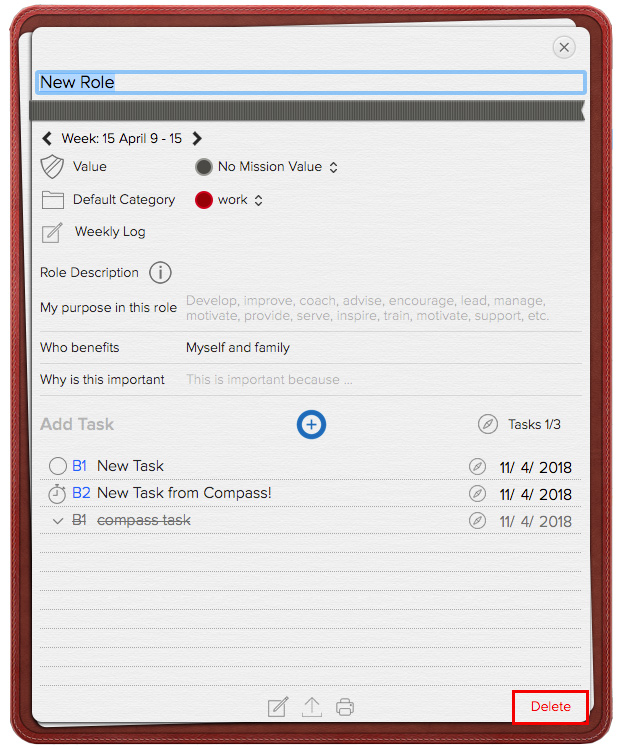
• Give a secondary click to a Role and select “Delete”; or,
• Click the trash can icon
For Mac:
For iOS:
 |
 |
Reordering Compass Roles
To reorder the list of Roles:
• Drag and drop; or
• Click the hand icon and drag the goal to a new position in the list.
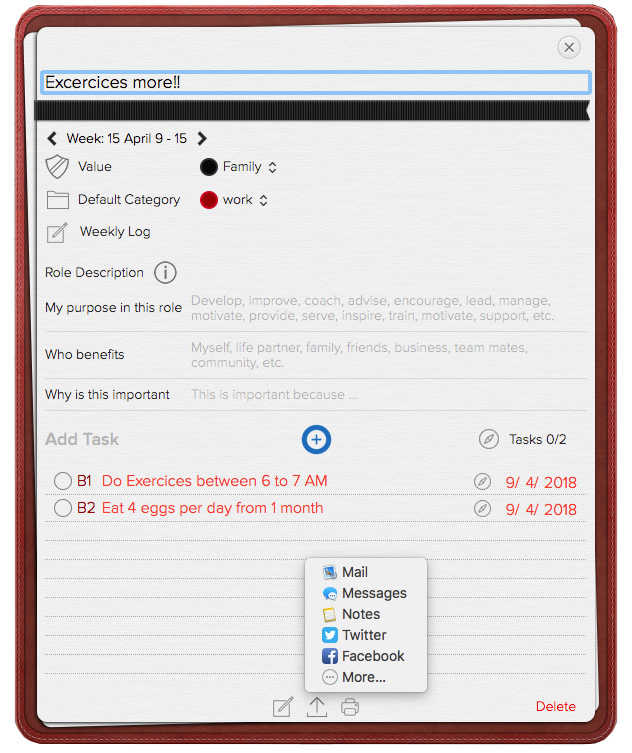
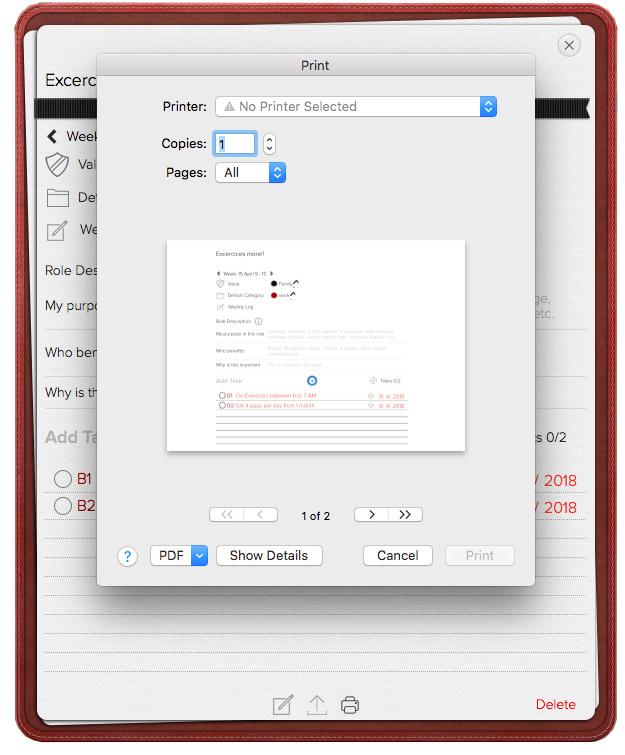
Sharing & Printing Roles
Roles and their information can be shared as images by message, email, Facebook, Twitter or more.
To share Roles:1. Give a secondary click to a Role and select “Edit” or click the pencil icon.
2. Open the Role’s Information Card.
3. Go to the bottom of the Information Card and click the 2nd icon.
4. Choose how to share.
For Mac:
 |
 |
For iOS:
Post your comment on this topic.