
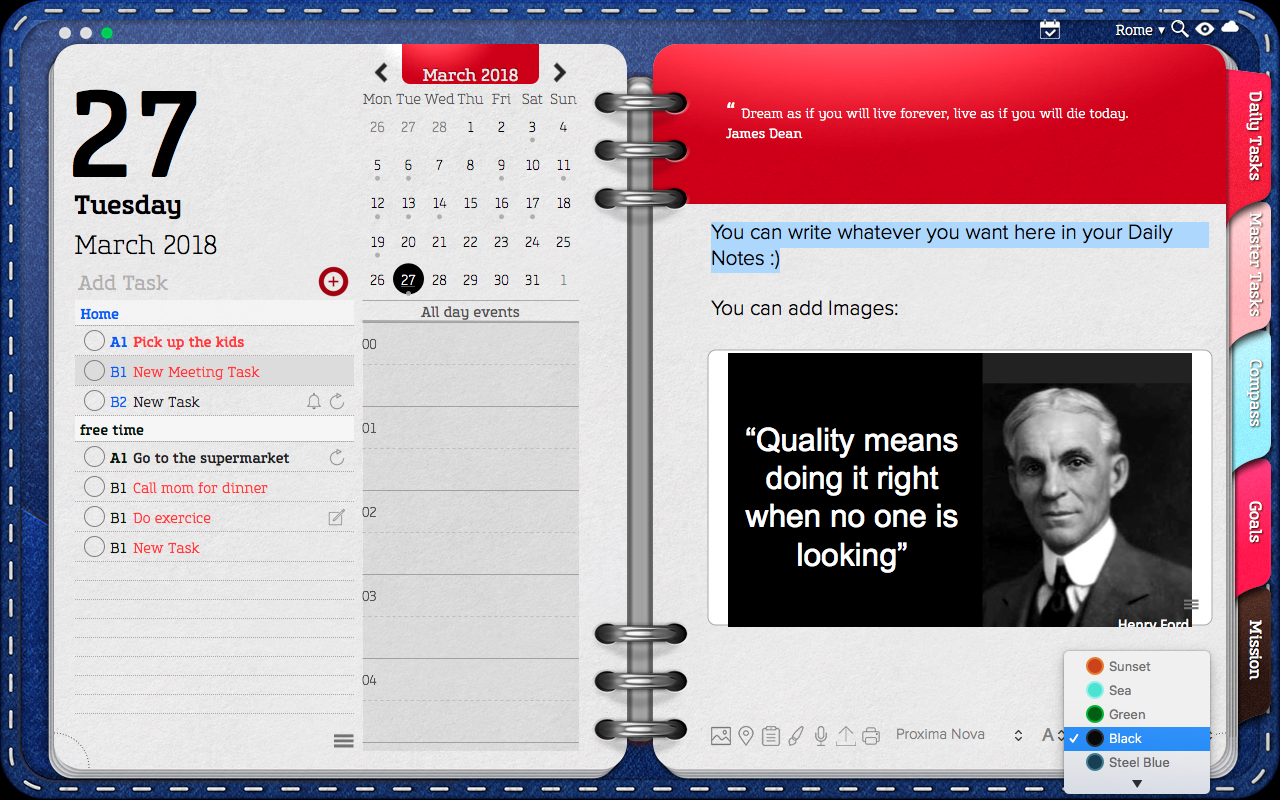
The Daily Tasks Tab has two sides. The left side shows the Daily Tasks List & the Schedule while the right side is reserved for the Daily Notes a blank space that may be used to:
● As a journal;
● To keep daily records (sales, attendance, ratings, etc.);
● Store data you will be using during the day: telephones, addresses, etc.
● Write down ideas, thoughts or any other information that comes your way and more.
Notes entered in this space will be saved in this specific date and will not be forwarded to the following days. Days with Daily Notes will feature a small dot in the calendar above the Daily Schedule. If needed, you can browse through your Daily Notes using the Search function.
For more information on how to use the Search feature please refer to the corresponding section of this manual.
Text Notes
To enter text on this section, click over the blank space and start typing.
To change the font, font size & font color for this specific Daily Note, scroll down to the hamburger menu located at the end of the Daily Notes page and select the desired font, font size & font color.
To change the font, font size & font color for all future Daily Notes, you will need to adjust Opus One’s preferences settings. For more information please refer to the Opus One’s Preferences section of this manual.
For iOS:
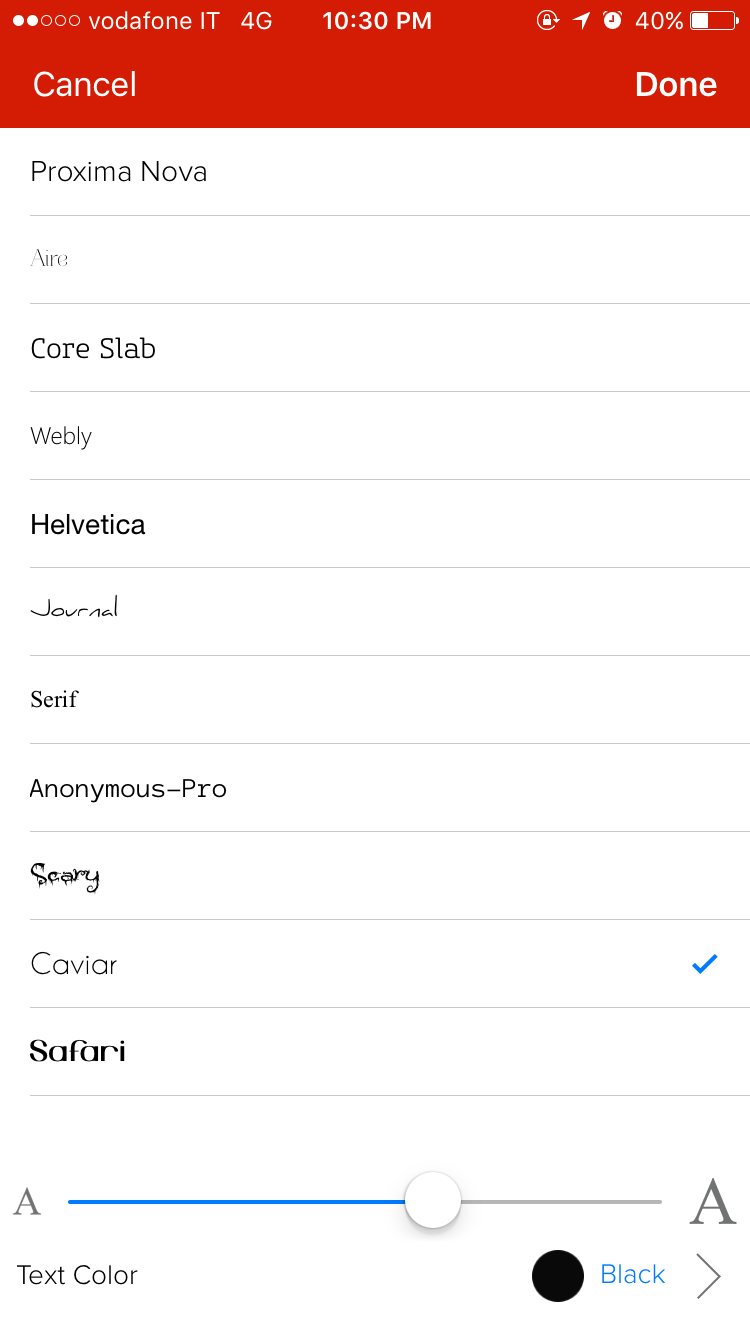
IMPORTANT: Changes in the font, font size & font color will affect the entire Daily Note. It’s not possible to have half a note with one font and the rest with another, we’re sorry for this inconvenience.
Images
Adding Images
To add images to your notes:
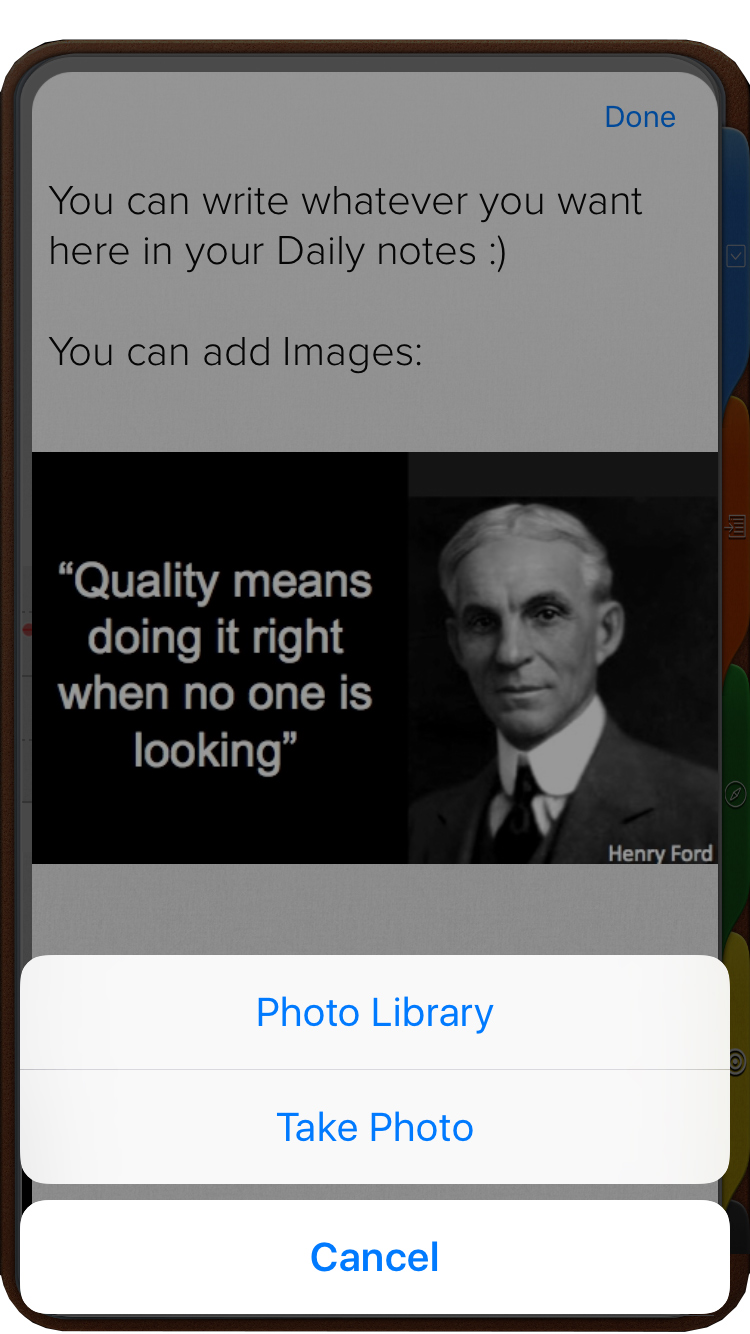
1. Place the cursor at the bottom of the Daily Notes page.
2. Select the first icon from the icon bar.
3. Choose a file and click “Open” or double click.
4. To add a second image, repeat.
Or select and image from either your computer or the internet, drag and drop it into Opus One’s Daily Notes section .
When finished, you can continue to add more notes (text, images, audio, etc.) above or below the inserted images. Except when the first item in your notes is an image, in this case you will only be able to add more notes below.
For Mac: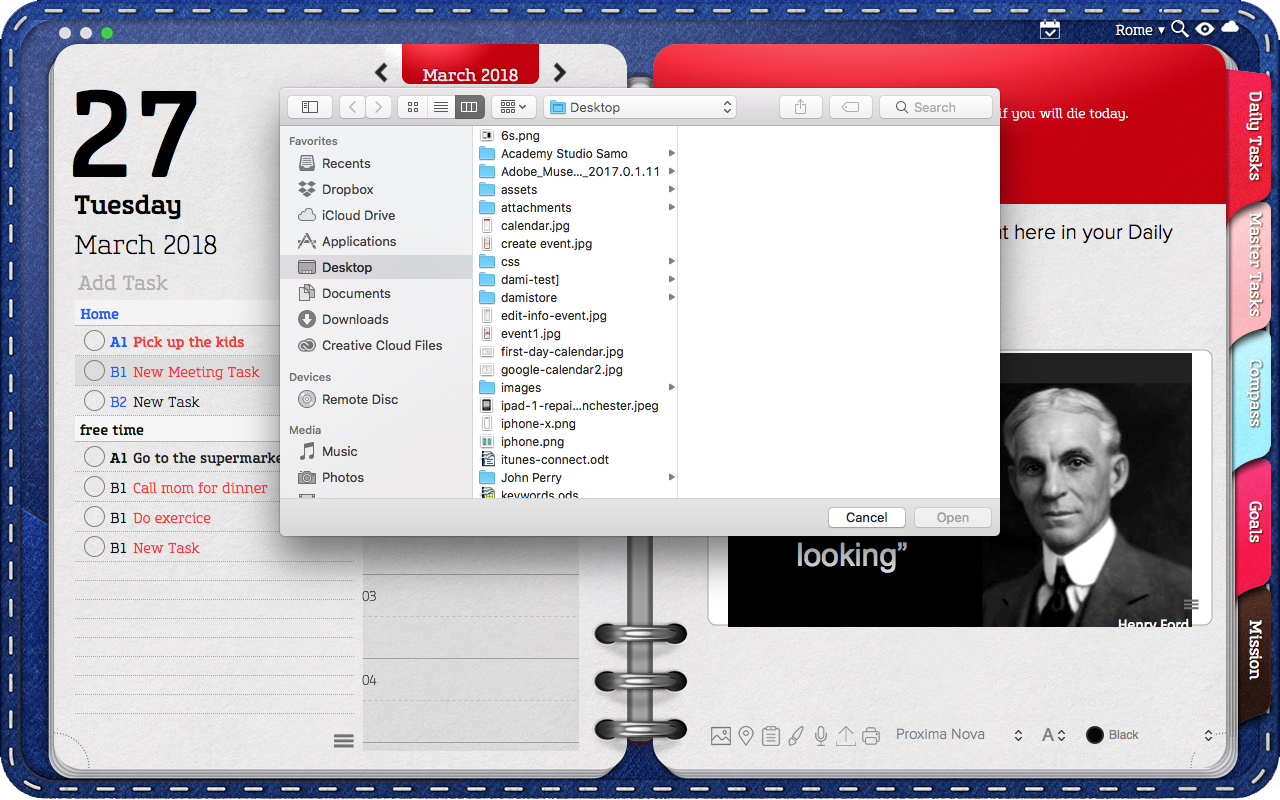
For iOS:
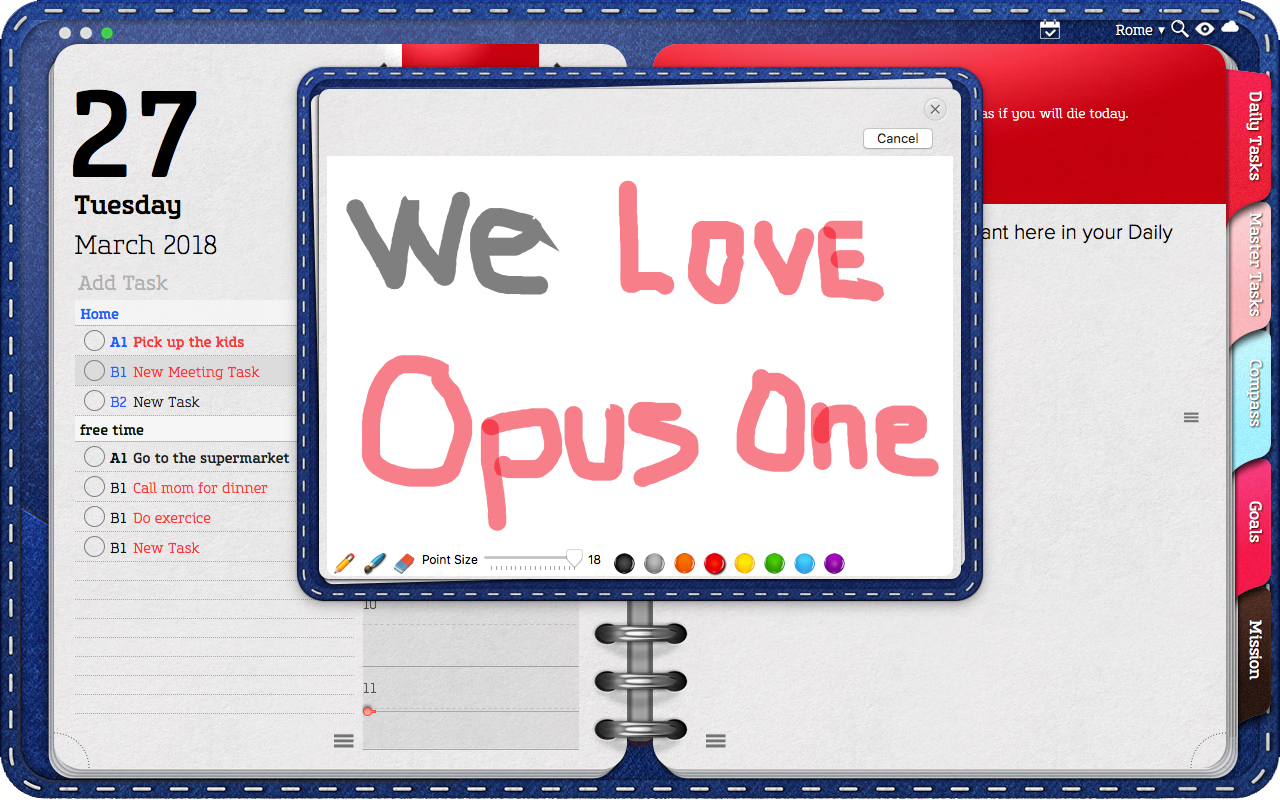
Editing Images
Edition of images is limited to adding drawings or erasing portions of the image using the Notes Drawing Pad. Resizing or cropping images is not possible.
To edit images:
1. Select the image.
2. Give a secondary click.
3. Select “Edit Image”.
4. Edit the image using the Notes Drawing Pad.
5. Click “Save & Close”. Or if you do not want to save the changes made select “Cancel”.
Deleting Images
To delete images:
1. Select the image.
2. Give a secondary click.
3. Select “Remove” or tap the Backspace Key.
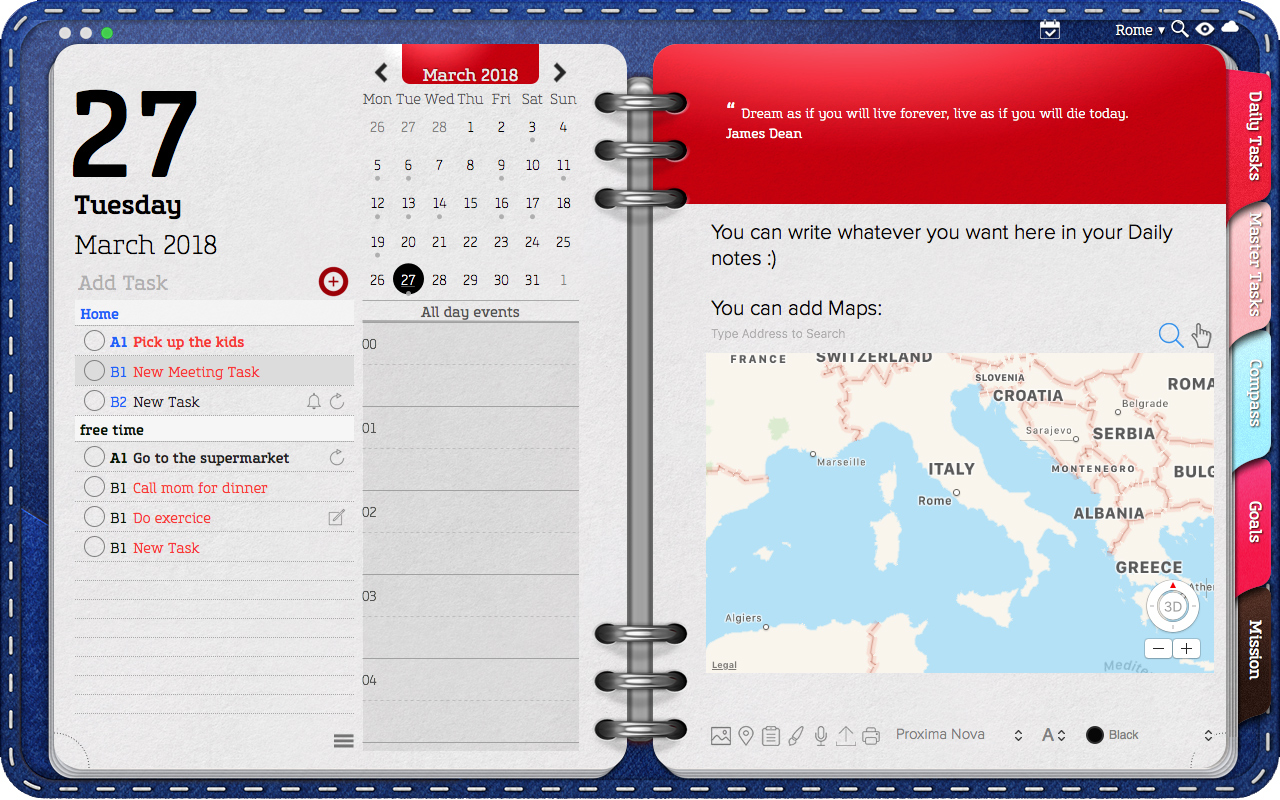
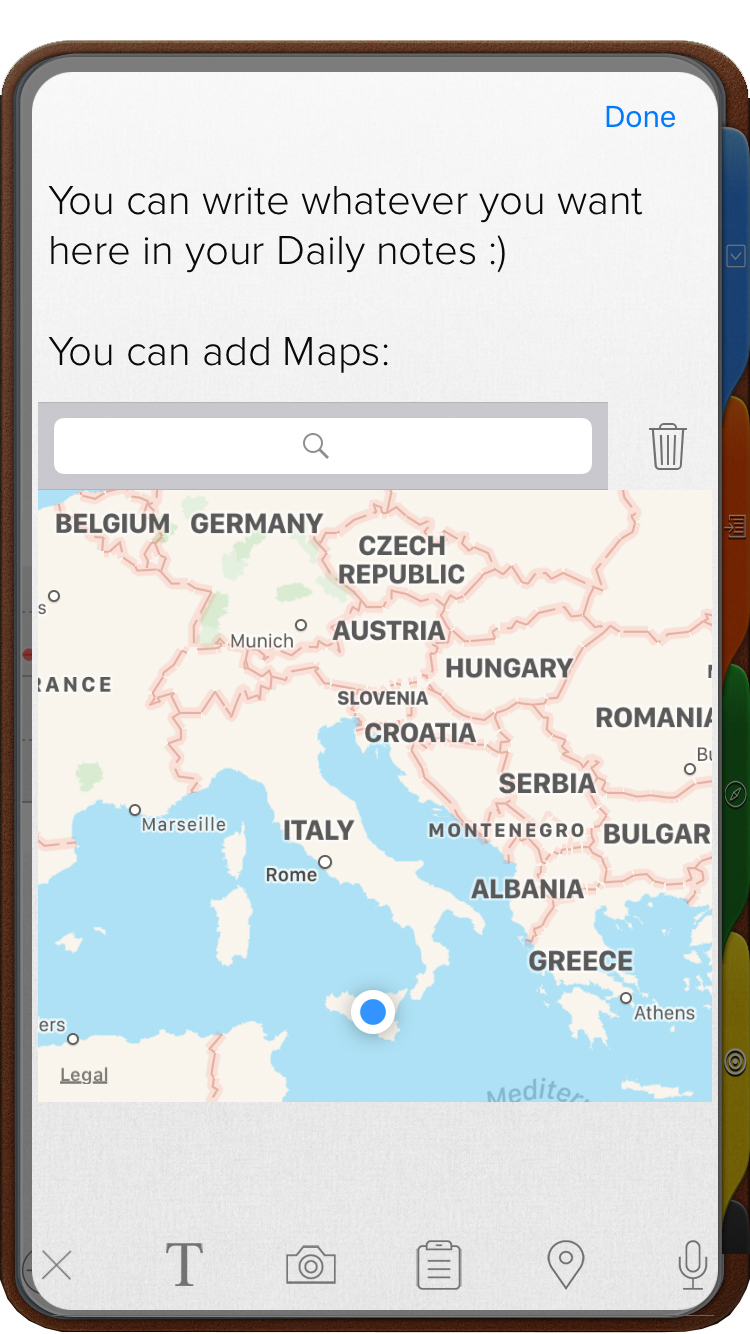
Maps
To use or access this feature, you will need an active internet connection; otherwise the map space will either return a default image or an error message.
If planning to use the map later, make sure you will have a connection by then. If not, take a screenshot of the map and add it to your notes as an image.
Adding Maps
To add a map:
1. Place the cursor at the bottom of the Daily Notes page.
2. Select the 2nd icon from the icon bar.
3. Type the address and click the “S” button or the “Enter” key.
1. Use the “+” & “-“ signs, to zoom in and out.
2. To add a second Map, repeat.
For Mac:
For iOS:
You can add more notes (text, images, audio, etc.) above or below, except when the map is the first item in your notes, in this case you will only be able to add notes below.
Deleting Maps
To delete a map:
1. Select the map.
2. Give a secondary click.
3. Select “Remove”.
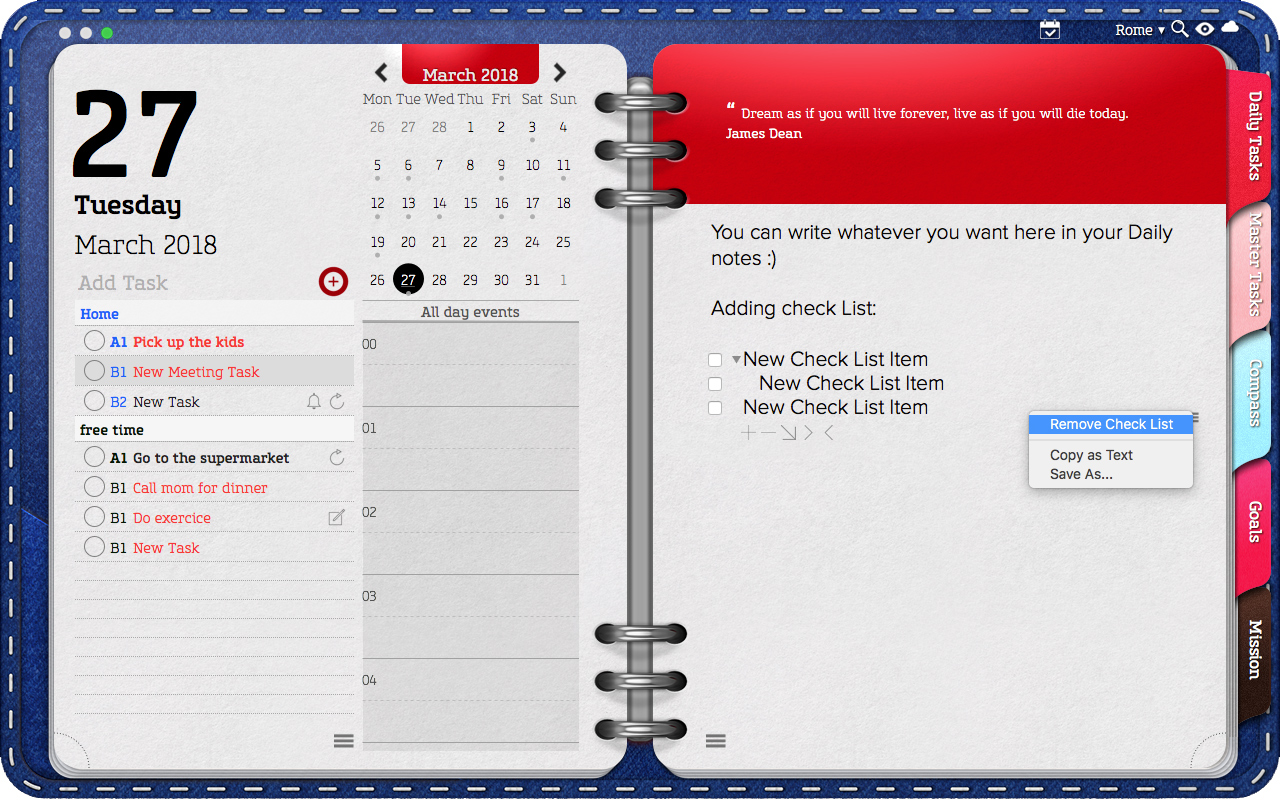
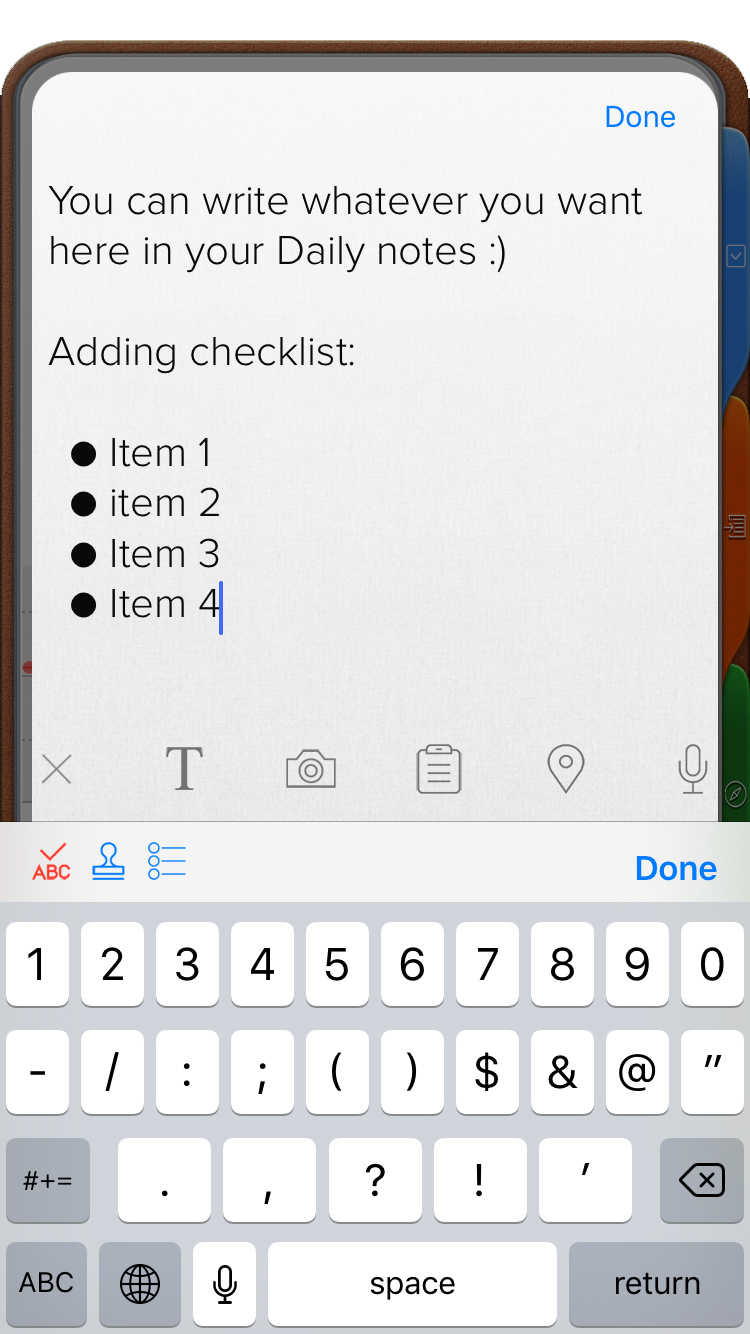
Checklists
Adding Checklists
To add a checklist:
1. Place the cursor at the bottom of the Daily Notes page.
2. Select the 3rd icon from the icon bar.
3. A checklist with appear.
4. Double click over the text (“New List Item”) and enter the first item’s name.
5. To add a second item, press “Enter” or click the plus (+) sign and type.

For more on Editing Checklists please refer to the next section.
After adding a checklist, you can add more notes above or below the list; except when the list is the first item in your notes, in this case you will only be able to add notes after or below the list.
Deleting Checklists
To delete the entire checklist:
1. Select the Checklist.
2. Give a secondary click.
3. Select “Remove”.
Editing Checklists
- Adding Items to a Checklist
1. Go to the end of the list, and select “” from the bar to add an item at the end
of the list.
2. To add an item at the end of a sub level, select any item in the sublevel and
select “”
| For instance if your list goes: - Item 1 - Item 2 - Item 3 - Item 4 |
Now if list goes: - Item 1 - Item 2 - Item 2.1 - Item 2.2 - Item 3 - Item 4 |
| When selecting Item 2 and clicking the (+) sign the list will be: - Item 1 - Item 2 - Item 3 - Item 4 - New List Item |
Selecting Item 2.2 and clicking the (+) sign, will add an item after 2.2: - Item 1 - Item 2 - Item 2.1 - Item 2.2. - New List Item - Item 3 - Item 4 |
If you want to add an entry in between items, for example between Item 2 and Item 2, then you will need to:
1. Add the item using the procedure described.
2. Select the new item.
3. Drag & drop it to its new locations.
* Changing Names of Items inside a Checklist*
1. Select the item with a double click.
2. Type the new name.
Deleting Items from a Checklist
1. Select the item to be removed, and
2. Click the minus sign (-) from the Checklist bar.
This will delete the selected item, unless there is only one item remaining. In this case you will need to delete or remove the entire checklist.
IMPORTANT: If the item to be deleted contains sub items or sub levels, deleting it will remove all the sub items as well. Do not use the Remove option that appears when giving a secondary click to the Checklist Bar, as this will remove the entire list with no option to undo the delete.
Adding Sub-levels to a Checklist
1. Select an item with a double click.
2. Click the 3rd icon from the checklist bar located at the end of the checklist.
For example if your list shows:
- Item 1
- Item 2
- Item 3
- Item 4
Selecting Item 2 and clicking the sub level icon will add a new item between Items
2 & 3.
So the list will now look as follows:
- Item 1
- Item 2
- New List Item
- Item 3
- Item 4
An arrow will now appear before Item 2 – this will help you hide or unhide sub level items.
Reordering Items in a Checklist (Drag and Drop)
• Use icons 4th & 5th to move the selected item one level down or one level up.
• Or drag & drop to reorder items.
Keep in mind that:
• When moving a parent item, all the items below (or sub-items) will move as well.
• When an item is placed between two different levels, you will have the option of taking either.
Drawing Pad Notes
Adding Drawings
1. Place the cursor at the bottom of the Daily Notes page.
2. Select the 4th icon from the icon bar.
3. Use the drawing pad.
3. When finished click “Save and Close.”
When using this feature please consider that the drawing pad does not have a scroll bar or an “undo” button.
This option is only available for Mac
Deleting Drawings
1. Select
2. Give a secondary click.
3. Select “Remove”.
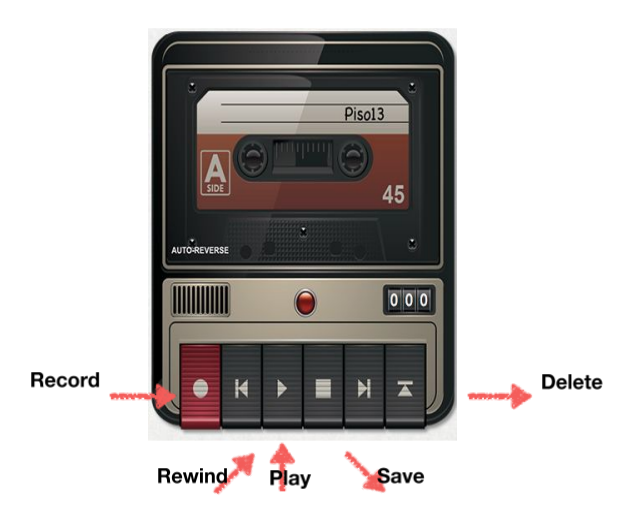
Audio Notes
Adding Audio Notes
1. Place the cursor at the bottom of the Daily Notes page.
2. Select the 5th icon from the icon bar.
3. Press the red button with a circle
4. Start recording.
5. When finished press the button with a square to save the recording.
6. Close the window.
For Mac: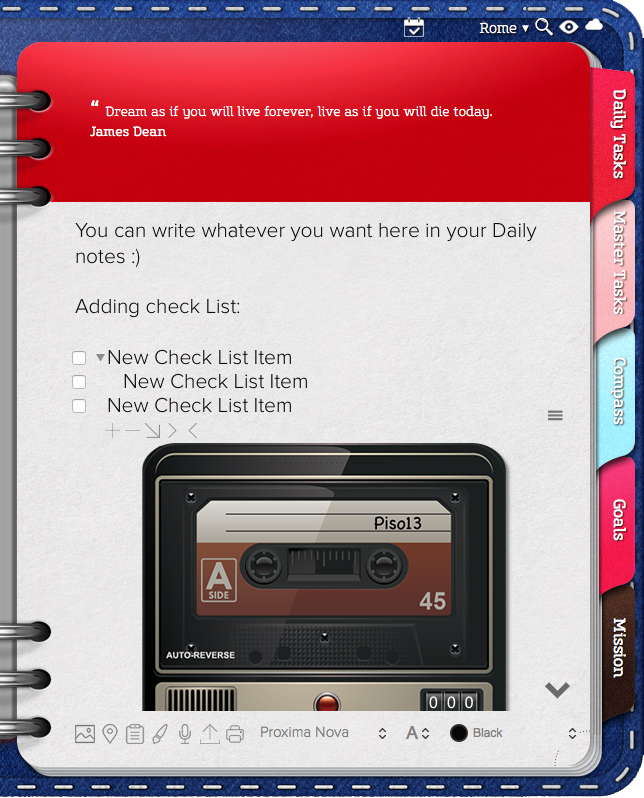
For iOS: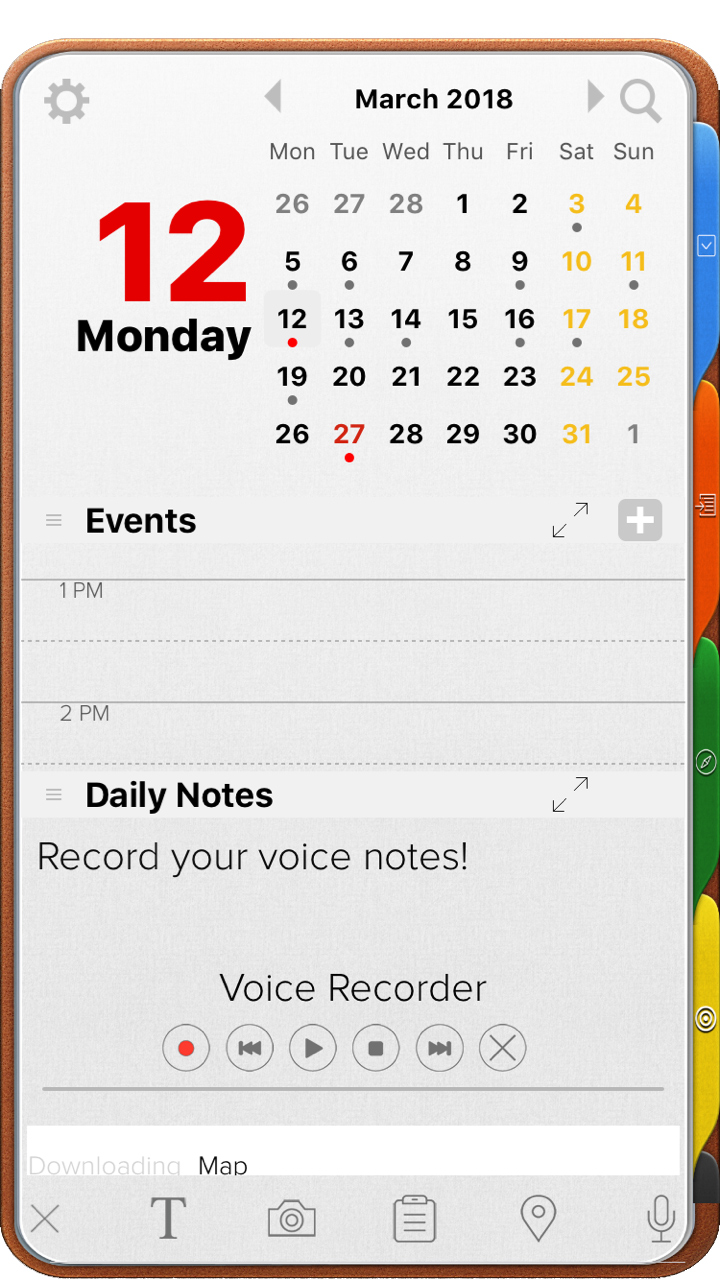
IMPORTANT: You cannot add more content after saving or pressing the square (“Stop”) button. Pressing the Record button after pressing stop will delete the previous recording.
Editing Audio Notes
Audio notes cannot be edited. Once the the square (“Stop”) button is pressed, you will not be able to continue recording on this note. Pressing the Record button after pressing stop will delete the previous recording. To continue recording, add a new audio note.
Deleting Audio Notes
1. Place the cursor at the bottom of the Audio Recorder.
2. Click the last button, “Eject” (The one with a triangle with a line on top of it)
Or
1. Select the voice recorder.
2. Give a secondary click.
3. Select “Remove Voice Recorder”.
For Mac: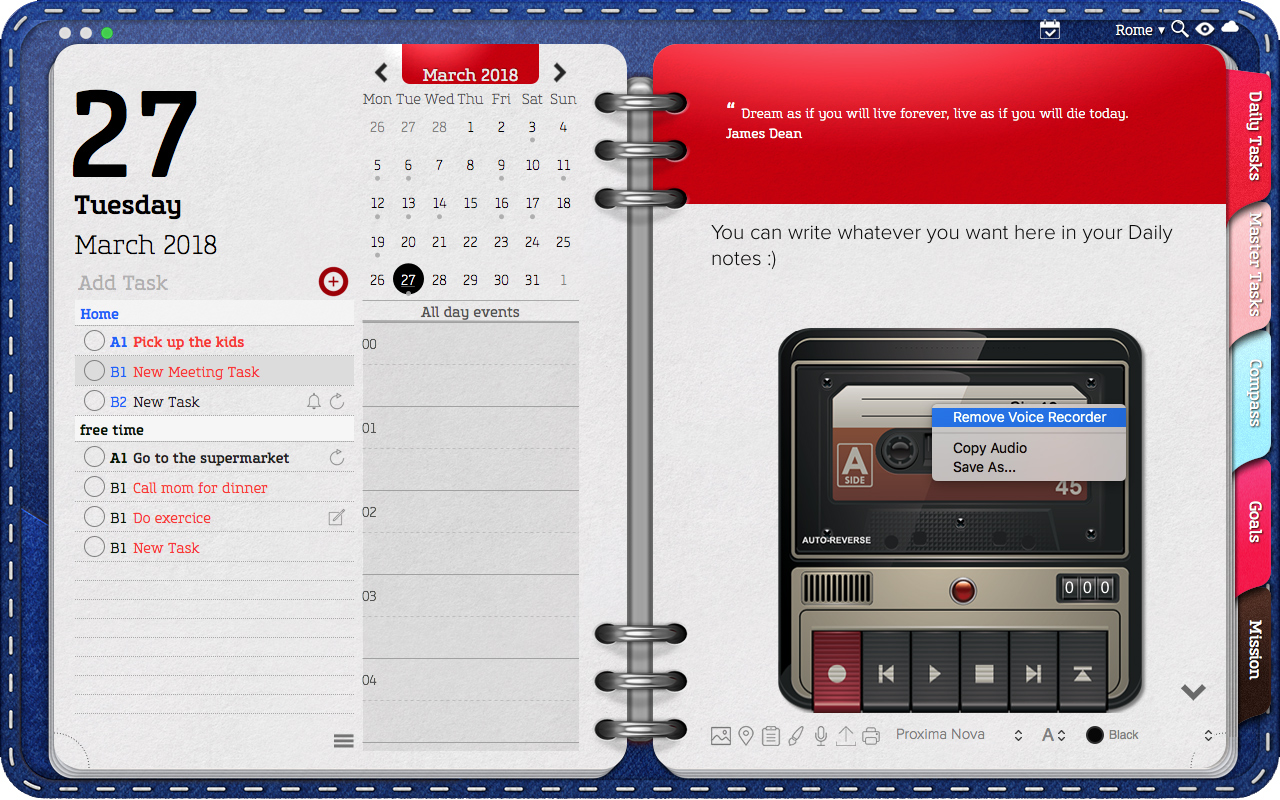
For iOS:
Hearing / Playing Audio Notes
1. Click the 2nd button to “Rewind” the audio.
2. Click the 3nd button to “Play” the recording.
3. To hear again repeat steps 1 & 2.
Set Alarms for Tasks:
Now you have the ability to set alarms for your tasks in a very easy way. This function will allow you to set alarms to each of your tasks in order to remind you everything.
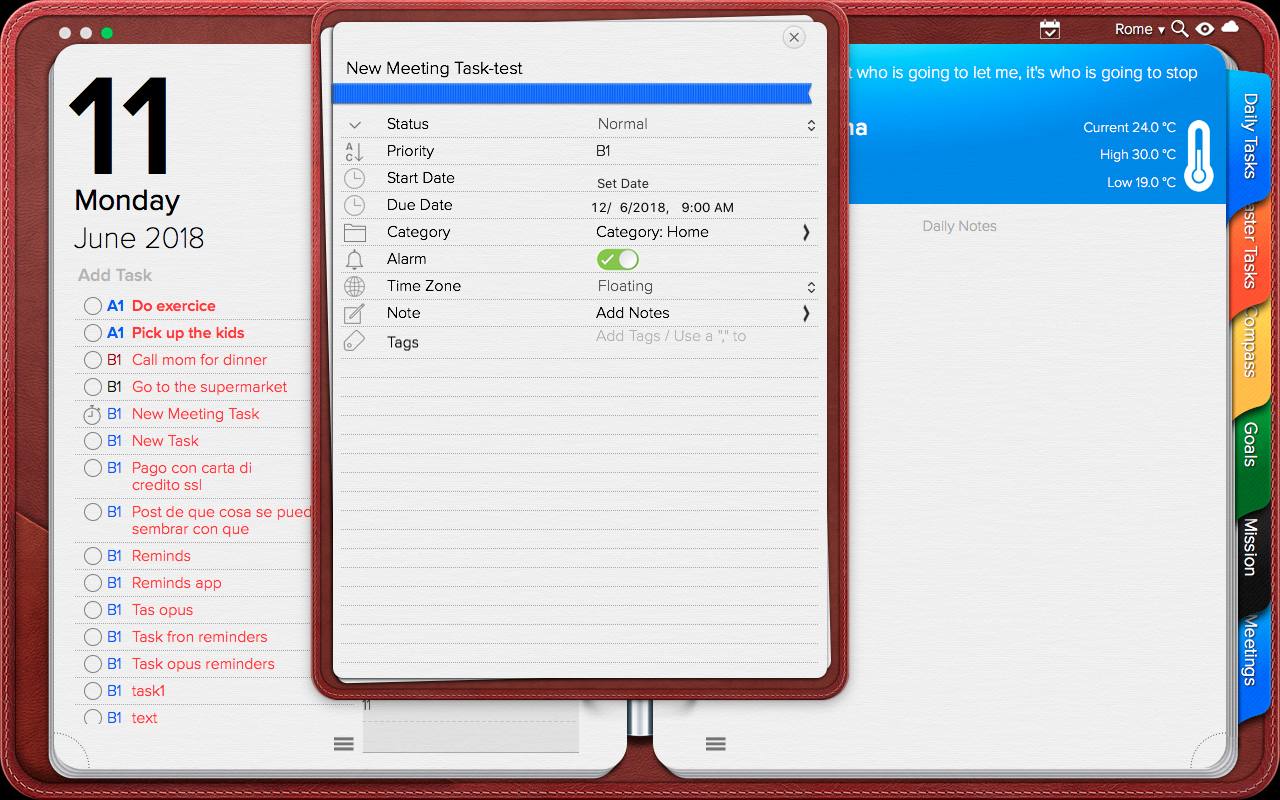
In order to set alarms:
- Open your tasks.
- Enable the option “Alarm”
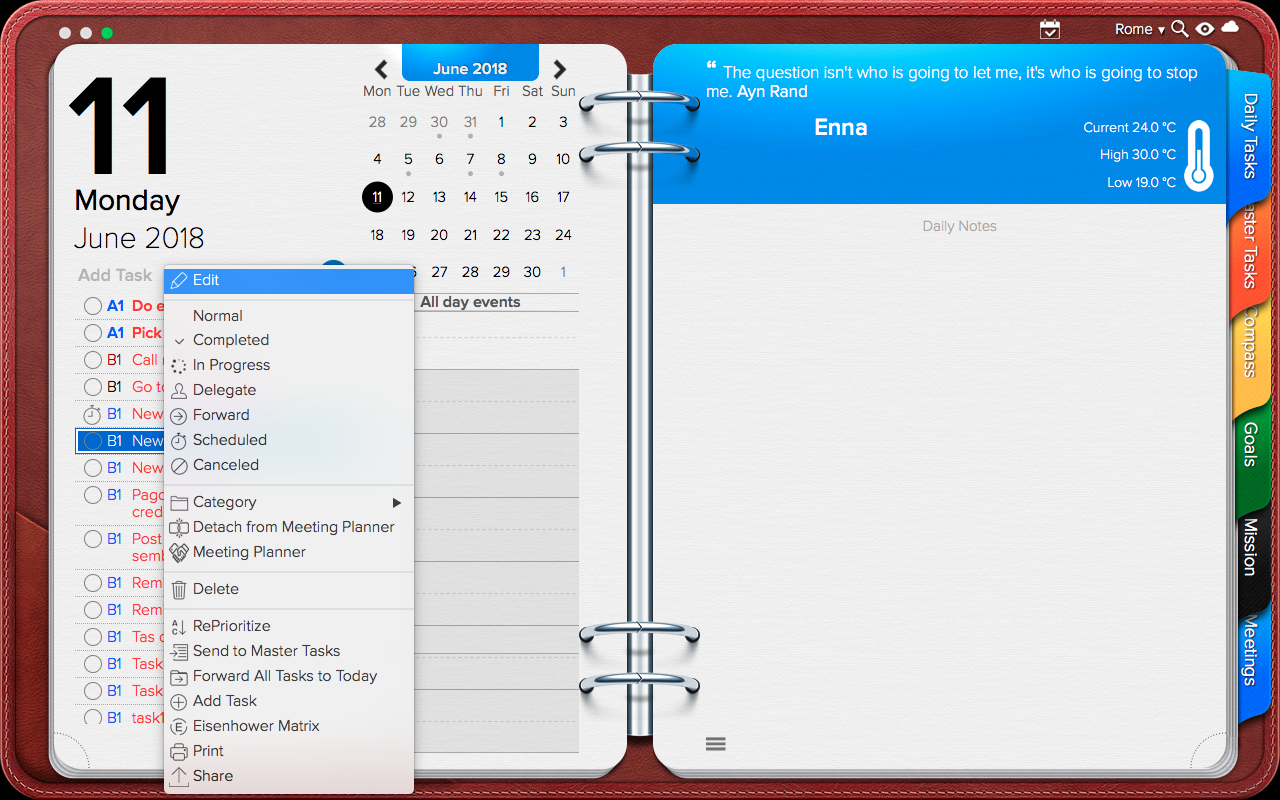
If you are in Mac:
- Open your tasks
- Right click on “Edit”
- Enable “Alarm”
Some requirements apply in order to use Alarms on Tasks. For OSX Mac version you need to have at least Sierra. If you are using iOS, please try to upgrade to iOS 10.
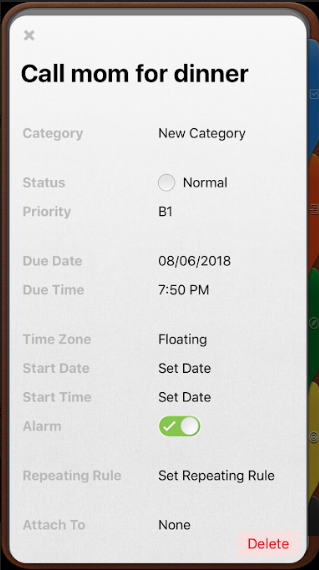
If you are on iOS:
Add notes using “Siri”:
Now you can create your daily notes using Siri commands. This feature will save you a lot of time.
Here you have some examples:
- Create a note saying [NOTE] in Opus One
Command example: Create a note saying “I Love Mexico” in Opus One.
- Create a note in task called [TASK NAME] saying [NOTE CONTENT] in [DAILY TASK OR MASTER TASKS] on Opus One.
Command example: “Create a note in task called Visit Paris saying I love Paris in Master Tasks on Opus One”.
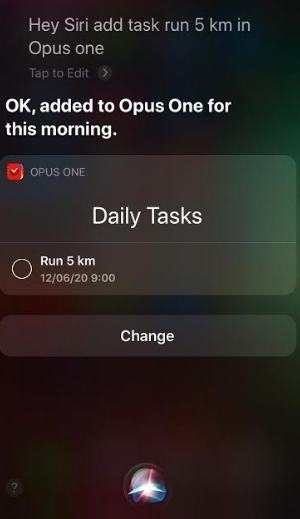
Add Daily or Master Tasks with Siri:
You can also have the ability to create new tasks, change status of your task, rename an existing task, change the time of your task or simply show all your task.
Here you have some commands example:
Create Daily Task with due date task:
- Remind me to run at 11pm in Opus One
- Add task eat healthy at 11pm in Opus One
- Add eat to Master tasks List in Opus One
- Add run to Daily tasks List in Opus One
- Add a task named Drink Water in Opus One
- Remind me to run at 11pm in Opus One
- Add task eat healthy at 11pm in Opus One
- Add task eat healthy tomorrow at 11pm in Opus One
Change status of your task:
- Mark run as completed on Opus One
Search for a specific Task:
- Show me all the tasks for today in Opus One
- Show me all the tasks for the next 5 days in Opus One
- Show me all the tasks for today between 10am and 12pm in Opus One
- Show all tasks in Opus One
Highlight Text:
For Mac: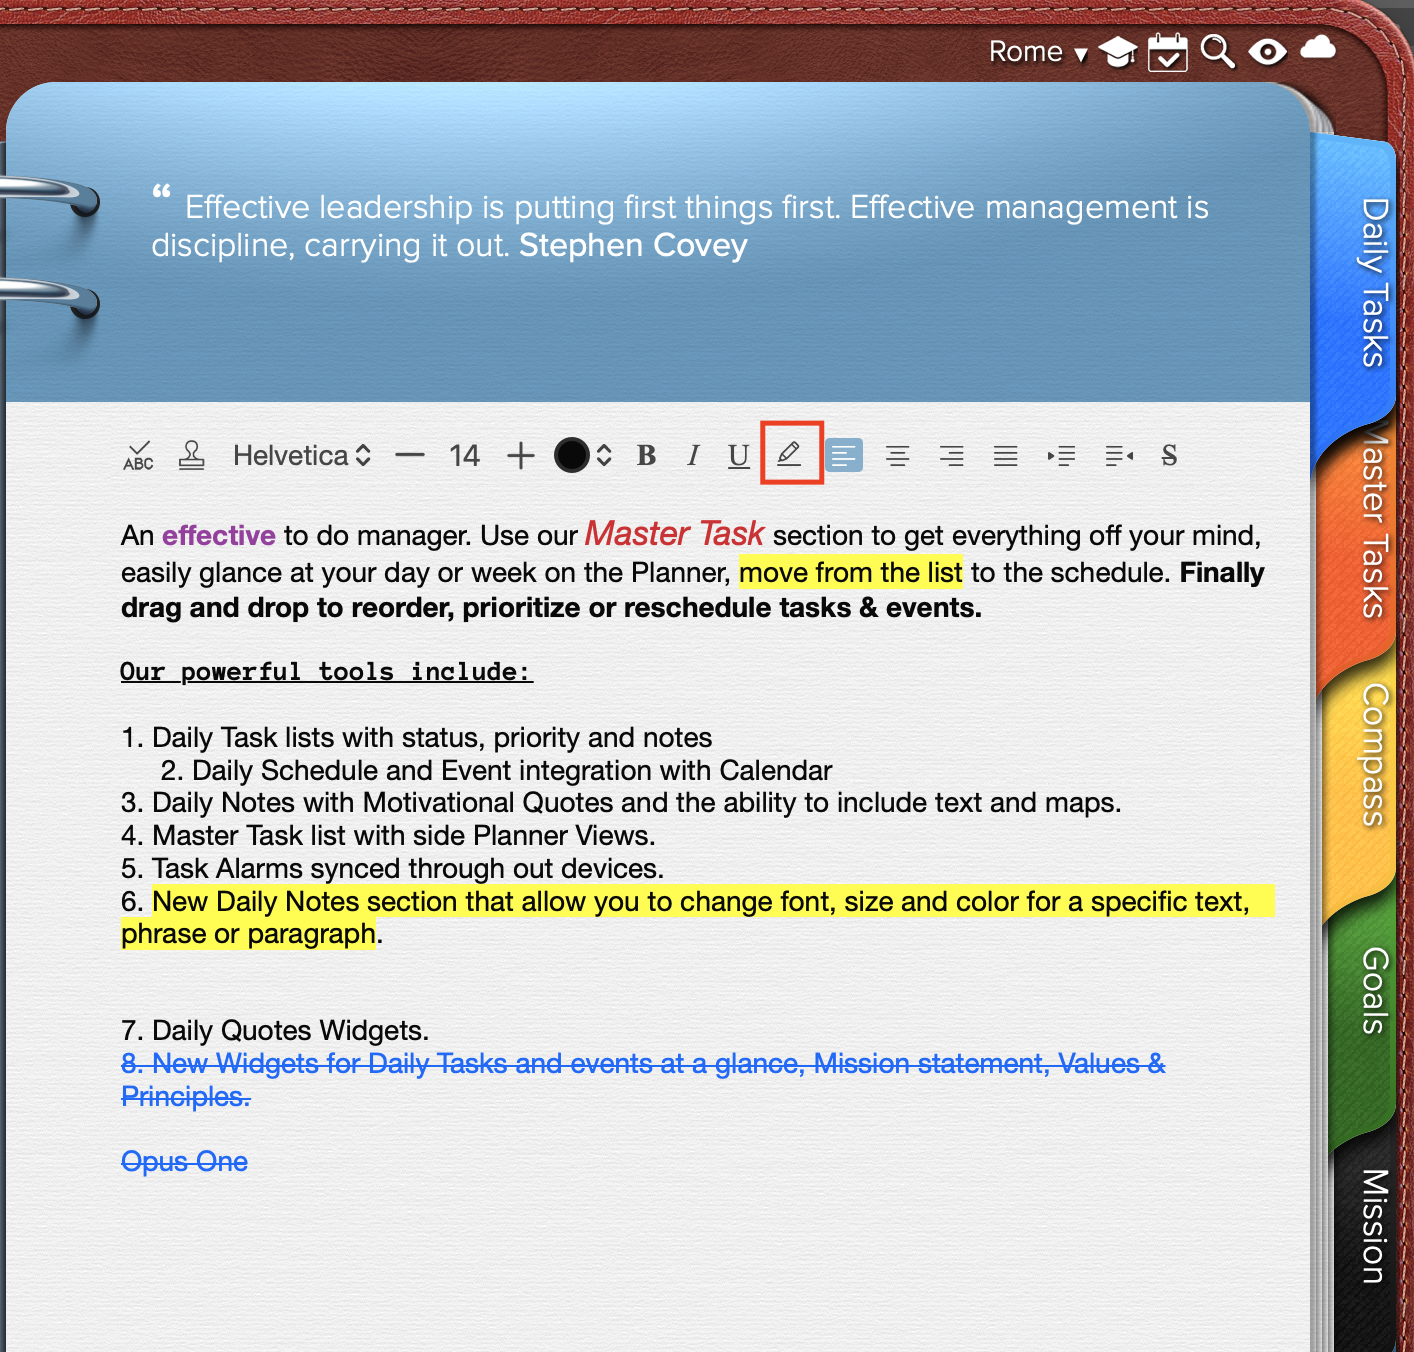
For iOS: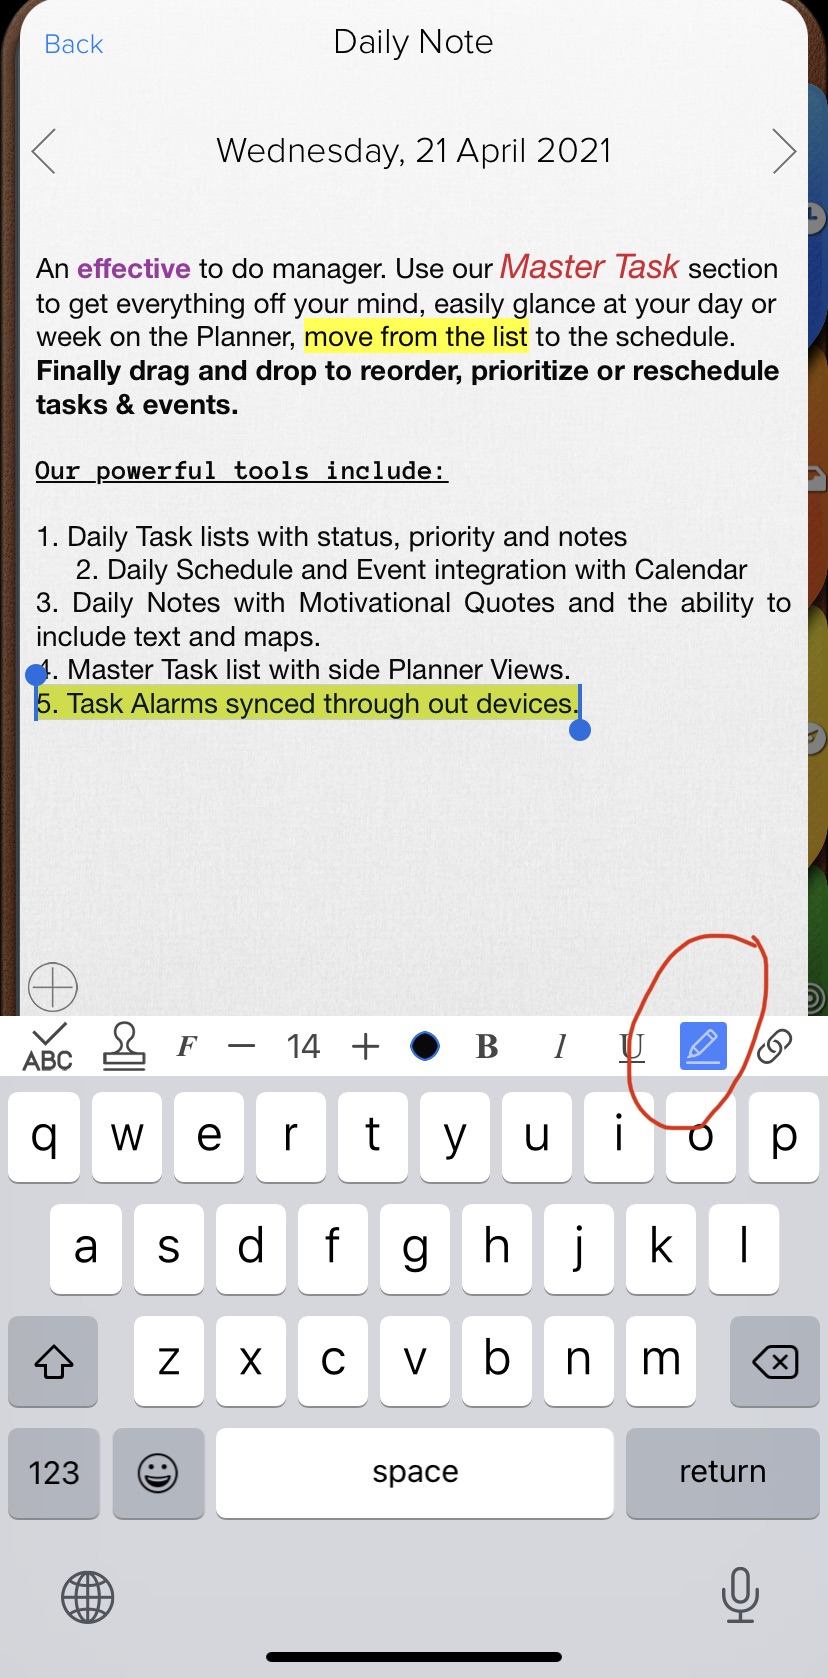
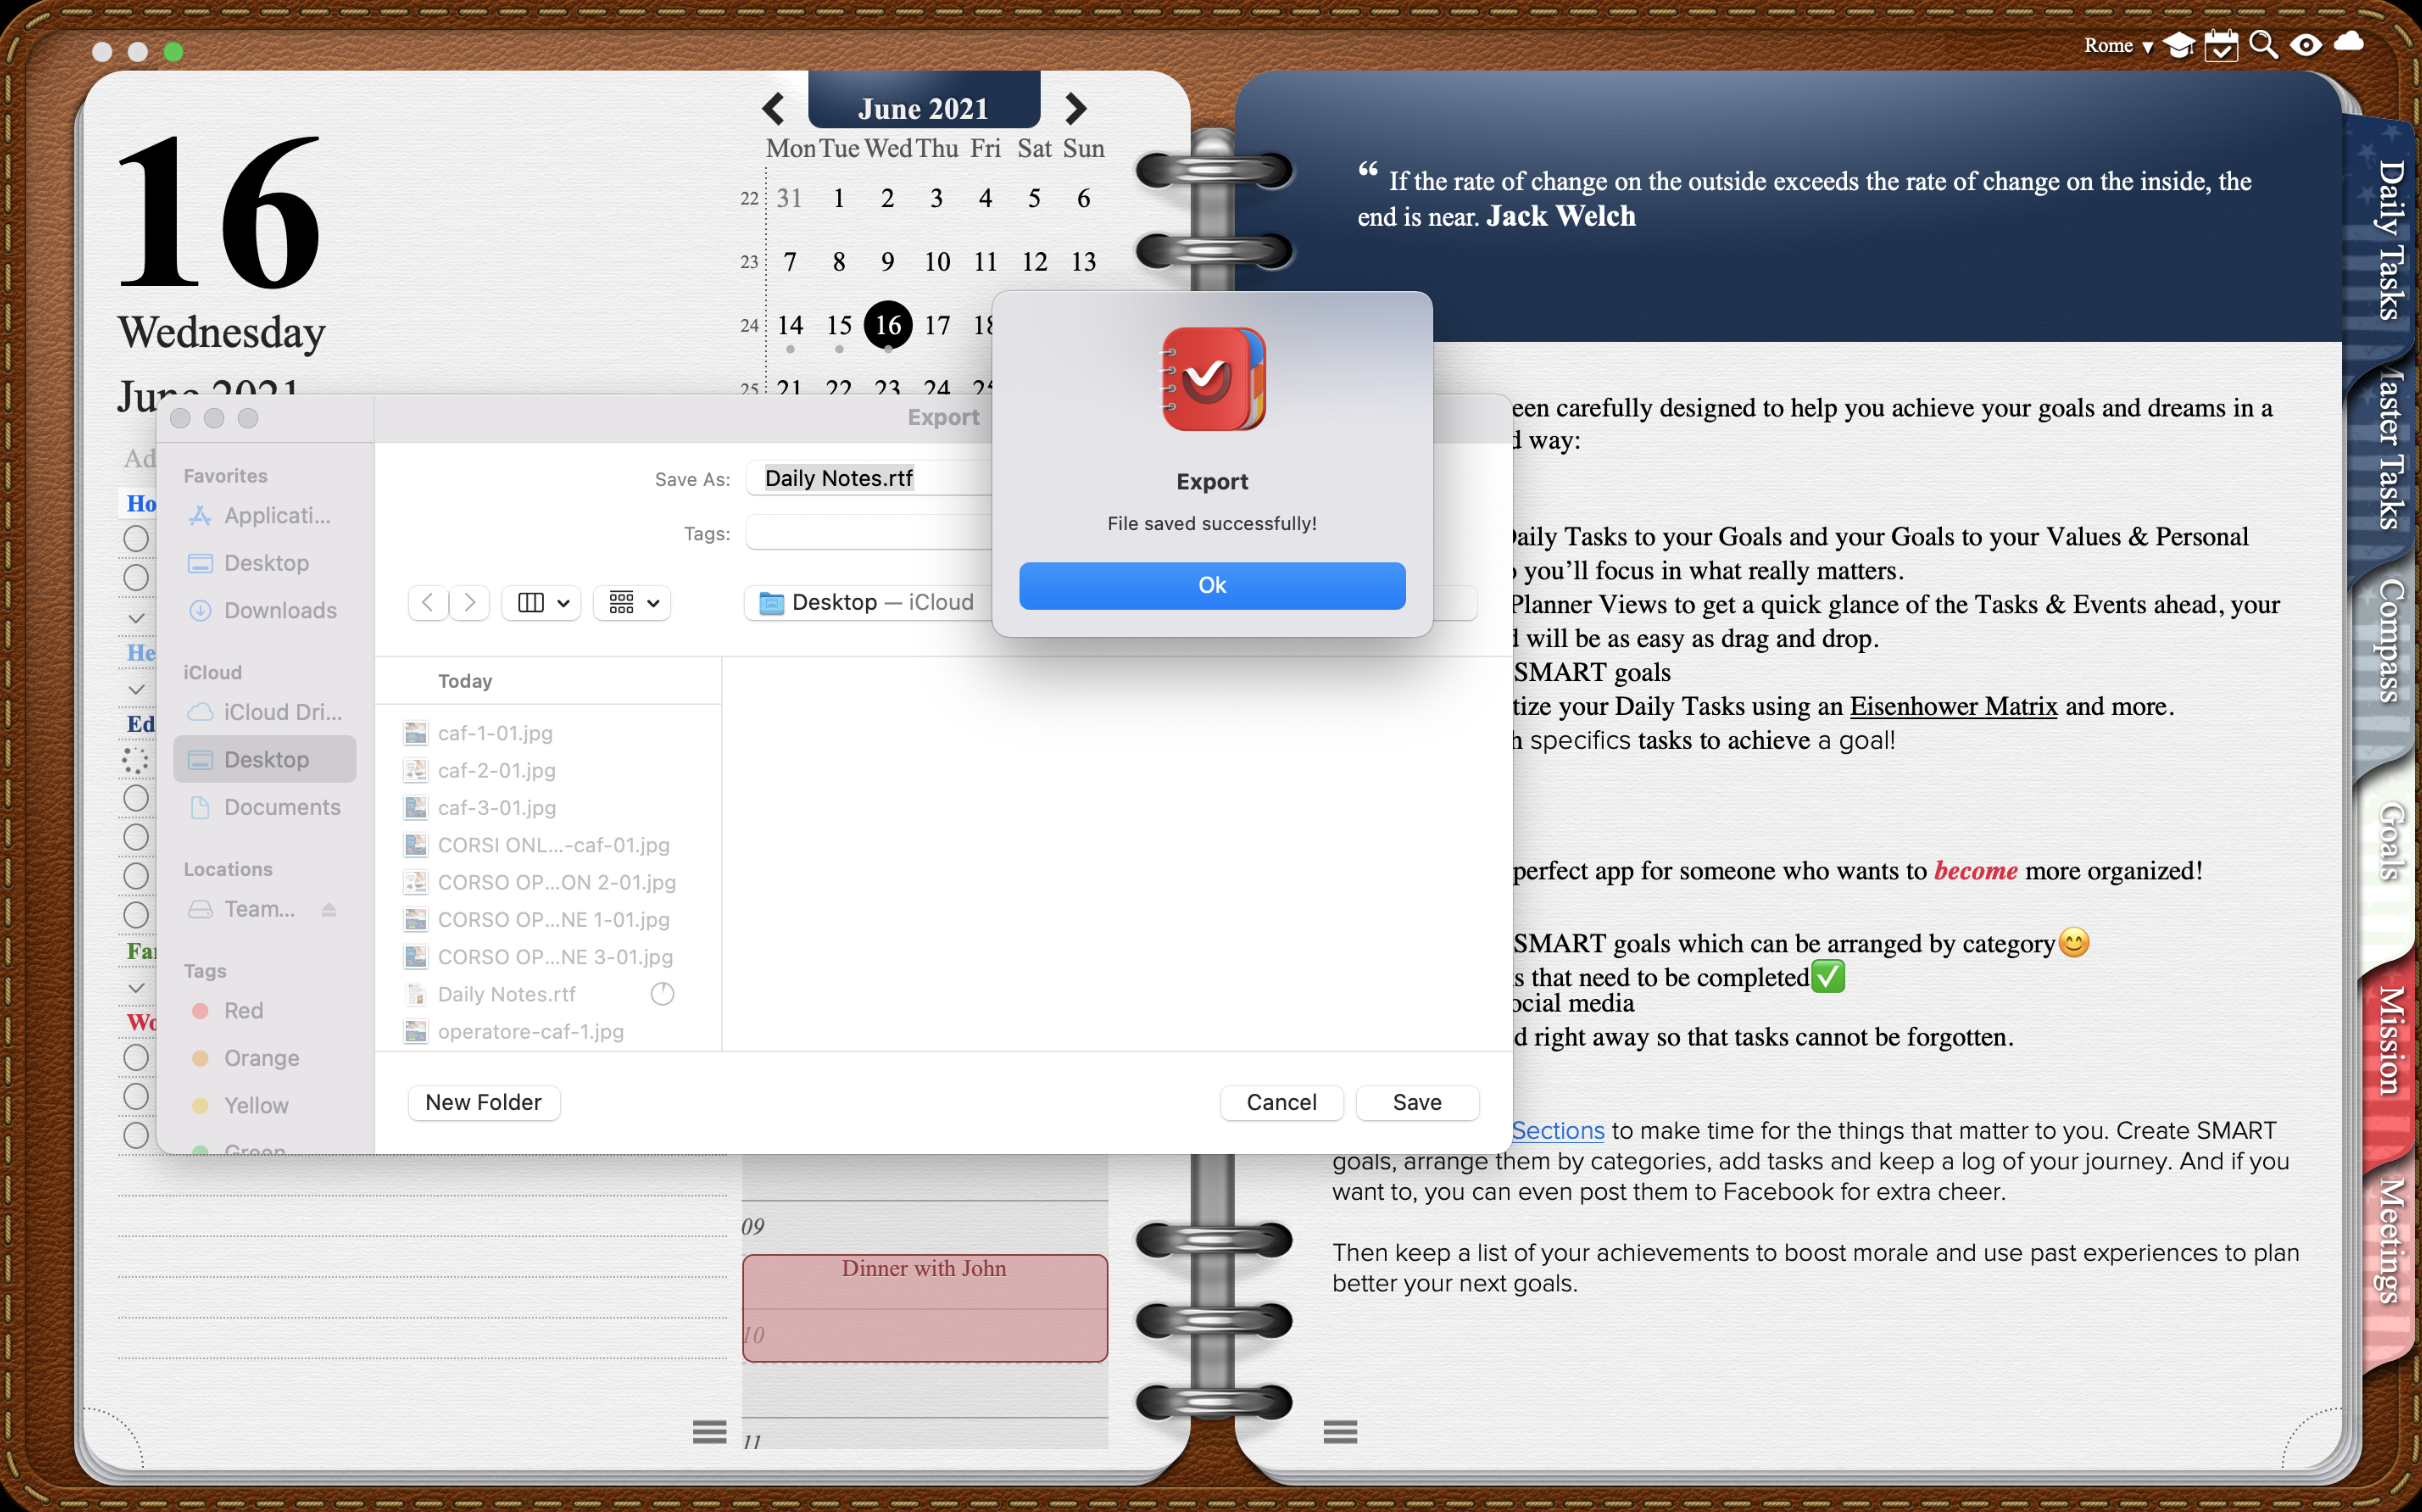
Export Notes:
Now you can export all your Daily Notes very quickly and easy. This option is available for both platforms (iOS and Mac).
You will see this new icon in the toolbar:

This new feature will allow you to export notes in rtf format. Just select the option and save the file in your directory.
Post your comment on this topic.
Ralph wrote: Dec 15, 2020
How do I get back to typing notes after using the checklist? I can type above but not below. very frustrating