
The second step in setting up the date control is to link the attribute defined in step one” (See 7.1.2.7.1) to the control.
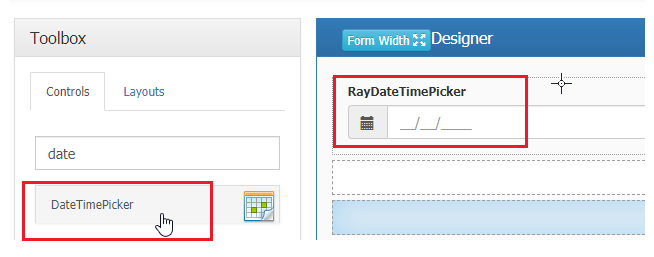
Drag and drop the control onto the design canvas
To edit the attributes, click on the “DataMember” section in the properties panel and click the button  to select the attribute.
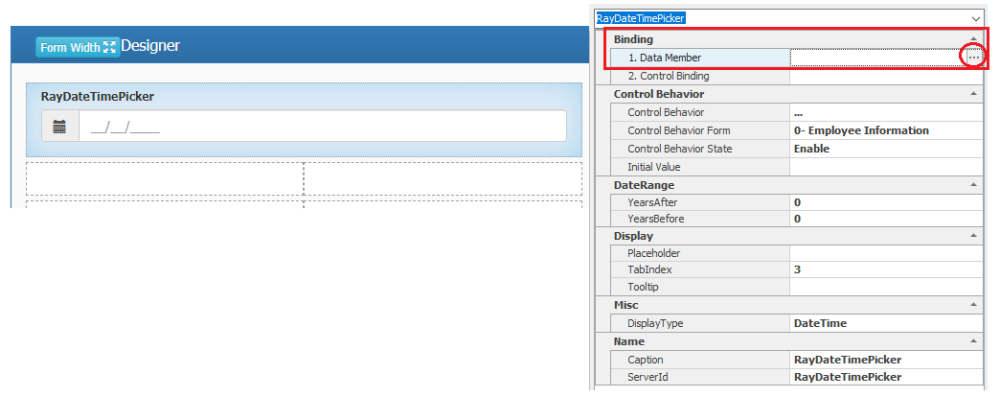
By selecting the button , the “object selector” that contains the attributes defined in the entity is displayed.
