
Starting out with a new configuration layout
After installing InspectX will begin with a blank layout ready to customize.
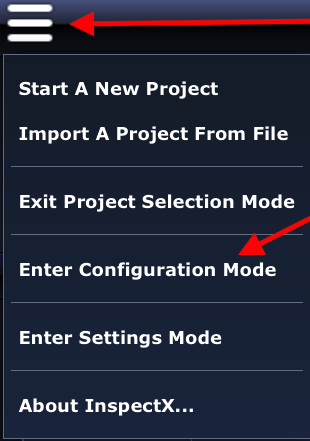
To begin, you’ll want to enter Configuration Mode and begin customizing your layout or import a pre-configured layout.
Click the menu in the top left and select Configuration Mode from the drop-down list.
Inside Configuration Mode you can Add New Categories or New Entries to create a custom layout of your choosing.
We also include a pre-loaded configuration template with a substantial amount of information available.
To import that configuration file just follow these steps:
- At the top of the Configuration Mode page select Import Configuration From File (the green import arrow).
![]()
- Press the ‘Select File’ button on the window that opens.
![]()

- Navigate to the default InspectX directory on your computer.
This is usually located in:
C:\Program Files\InspectX\Configuration Files
or
C:\Program Files (86)\InspectX\Configuration Files
*From within this folder select one of the pre-created Configuration Templates (it should be “Yacht & Small Craft Survey”).

That’s it!
Exit Configuration mode using the menu or ‘x’ at the top right.
Here’s a video covering those similar steps.
With the Configuration File installed you will notice the new categories and headings below each topic, however, the category line at the top of the page is displayed as a single row which most likely requires left/right scrolling to view all of the items.
See the next topic for adjusting the Settings Mode.