Adding your signature to a report is very easy after the first initial setup. To begin, we need to add your signature details in the SETTINGS MODE.
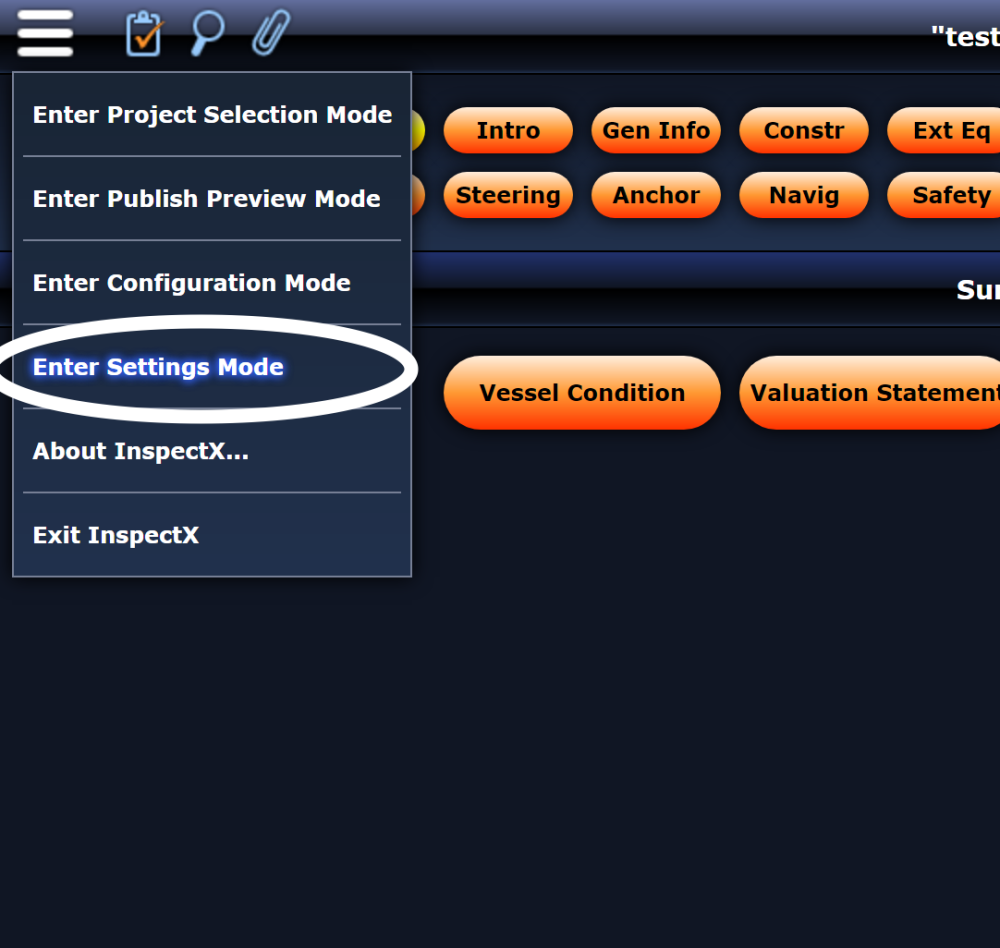
Then select INSPECTORS from the tabs along the top.

Replace the information with your own and click SAVE and EXIT when done.
Finally, we’ll need to tell the program where you want this signature to appear.
Usually this is going to appear in the SUMMARY under SURVEYOR’S CERTIFICATION, so go ahead and navigate to that heading on your screen.
You may want to begin with adding the first ‘Quick Insert Option’ so we can modify the signature section at the bottom (that section is highlighted in the image below).
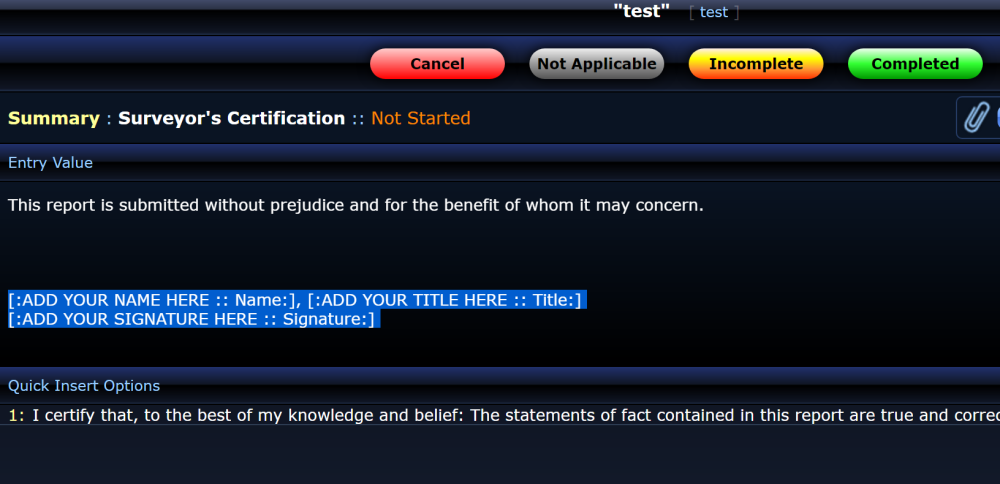
Of course you could write your name in manually, but ideally we would want this to dynamically adjust so that when we add more accolades to our title they can automatically update to all the reports.
To have this auto-fill we will use the ‘substitute variable’ key in the top right of the window.
Select the ![]() variable button and scroll to the bottom of the list for names associated with the ‘settings’ file. Choose your name, title and signature in the respective order you would prefer them to be placed.
variable button and scroll to the bottom of the list for names associated with the ‘settings’ file. Choose your name, title and signature in the respective order you would prefer them to be placed.

Your selection should look something like this:

Open PUBLISH PREVIEW MODE or publish the report to see the final result.