
Using the Import Project function, you can import a project exported from another PC into the workspace.
Import general C/C++ Project
- Click [File] > [Import] in the main menu. The Import Wizard opens.
![]()

- Click [General] > [Import Project] and then click the [Next] button.
- Click the [Browse] button to find the directory corresponding to the exported project.
- When you select a directory, the toolchain is automatically selected from the project information to be imported. If a project with the same name already exists in the workspace, you need to modify the project name.
![]()

#_Click the [Next] button.
- You can check the source path included in the project to be imported. Invalid paths are marked in red and can be modified by clicking on the path window.
![]()
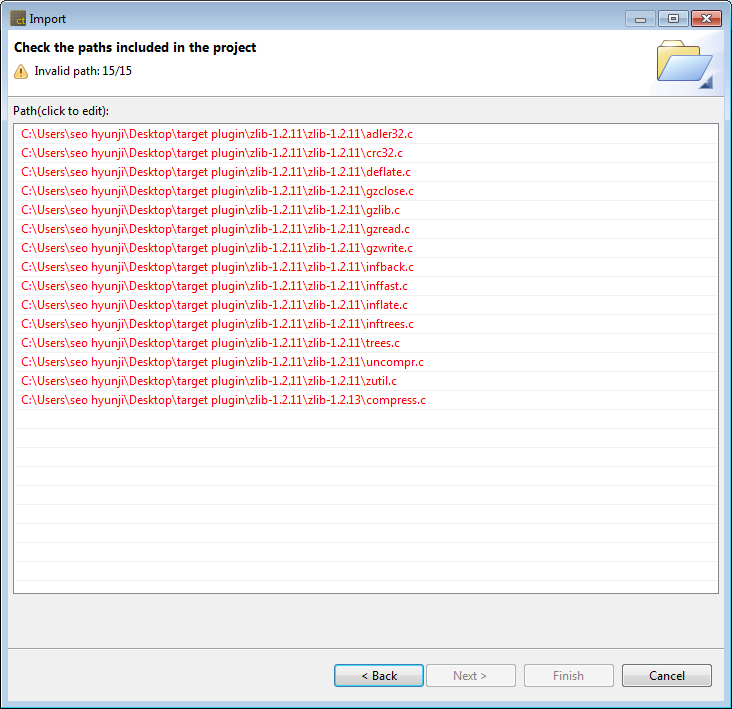
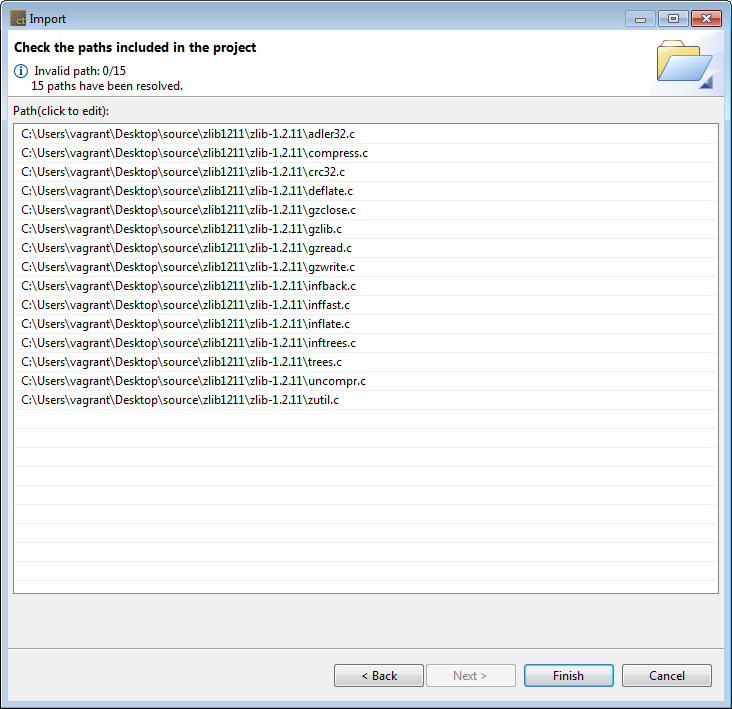
- If there is an invalid path, modifying one file path automatically modifies the associated file path. At this time, you can check the number of modified routes at the top.
![]()
p(banner tip).If is not in absolute path Windows format, the path is not checked for validity.
- Click the [Finish] button.
Import RTV projects
RTV C/C++ projects can be imported in the same way as regular C/C++ project imports.
- Click [File] -> [Import] in the main menu. In the Import Wizard, select [General] -> [Import Project] and click [Next].
- Click the [Browse] button to select the directory of the project to be imported. When you select a directory, the toolchain is automatically selected from the project information to be imported. Click the [Next] button.
- You can check the source path included in the project to be imported. Invalid paths are marked in red and can be modified by clicking on the path list.
- Click the [Finish] button.
Import target project
When importing a target C/C++ project, additional target preferences must be created.
- Click [File] -> [Import] in the main menu. In the Import Wizard, select [General] -> [Import Project] and click [Next].
- Click the [Browse] button to select the directory of the project to be imported. When you select a directory, the toolchain is automatically selected from the project information to be imported. Click the [Next] button.
- In the case of a target project, the [Target Environment setting] window appears. The target environment setting is loaded from the project information to be imported. Items with invalid paths are displayed in red.

- Complete the target environment settings and click the [Next] button.
- You can check the source path included in the project to be imported. Invalid paths are marked in red and can be modified by clicking on the path list.
- Click the [Finish] button.
Need more help with this?
Don’t hesitate to contact us here.
Copyright © 2025 Suresofttech
—
Powered by 