
Shipment Overview Page
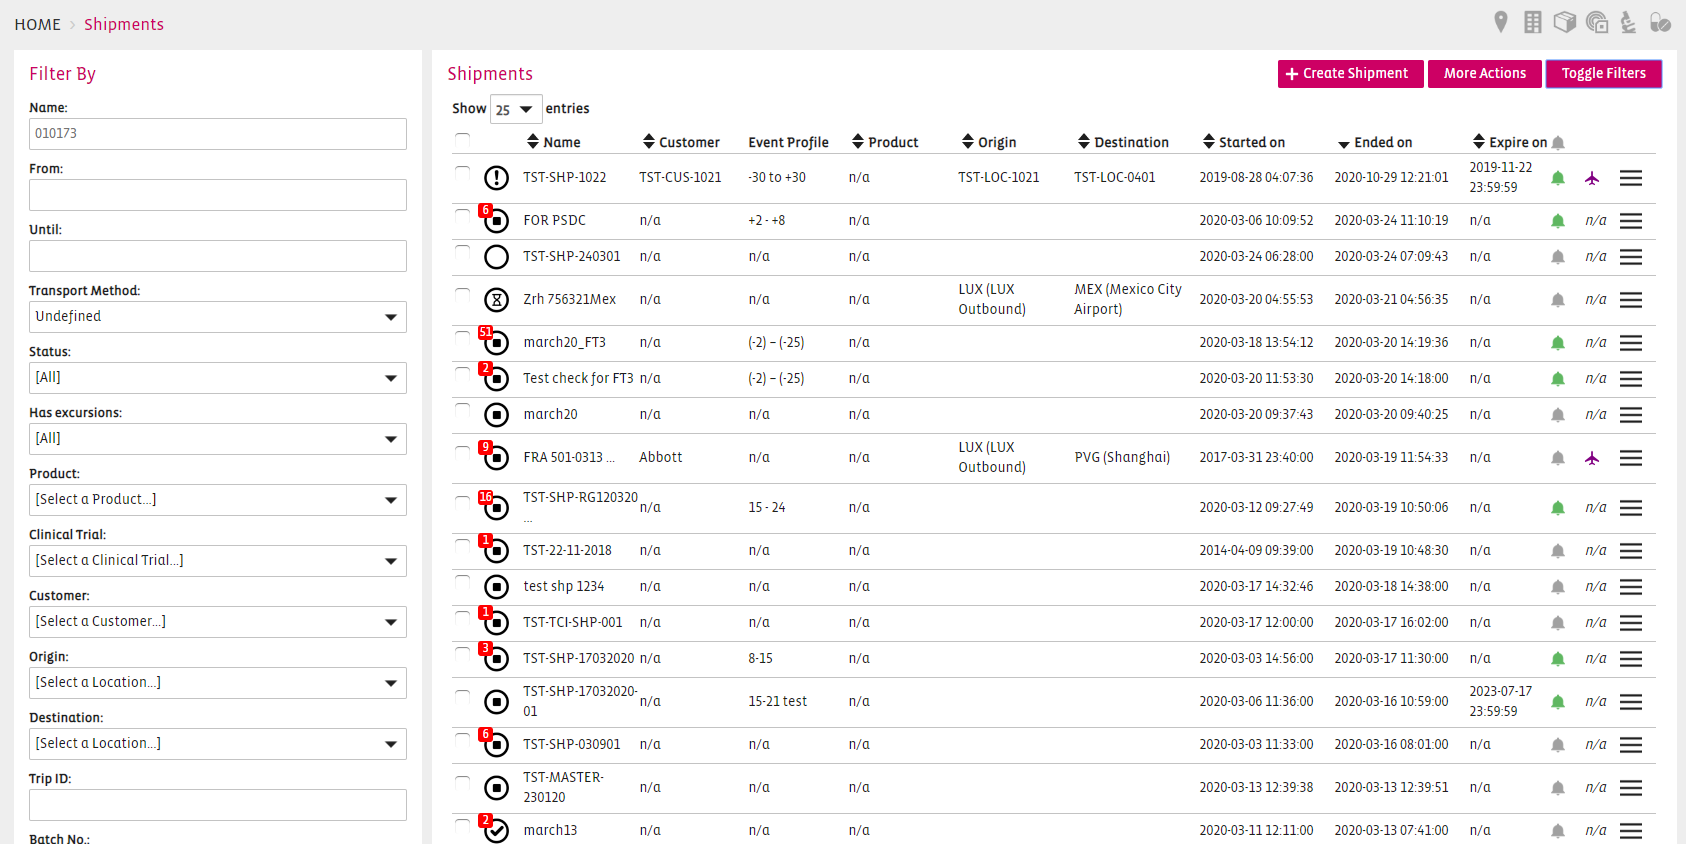
Create a Shipment
From the Shipment Overview page, click on  to add your Shipment.
This will open a pop up as illustrated below, allowing you to choose a Shipment ID for your Shipment:
Note: If you have created similar Shipments in the past, you also have the option to choose a template for your new Shipment out of the existing ones.
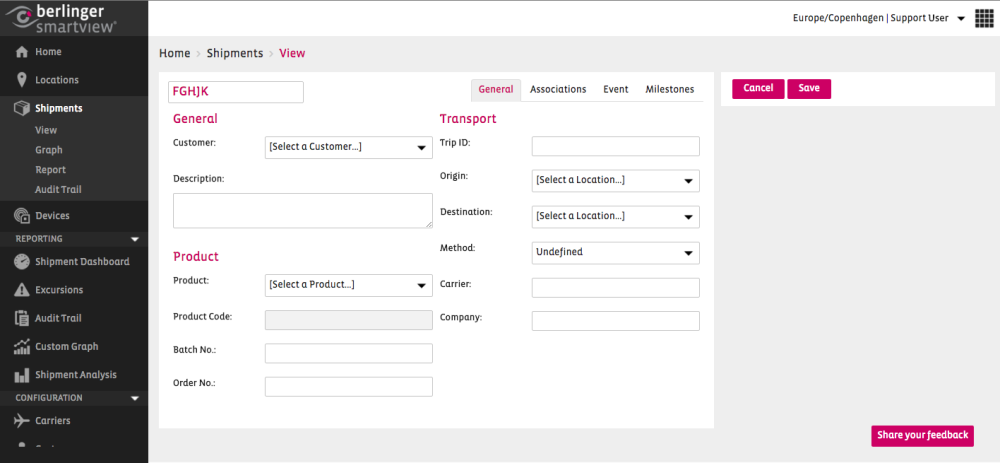
Once you have chosen the Shipment ID, click OK and you will be redirected to the screen, allowing you to choose the detailed information for your Shipment.
Note: Alternatively, you can add information at a later stage by clicking on the Modify button of a shipment.
You can add following information to the shipment:
General settings about the shipment: In this section you can edit the Name (i.e. Unique Shipment Identifier) of the Shipment and optionally can add a descriptive note to the Shipment. You can also define the Customer of the Shipment by selecting one from a drop-down list. .
Transportation information of the shipment: In this section you can define origin, destination, trip ID, transport Method, transportation Company and Carrier of the shipment. Origin, destination and transport Method need to be selected from their drop-down lists. If Method is selected as Air then Carrier field will show a drop-down list with Air Carrier subset list that is already defined in the system. For other transport Method (e.g. Road) Carrier field will become a free-text field and will allow you to type the name of the carrier.
Product information for the shipment: In this section you can choose the predefined product for the shipment. If a Product Code is defined for the product, then selecting the product, will populate the Product Code filled in the screen. Optionally you can define related Batch Number and Order number.
Note: Before you start creating a Shipment and defining its detailed information, make sure you have already defined and/ or configured the following information
- Customer
- Location (to be defined as Origin / Destination)
- Product
- Air Carrier subset list
- Also note that you may not be able to delete an item (e.g. customer or product) if it has once used with a Shipment.
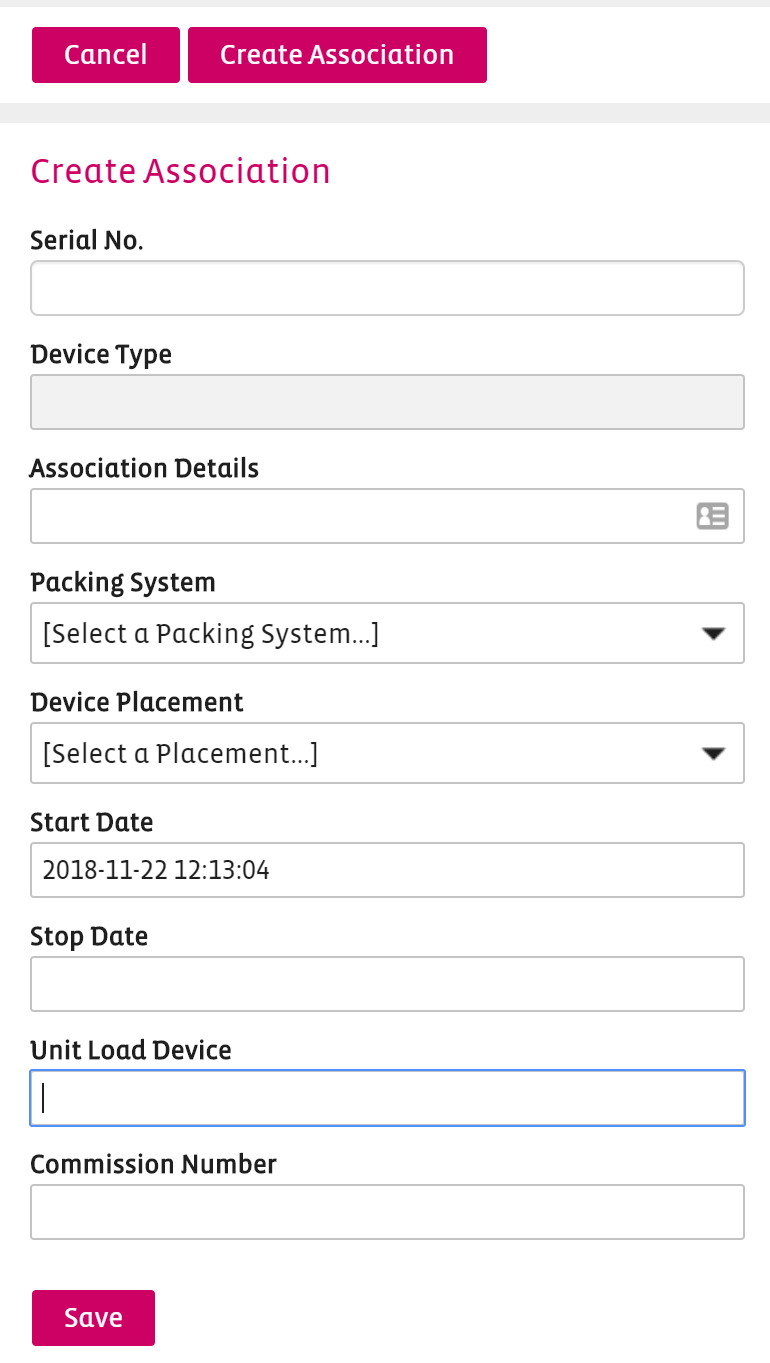
After defining the General Information for your Shipment, you need to associate the necessary devices to the Shipment:
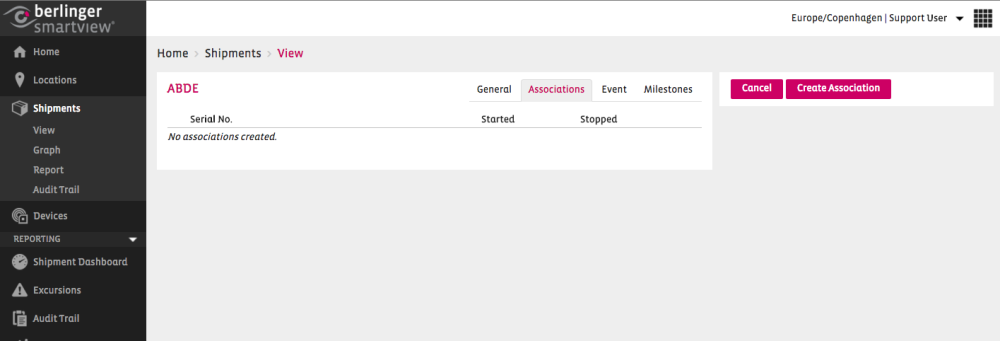
Click in the Serial No. field to choose your Device for the Sector.

Select or modify the Start Date and click on 
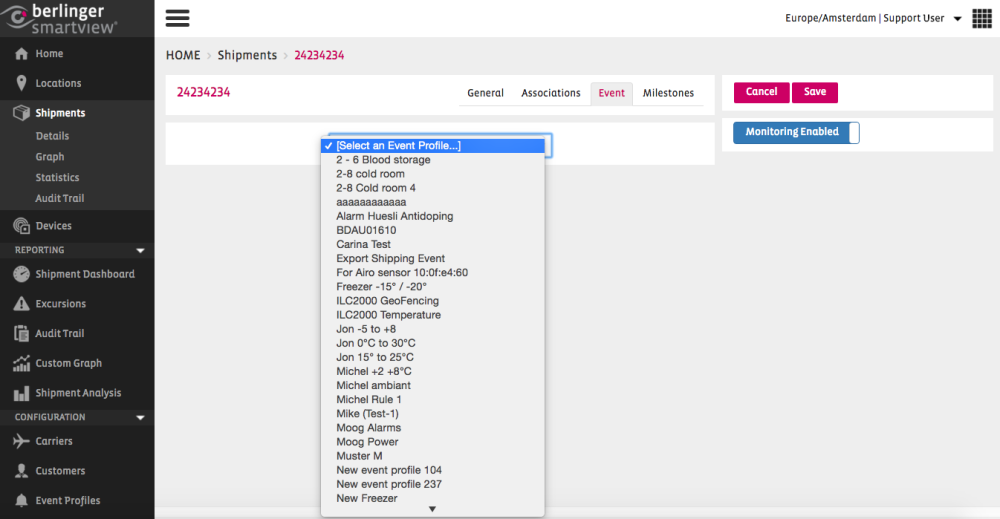
After associating the devices, you need to enable the Event monitoring for the Shipment by choosing an existing Event Profile. This will enable SmartView to apply the appropriate rules, and notify you in case of an excursion event. You can access the Event page by clicking on the Event tab:
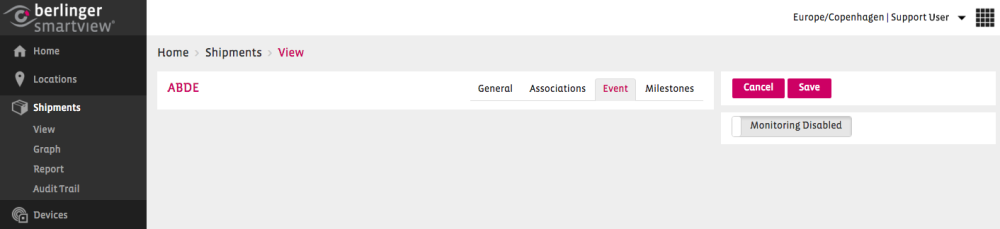
Click on the Monitoring button, to enable the Event Monitoring:
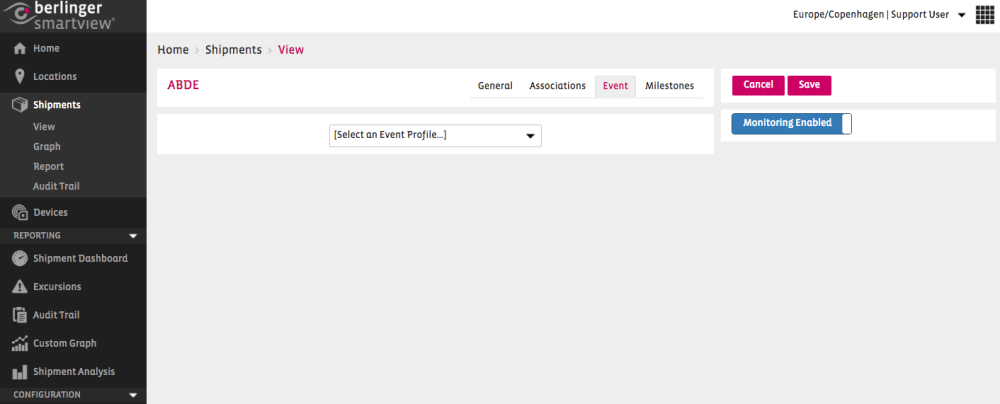
Once this has been enabled, you can choose the appropriate Event Profile from the drop down list:
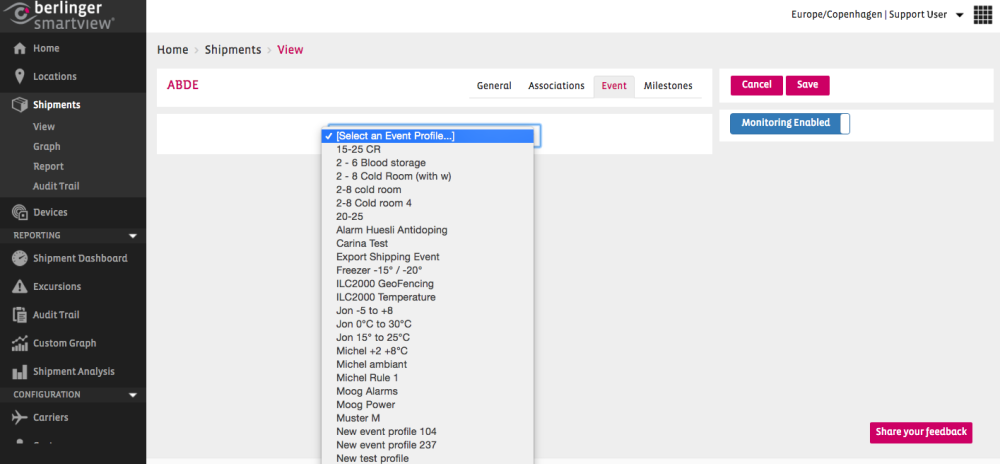
Note: If you cannot find the necessary Event Profile in the list, you can define a new Event Profile by following the steps in chapter Event Profiles.
By selecting the Event Profile in the drop down list, the Event Profile will be applied to your Shipment. Click on Save to save your changes.

Add a Device Association to a Shipment
After creating a Shipment, you need to associate one/more devices to it.
You can also add devices to an existing Shipment which has not been started yet.
Unit Load Device
You can add one or multiple unit load device ids to the device association.
Commisson Number
You can add one or more commisson numbers to the device association.
Modify a Shipment
The Modify Shipment screen can be accessed in two ways:
- From the Options button
![]() in the Shipment Overview page, choose Modify Shipment.
in the Shipment Overview page, choose Modify Shipment.
 in the Shipment Overview page, choose Modify Shipment.
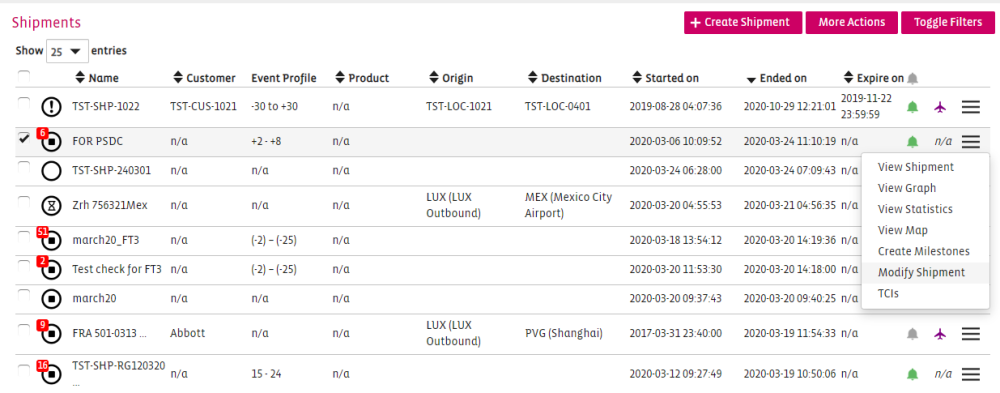
- By clicking on a Shipment in the Shipment Overview page, you will be redirected to the View Shipment page.
Click on Modify button to add an Association.

Add an Event Profile to a Shipment
To add an Event Profile to the Shipment, click on the “Event” tab in the Modify screen of the Shipment:
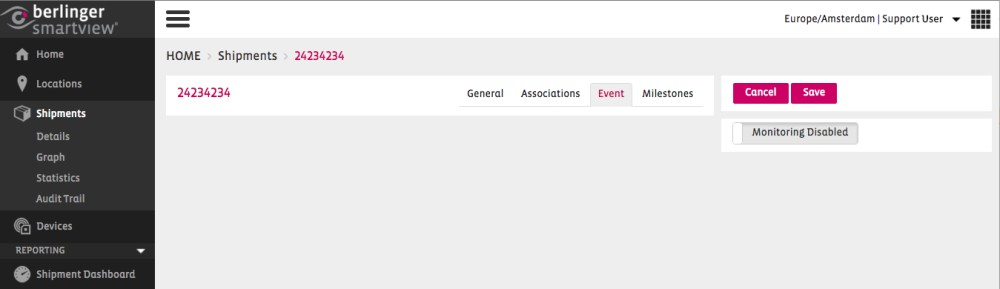
Click on the Monitoring button, to enable the Event Monitoring:
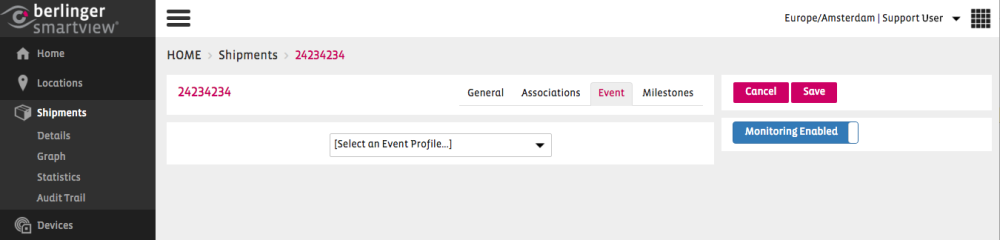
From the dropdown list, select the Event Profile which you have created.
Click on to save your Event Profile to this Shipment.
Add a Milestone to a Shipment
SmartView allows a user to document a useful information related to a specific shipment by allowing the user to add a milestone to the shipment.
For example, to document the arrival of a shipment to a location, a user can add a milestone “Shipment arrived at location X” with the time stamp of the arrival.
To create a milestone go to the Shipment and click on the  button. Under this tab you can see all the milestones related to this shipment that have already been defined or add new Milestones if necessary.
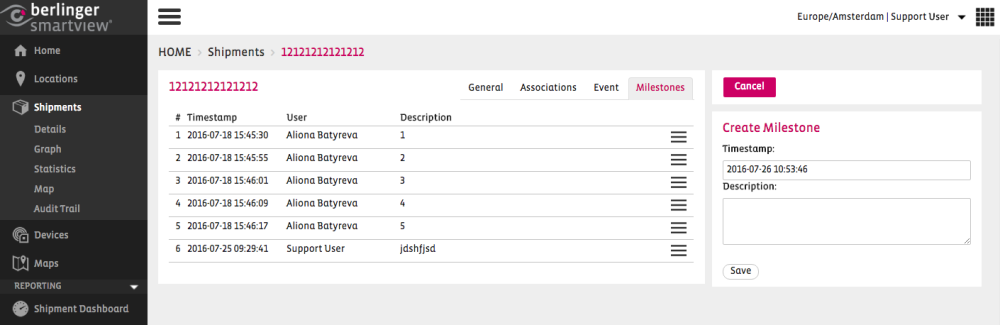
- Select the date and time of the milestone in the Date field
- Provide a short description for the milestone and click the
![]() button.
button.
You can visualise your milestones both on the Shipment Graph and on the Shipment PDF report.
Delete a Shipment
You cannot delete a shipment!