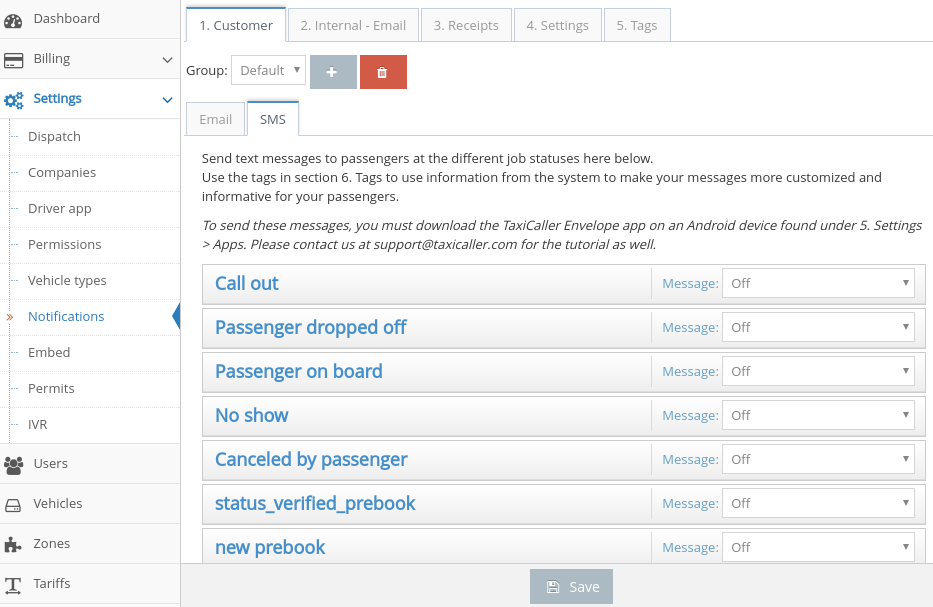
You can find this feature by going to Settings > Notifications in the Admin Panel.
Send emails and SMS to your passengers
You can send automatic emails and SMS to your passengers at several different stages of a ride. For example at the moment when a vehicle has been prebooked.
| Call out | When a vehicle has been assigned, the driver has accepted the job (Status Callout in the Driver app) and is on their way to pick up a passenger. |
| Passenger dropped off | When the passenger has been dropped off at the end of the ride (The driver presses the button Delivered. |
| Passenger on board | When the passenger gets into the vehicle and the driver presses the POB button |
| No show | When the driver cancels a job and selects No show as a reason (after a passenger fails to show up at the point of pick up) |
| Canceled by passenger | When a passenger cancels the ride. |
| Verified Prebook | When a prebook is verified and assigned by a dispatcher (if they have enabled Verify direct bookings) |
| New Prebook | When a prebook is made. |
| Waiting for Passenger | When the driver has reached the pick up location and the driver app is in the Wait state. |
| Cancel | When the job is cancelled by a driver or dispatcher for any other reason. |
To set up these messages:
- Under 1. Customer Select either the Email or SMS tab
- In the drop down menu to change Message: Off to Message: On for the type of message you wish to send.
- A message box will open where you can write the message you want to send to your passengers.
Send all texts directly from each driver’s device.
You can have either all texts sent from one device or the texts sent from the drivers device, or even both. To make all texts messages only send from the driver’s device (the one assigned to the job), do the following.
- Edit the driver’s user profile and specify that they cover both the role “Driver” and “Messenger”
- As long as their Android device supports sending text messages the system will handle the rest.
Send all texts from only one dedicated device.
- Create one user that has the Messenger role and no other roles.
- Leave this user signed in to the Envelope app
- Ensure there are no drivers that have the Messenger role as well as the Driver role.
Using tags and HTML
To personalize your message with the passenger’s name and specific time and place of their pick up, you can use Tags.
You can find these tags in the 5.Tags tab. This way, if your passenger’s name is Peter Smith, the email they receive would read:
You can even use HTML formatting if you wish to add line breaks. For example, by writing
at the end of each line, you would get:
Using Notification Groups (NEW!)
You may wish to send a specific type of message to only certain customers. If your company has VIP customers, for example, you can send custom emails and text messsages with special offers or greetings just for them. To do this:
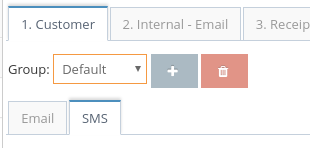
- Click on the + button next to Group: to create a new group.
- You will get a pop up where you can write the group name, for example Hotel Staff then click on OK.
- Select the group you just created (instead of Default).
The messages you write under this group will only apply for this group. After this, go to the Customers section and assign the group to your customer account.


