Once users have set the installation details in the Admin Console Configuration form, they should select the Next button. It will direct them to the Web Application Configuration form.
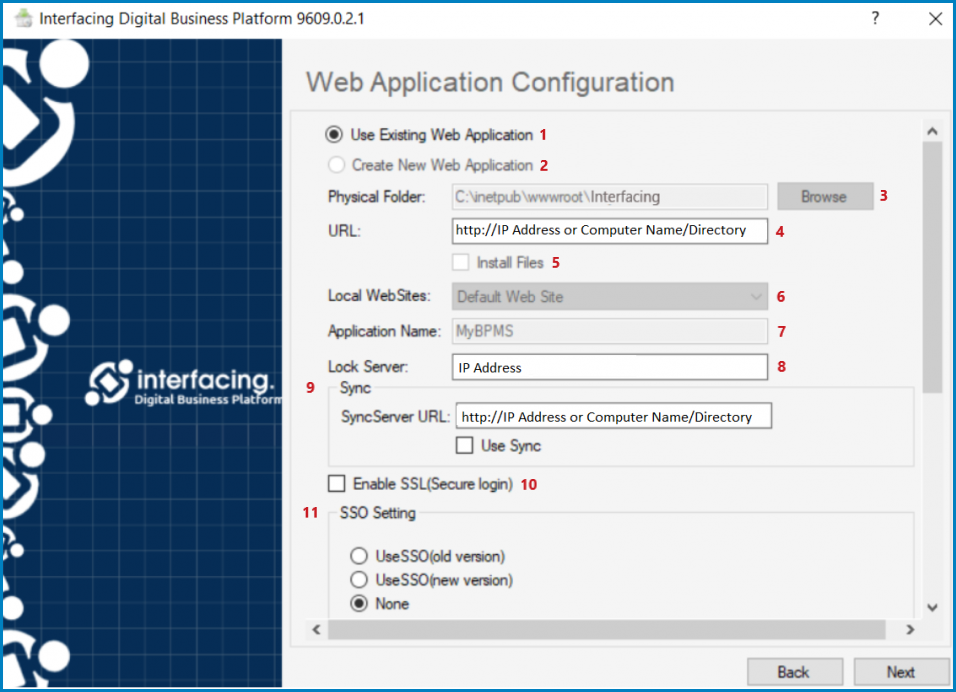
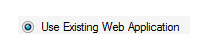
- Use Existing Web Application: This option allows users to perform the installation on an existing web application in the system.
![]()
- If this option is selected, certain fields in this form will be disabled, as they will contain previously defined information. Where applicable, however, users will be able to either make modifications to the displayed information or input new information.
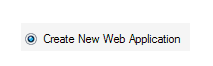
- Create New Web Application: This option allows users to create a new web application.
![]()
- If this option is selected and the corresponding web application profile is then defined, the web application will be created under the specified name. All fields will be enabled, allowing users to define new information.
- Physical Folder: This field allows users to select the physical path/folder of the web application.
- To select or change the folder, select the Browse button.
![]()
- To select or change the folder, select the Browse button.
- URL: This is a text field that allows users to input the URL of the web application.
![]()
- Once the application has been installed, users can change this path by going to the Settings of the Admin Console.
![]()
- Once the application has been installed, users can change this path by going to the Settings of the Admin Console.
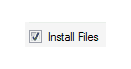
- Install Files: This is a checkbox which, if selected, allows users to install the files and place them into the IIS physical path/folder.
![]()
- Local Websites: This is a single-select dropdown field that displays the list of local websites. It allows users to select the website that will host the application.
![]()
- Application Name: This is a text field that allows users to input the name of the web application.
![]()
- Lock Server: This is a text field allows users to input the name/IP address of the server where the hardware locks are located.
![]()
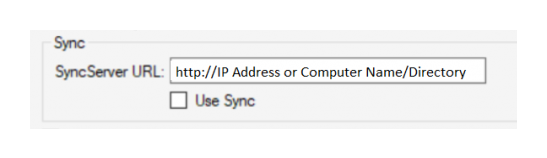
- Sync: Here, users can set up and enable the sync server. A sync server allows users to store and synchronize data across platforms.
![]()
- Sync Server URL: This is a text field that allows users to input the URL of the sync server.
- Use Sync: This is a checkbox which, if selected, allows users to use the sync server.
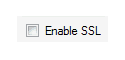
- Enable SSL: This is a checkbox which, if selected, allows users to enable SSL. (SSL stands for Secure Sockets Layer. It allows for a secure and encrypted connection.)
![]()
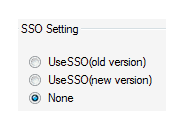
- SSO Setting: Here, users can configure the SSO setting. An SSO is a called service that provides a secure connection across the BPMS system (ARPG & E-Office plugins).
![]()
- Use SSO (Old Version): This option allows users to connect to the old SSO version.
- Use SSO (New Version): This option allows users to connect to the new SSO version.
- None: This option allows users to not connect to any version of SSO.
- Server and Port: These are text fields wherein the name/IP address of the mail server and its port number, respectively, can be inputted.
![]()
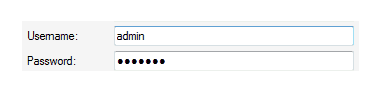
- Username and Password: These are text fields wherein the username and password of the administrator can be inputted.
![]()
- Default Email: This is a text field that allows users to input the default email.
![]()
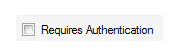
- Requires Authentication: This is a checkbox which, if selected, allows users to mark out authentication as a requirement.
![]()
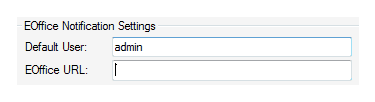
- E-Office Notification Settings: Here, users can configure the E-Office notification settings.
![]()
- Default User: This is a text field that allows you to input the default user.
- E-Office URL: This is a text field that allows you to input the E-Office URL.