
The PriApps MFP application is hosted under the Microsoft IIS. Once installed and configured the web application provides both the DEVELOP ineo MFP screens and a SOAP service that facilitates all communication between the PriApps Application Server and the DEVELOP ineo MFP.
Installing Microsoft IIS
Microsoft IIS is a Windows feature that is not installed by default. The screens for installing IIS may differ depending on the version of the host operating system. The application requires IIS version 6 or above.
Installing the IIS Component Service
Under Administrative Tools, select Programs and Features and click Turn Windows features on or off as shown below.

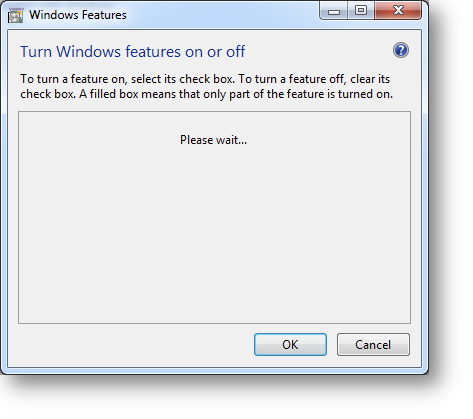
A dialog will then be displayed as Windows builds a list of installed programs and services.
Setting the IIS Components
Once this process has completed a list of installed component services will be displayed. Find the entry for IIS and select the components as shown below.
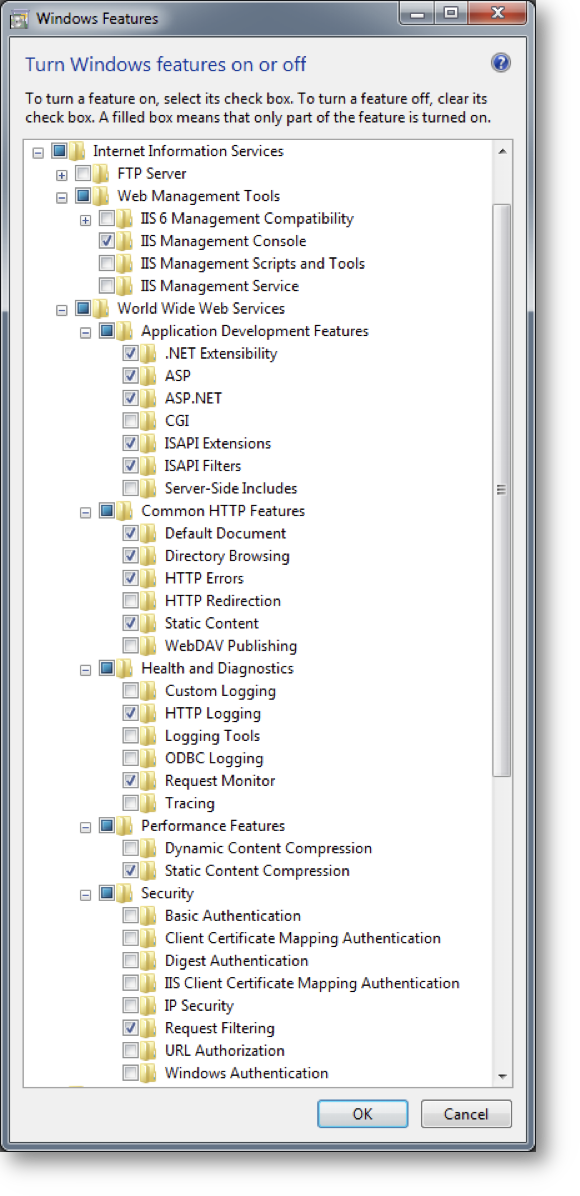
If IIS is already installed, confirm all the above settings and click OK.
Starting the IIS Application
The IIS application can now be launched from the Windows menu.
A default installation of IIS will create a website called Default Website as shown below.

Checking the .Net runtime mappings
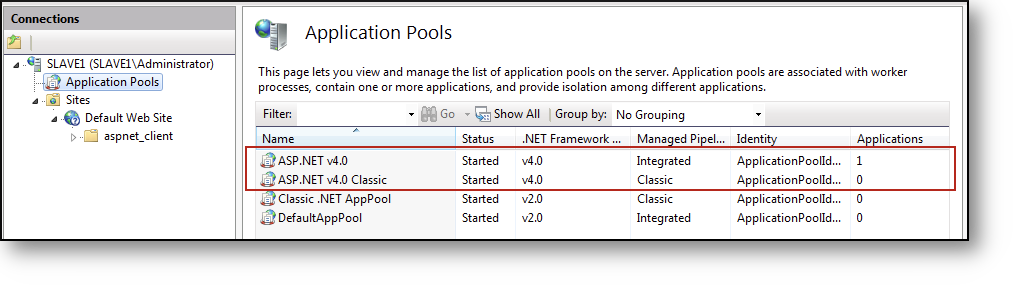
Depending on the order of various installed components IIS, the .Net framework versions etc, the ASP NET v4.0 may not be installed, registered and targeting the correct version. This can easily be checked by selecting the Application Pools item as shown below.
If the Application Pools for ASP NET v4.0 are not shown they will need to be registered as follows.
Registering the ASP NET v4.0 Runtime
Depending on the IIS installation x86(32 bit) or x64(64 bit), select one of the following paths under Windows Explorer.
x86 Path

X64 Path

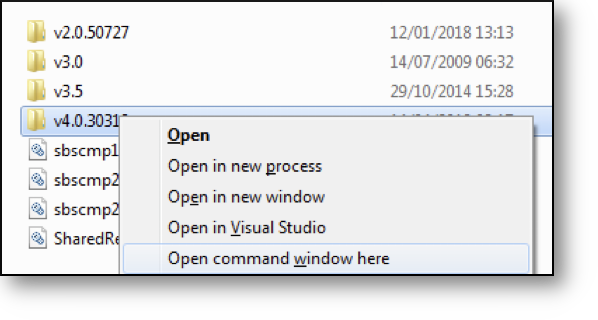
Once the folder v4.0.30319 is highlighted, hold the Shift key and right click to display the context menu shown below. Holding Shift will ensure the Open command window here option is available.
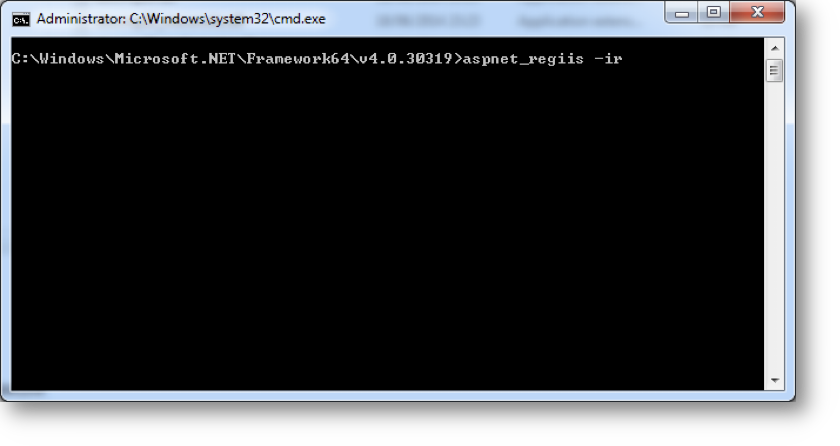
The following window will be displayed and at the correct folder location. Key the following command and press Enter:
aspnet_regiis –ir
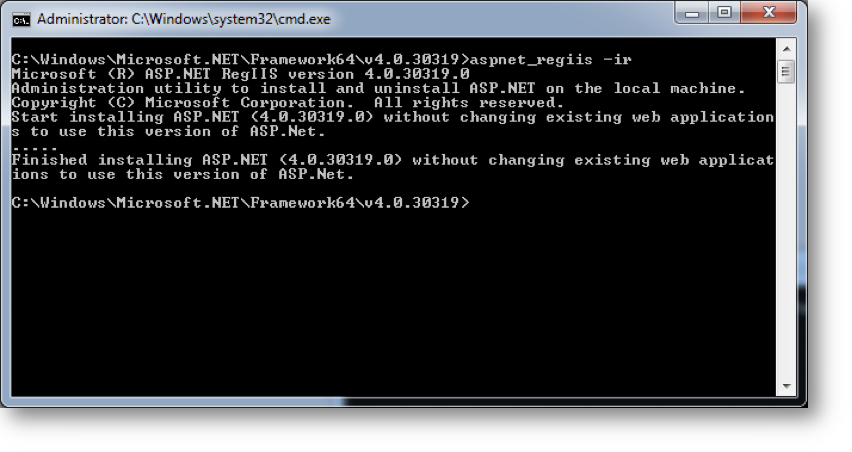
Once the installation has completed, exit the command window.
Installing the Web Application
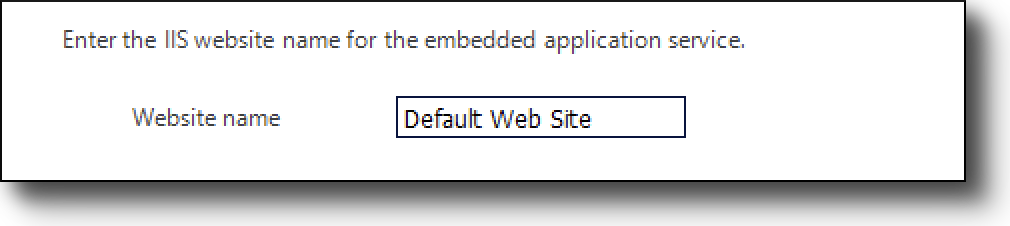
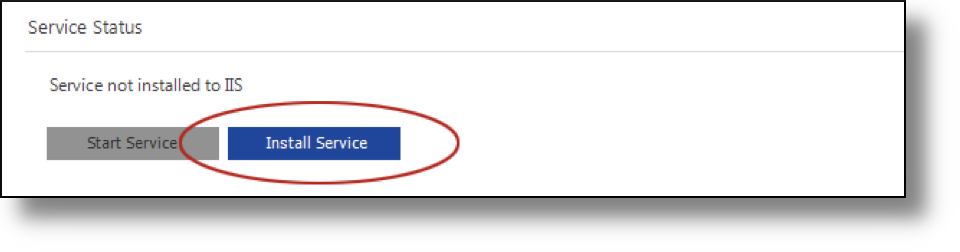
Once IIS has been installed and the application pools for ASP NET v4.0 are present, the web application can be installed from the Configuration Application. Ensure the Website name is correct on the Communication -> OpenAPI Server settings.
The default value is Default Website. Change this if you want to install the application to a different website.
Install the service by clicking the Install Service button shown below.
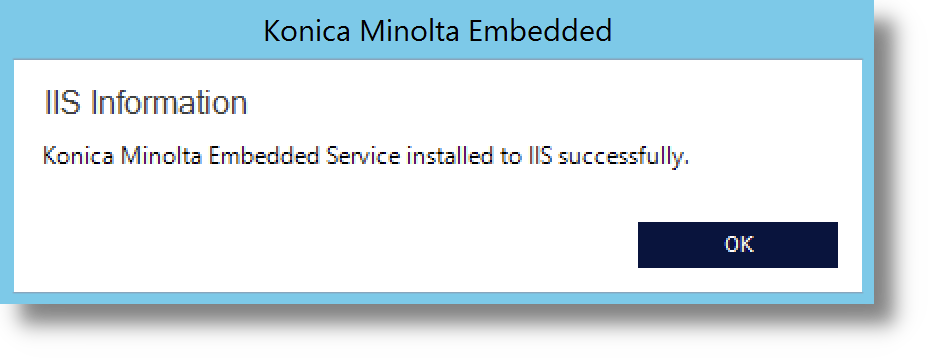
The following dialog will be displayed once the service has been successfully installed.
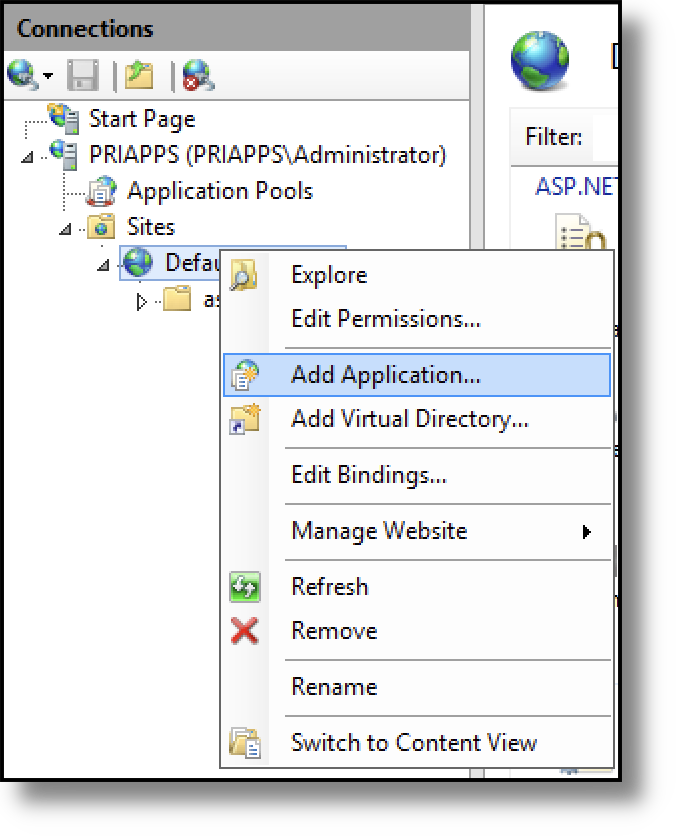
Installing the Web Application Manually
The web application can also be installed manually if this is preferred. To install the application manually, open IIS and highlight the website you want to install the application to. Right click and select Add Application from the context menu.
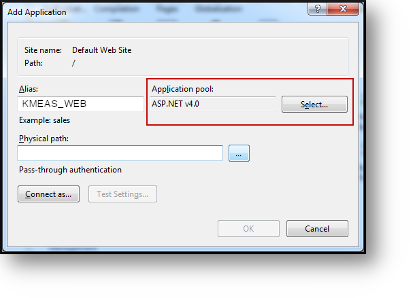
The following dialog will be displayed. Enter the Alias KMEAS_WEB and ensure the ASP NET v4.0 application pool is selected as shown below.
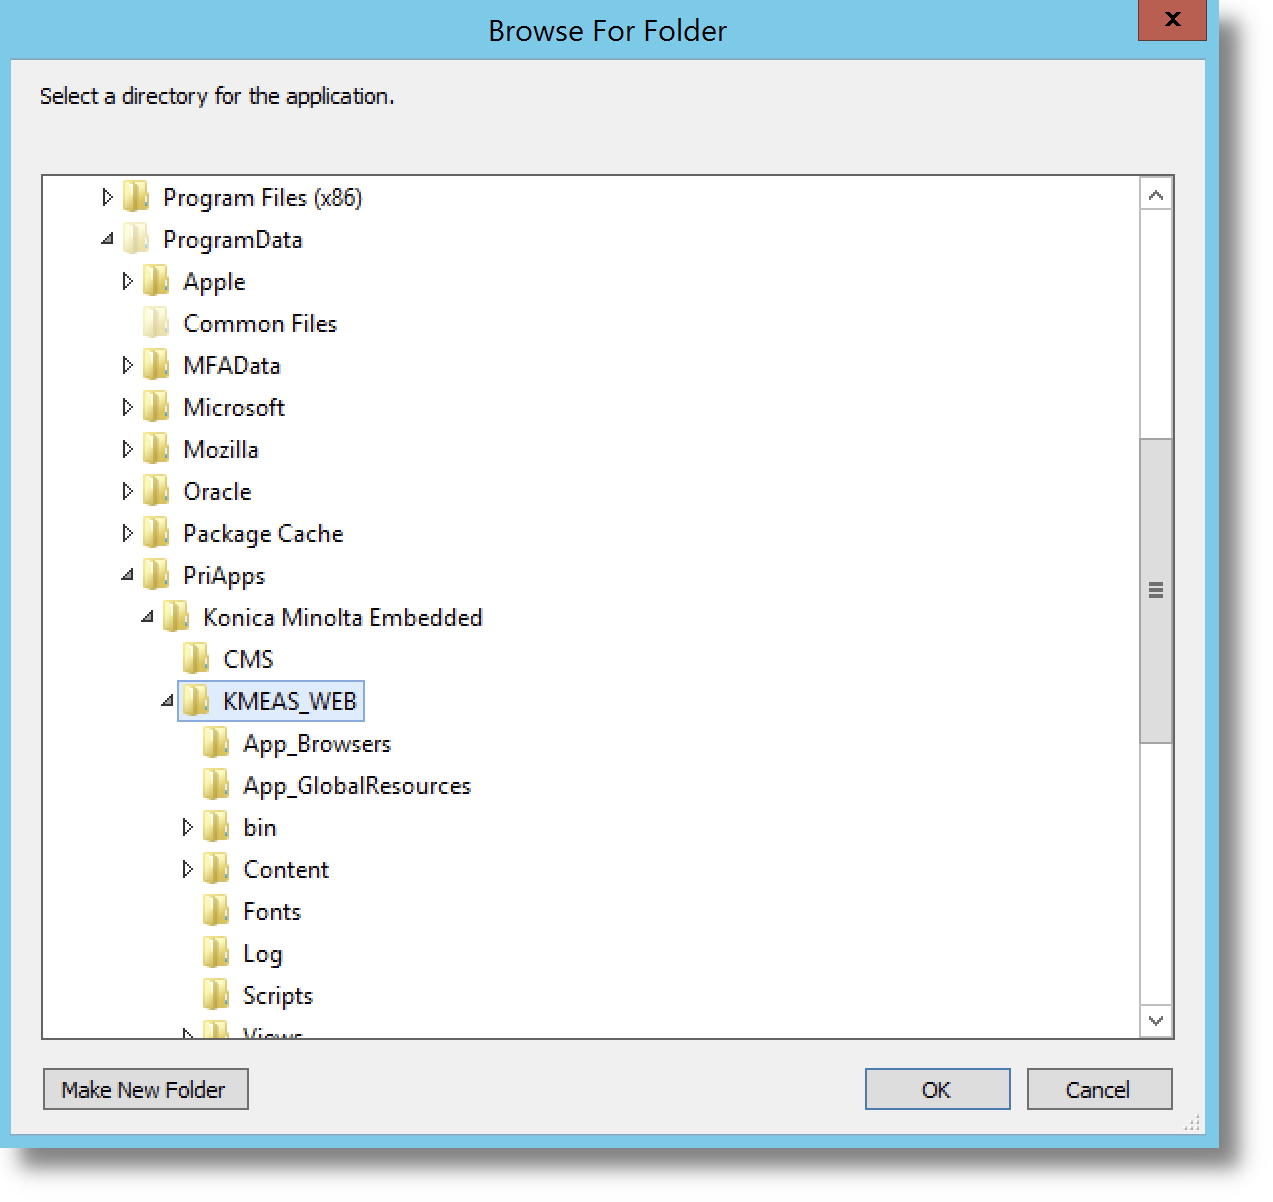
Then click the browse button for the Physical Path and select the following path.

Then, select the KMEAS_WEB folder shown below and click OK.
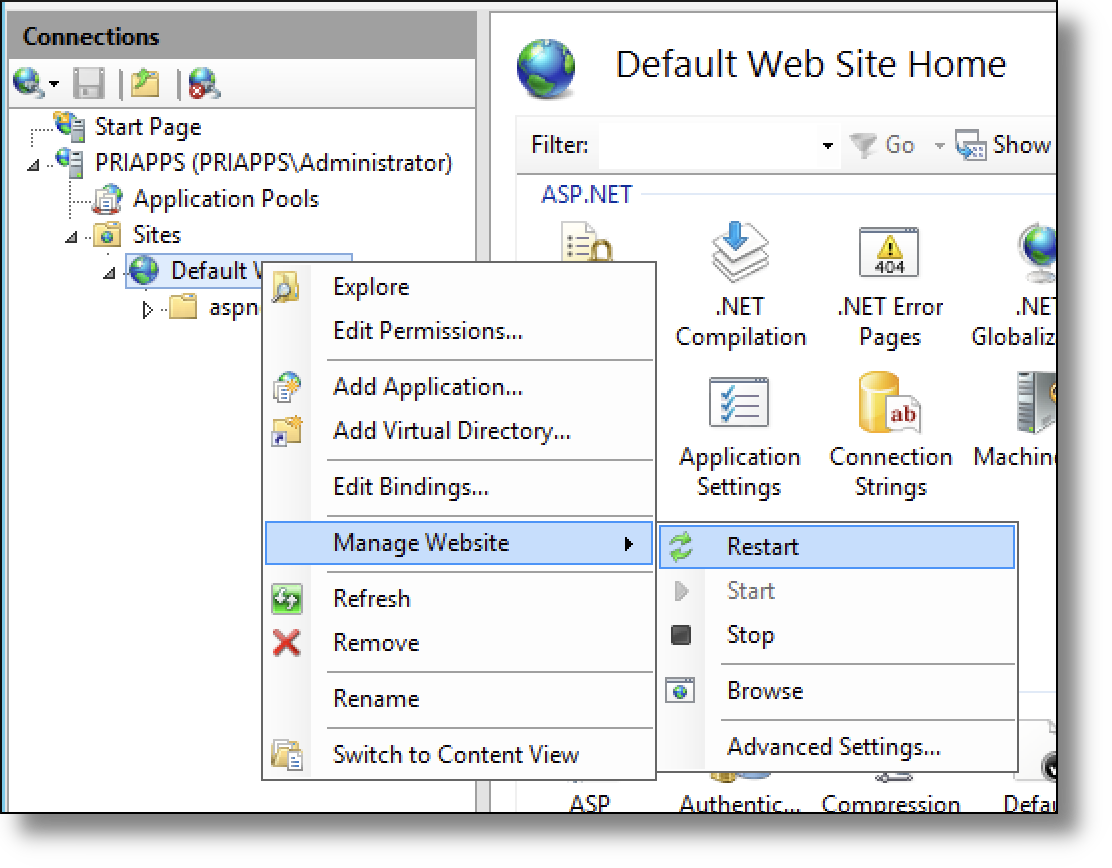
Finally, select the website and right click to display the context menu. Select Manage Web Site and either Start or Restart the Website depending on its state.
Need more help with this?
Contact PriApps Support