Sites can be created on the system to allow you to visually see known points of interest and also give reference to where your vehicle currently resides in fleet view, history and reports. When hovering over a vehicle, as well as giving their locations near a street/town. It will give its location of how near it is to the closest site. Also in reports and in history instead of giving its location nearest to a particular street or town, it will give its location of how near it is to a site.
Categories are created to display different types of sites e.g. companies, offices, distributors etc. to clearly understand what type of site it is. To work with sites, select the Action Item ( ![]() ) and then select either Create Site Here or Manage Site Categories.
) and then select either Create Site Here or Manage Site Categories.
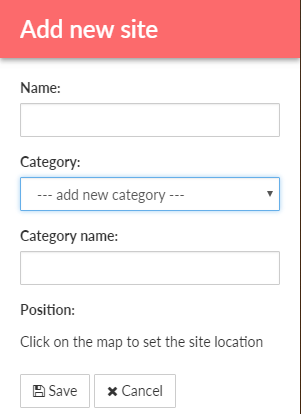
Create Site Here
When you select this option, you will need to fill in the name of the site that you want to use, you will need to select an existing category or add a new category. If you want to add a new category you will have to fill in the new category name. Once you have done that you will have to click on the map at the location that you want to create your new site. Make sure to zoom in so that you can make sure that you select the correct location. Once you have the correct location selected, click on Save.
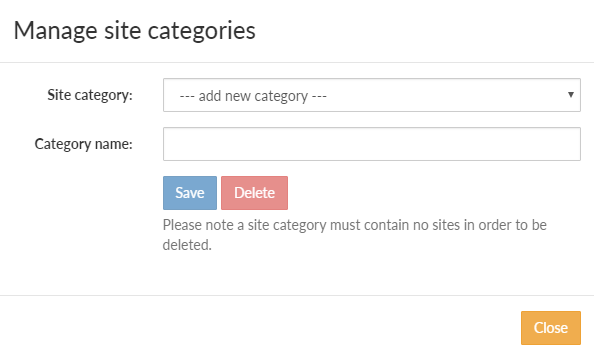
Manage Site Categories
When you select this option, if you want to add a new category, just type in the new category name and click Save. If you want to edit/change an existing category name, select the category from the drop-down and then type in the edited/changed name and then click Save. When you are done, click Close.