
Loading Excel product data into CadConnect
You have a new file generated by the CAD system saved on a disk drive and folder location, and now wants to have this imported into CadConnect.
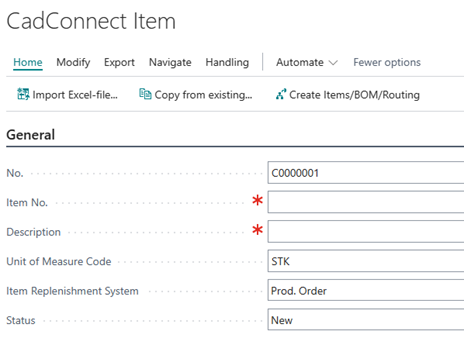
Start the program and select New in the CadConnect – List screen. This will take you to the CadConnect work display.
The list screen is the entry point for working with constructions. Adding a New construction will create a record for later reference.
Work with Excel files in CadConnect
Assign a new CadConnect number by pressing the return key in the No. field.
Press the wanted menu ribbon button – Import Excel-file.
A new screen shows up where you must select a file and a sheet. Also you must tell the number of the first row with product data, and you must decide upon if the first row line will be a new end-item, or you will create this yourself.
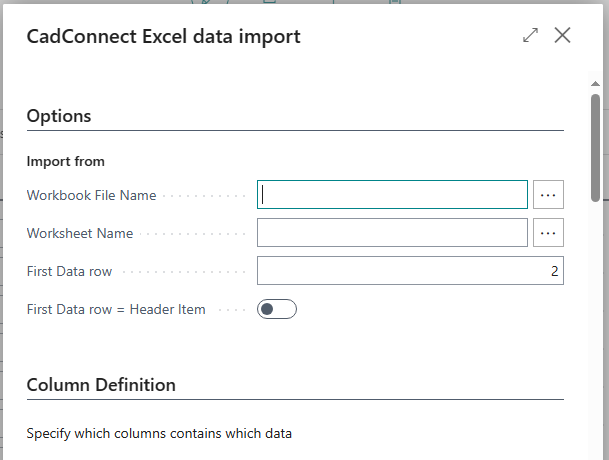
Additionally you must do the mapping to the fields in the file by assigning the correct column IDs.
Setting up these column-definitions and other import parameters will be saved in a user setup, so that next time you only need to select the new file and sheet for import. Saving the values per user wil allow individual users to import files from different sources with different layouts without having to change the setup each time.
The different parts of the field mapping will be explained in the following:
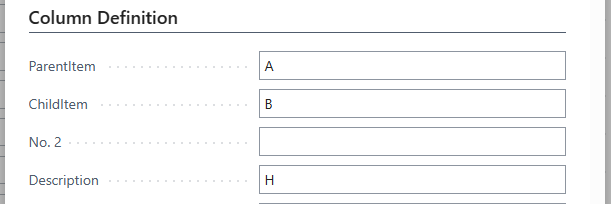
Item related Fields
First section hold the mapping of data-fileds, that will end up as fields in the Item card.

If you have selected the Parent/Child datastructure in Setup, the Item part looks slightly different:
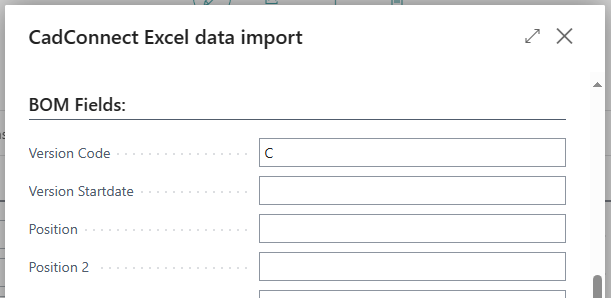
BOM related Fields
Next section hold the mapping of data-fileds, that will end up as fields in the BOM lines.
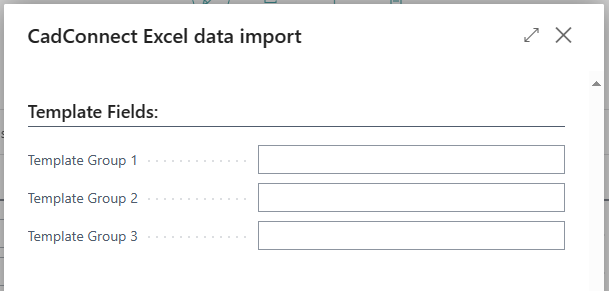
Template Fields
If you have set up advanced templates, the next section will hold the mapping of the Template definition fields.
For setting up and using templates, please refer to the description in CadConnect setup and extended description in section Using Advanced templates
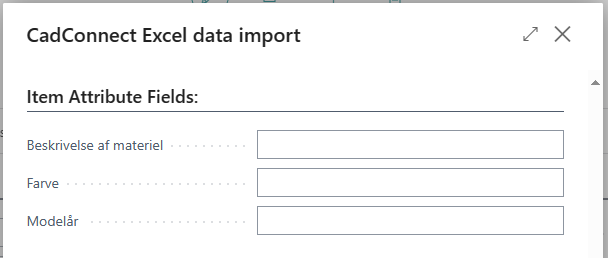
Attribute Fields
If you have set up Attributes to be imported through CadConnect, the next section will hold the mapping of these Attributes.
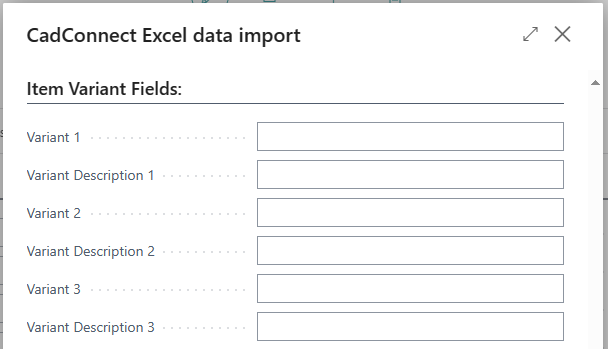
Variant Fields
If you in the Setup have selected to use Item variants, the next section will hold the mapping of these Variants.
You can import up to 8 variants pr. Item. You can import existing Variants or add new variants.
When adding new variants, you can here also here supply the variant description.
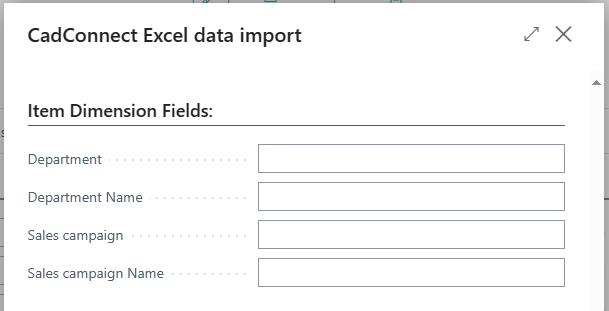
Dimension Fields
If you have set up Dimensions to be imported through CadConnect, the next section will hold the mapping of these Dimensions.
You can import existing Dimension Values or add new Dimension Values.
When adding new values, you can here also here supply the Dimension value name.
Routing/Operation Fields
You have the possibility to import either references to existing routings or new operations lines that then will end up as a new routing in CadConnect and BC.
You have one Setup Field to concern: Default Resource Type (Work Centre or Machine Centre). When you import operations and thereby resource no. the system will look in the Setup to define what type the imported resource should have.
If you set an import reference for Routing No. then the values imported from that column must match an existing BC Routing. This will then be added as routing to the item found on the same line in Excel or the item found on the line just above the routing line, if there are no item reference in the Excel row with the Routing reference.
If you set import references for Prod.Res.No. then the values imported from that column must match an existing BC Resource of the type selected in Setup. This will then be added as an operation to the item found on the line just above the first routing line. Additional lines will be added as operations on the same routing. The operations will be filled with relevant data from the columns specified in the following import references.
The mapping of Routing/Operation data is done in the next section.

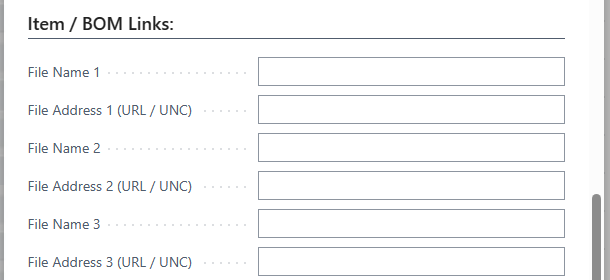
Item Links
If you want to import File Links you must select the number of Links in Setup – up to 10, and do the mapping in the next section.
You can in Setup define whether these Links shall be transferred to Items or to BOMs.
The File Names will be transferred to the Description Field in Links and the File Addresses will be transferred to the LinkAddress Field in Links.
Har du brug for mere hjælp med dette?
Naveksa Help Center