
To add the SharePoint Chart web part to a page in SharePoint please use the following steps:
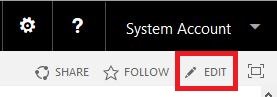
- Put the page into EDIT mode.
![]()
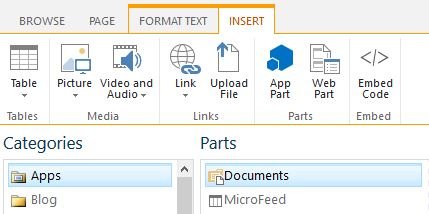
- Click in the location on the page where you wish to place the web part and then select the ribbon tab labelled INSERT.
- Click on the Web Part icon in the ribbon to display the web parts that are available to you.
![]()
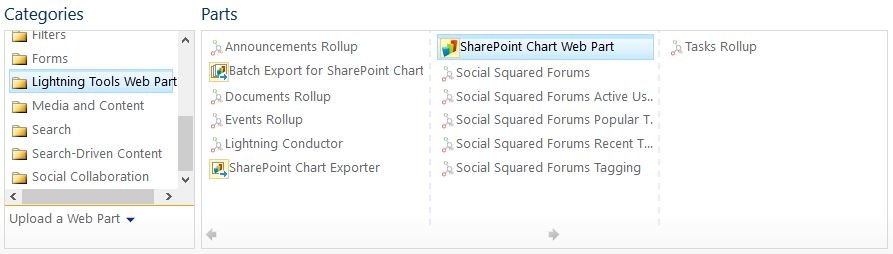
- Scroll down to where it says Lightning Tools Web Parts in the Categories pane and select it. Next in the Parts pane click on SharePoint Chart Web Part to highlight it and then click on Add.
![]()
- You can now configure the Chart web part.
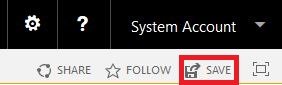
- When you are finished modifying the page, make sure to click SAVE before leaving the page.
![]()
Feedback
Copyright © 2025 Lightning Tools
—
Powered by 
Post your comment on this topic.