The ATevo is the second generation of the AT Series microprocessor-controlled float battery chargers. Because its configuration button sequence is identical, users of legacy AT30 chargers will easily adapt to ATevo. This section details how to configure basic ATevo set points and alarms found also on legacy AT30 chargers. The process is shown by both (1) video and (2) instructions with screenshots.
Instructions by Video

Instructions with Screenshots
When you first press EDIT/ENTER on the front panel, ATevo prompts you to set the first of six (6) basic charger parameters (Float Voltage). Once you have done so, and press EDIT/ENTER again, the next parameter will appear automatically. Continue in this same manner until you have set all the parameters.
To adjust the value of a basic charger set point, do the following:
- Press UP or DOWN (or hold down to scroll) until desired value displays. Each parameter has a minimum and maximum limit as listed in Section 6.1.2, Factory Settings Tables.
- Press EDIT/ENTER to save setting. ATevo prompts you to set the next parameter.
- Continue in the same manner to set all six (6) parameters in the list. If you want to skip setting any parameter, press EDIT/ENTER (or RIGHT arrow) to bypass it.
- When finished setting the sixth parameter (Current Limit), press EDIT/ENTER to save setting and return to normal operation.
- Any changes made take effect immediately; ATevo uses its last saved values if it is powered down and returned to service.
Clicking on each parameter below will reveal a screenshot of the parameter:
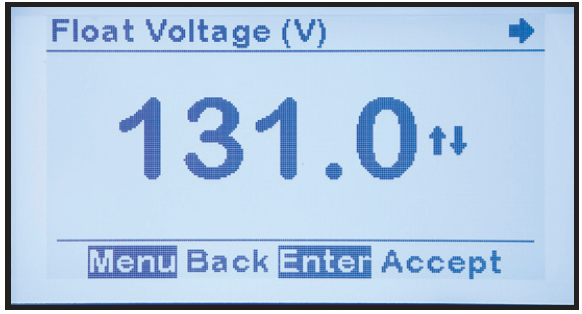
- Float Voltage
-
![]()
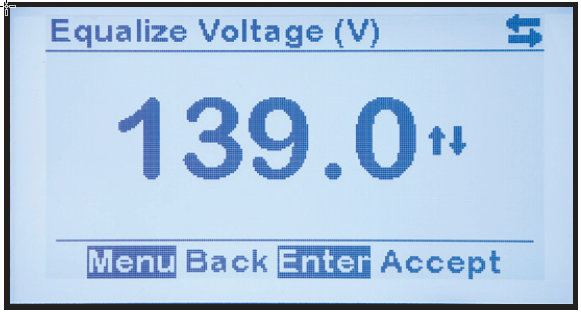
- Equalize Voltage
-
![]()
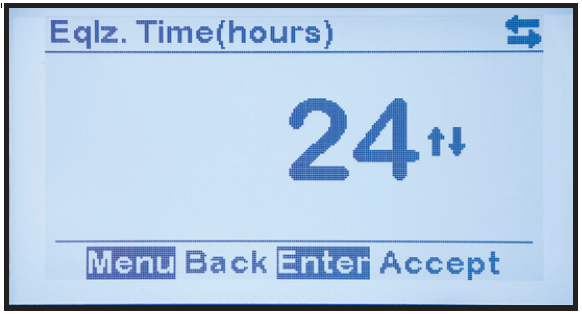
- Equalize Timer
-
![]()
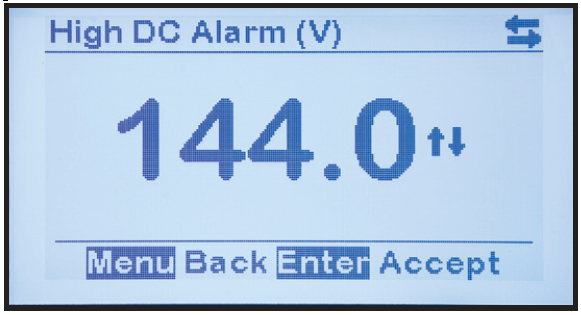
- High DC Voltage Alarm
-
![]()
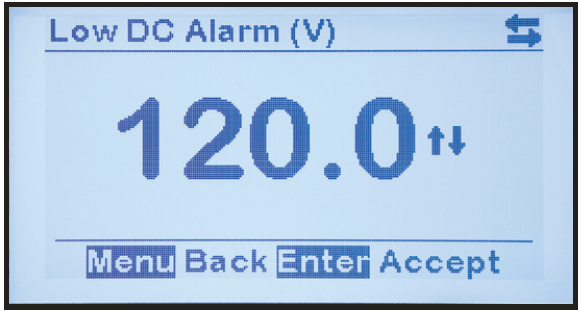
- Low DC Voltage Alarm
-
![]()
- Current Limit Level
![]()
After setting the Current Limit level to the desired value and pressing EDIT/ENTER to save the set point, configuration of Basic ATevo Set Points and Alarms is complete and the display returns to the HOME screen.