
You can edit the properties of the created project.
Select [Project] > [Properties] from the menu or right-click the project in the Test Navigator view and click the [Properties] menu.
Inclusion and Exclusion Info
You can set what to exclude or include when analyzing the project.
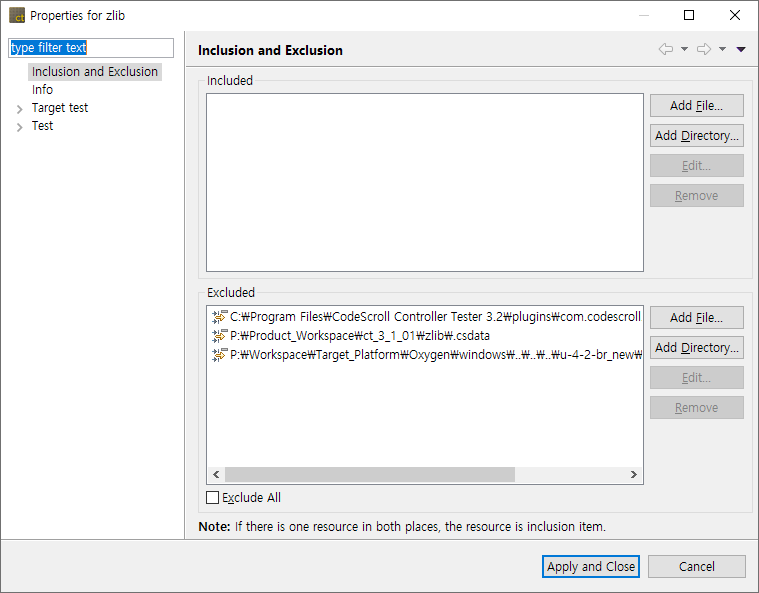
- Add targets to include in the analysis.
- Click the [Add File] or [Add Directory] button.
- Select files or a directory to analyze.
- Click the [Open] or [OK] button.
- Add targets to exclude from the analysis.
- Click the [Add File] or [Add Directory] button.
- Select files or a directory to exclude from the analysis.
- Click the [Open] or [OK] button.
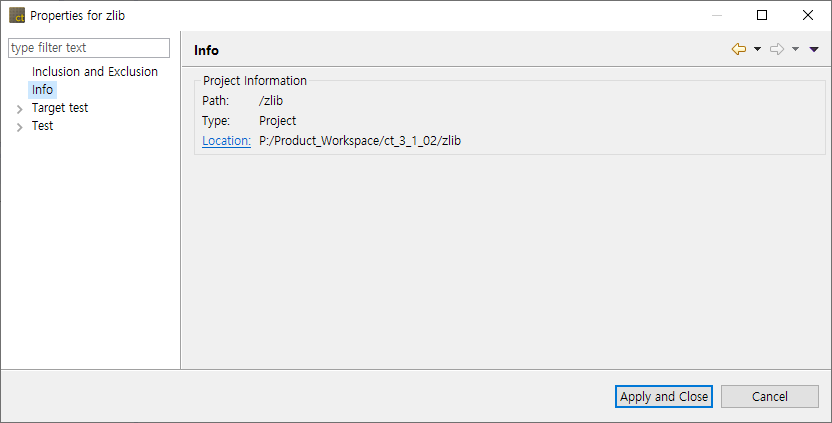
Info
Shows brief information(path, type, location) about the project.
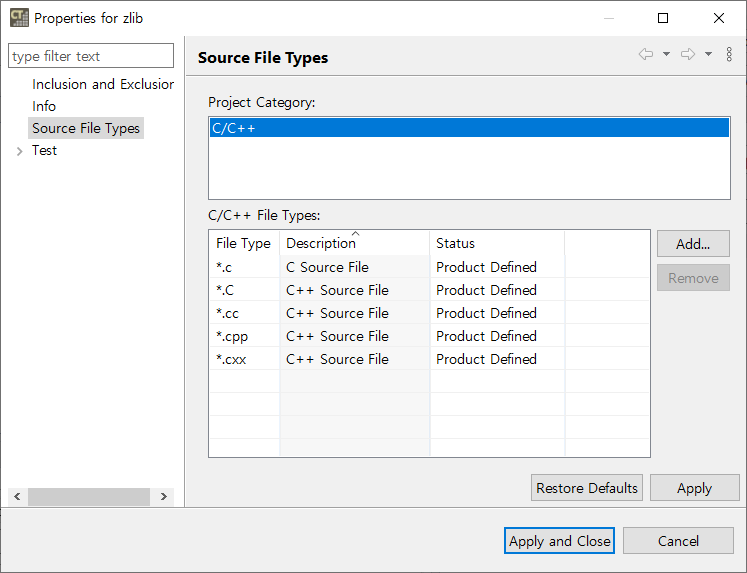
Source File Types
You can define source file types of the project.
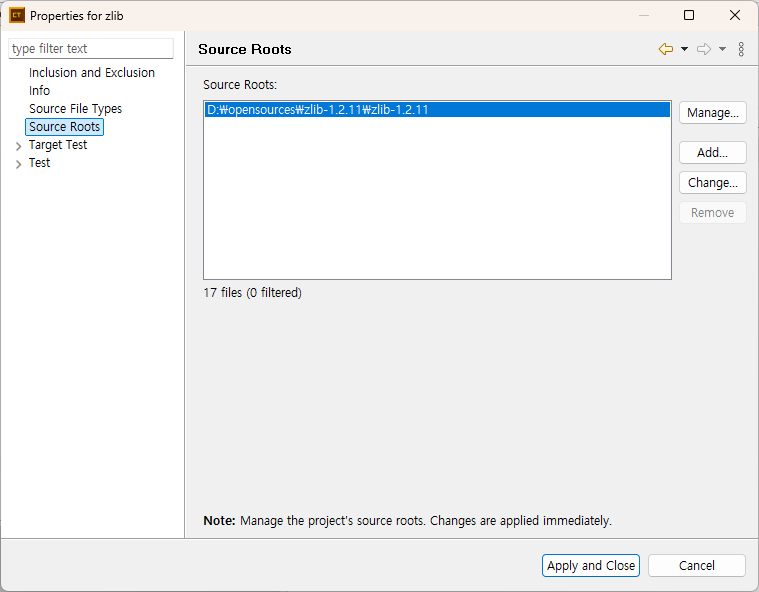
Source Roots
CT provides features to manage, add, change, and remove source roots. For detailed instructions, refer to the Using Source Roots guide.
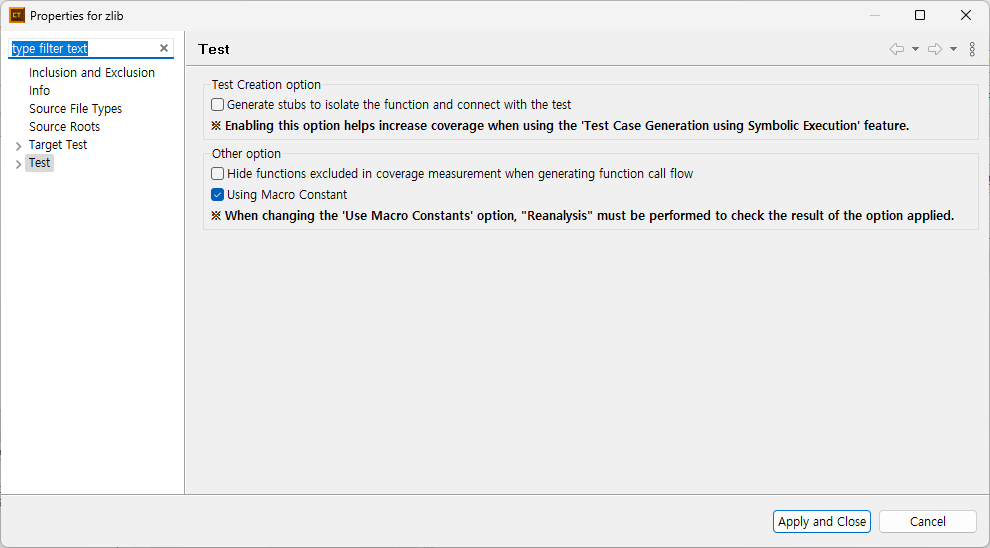
Test
You can set test-related options.
Coverage
You can set the coverage options.
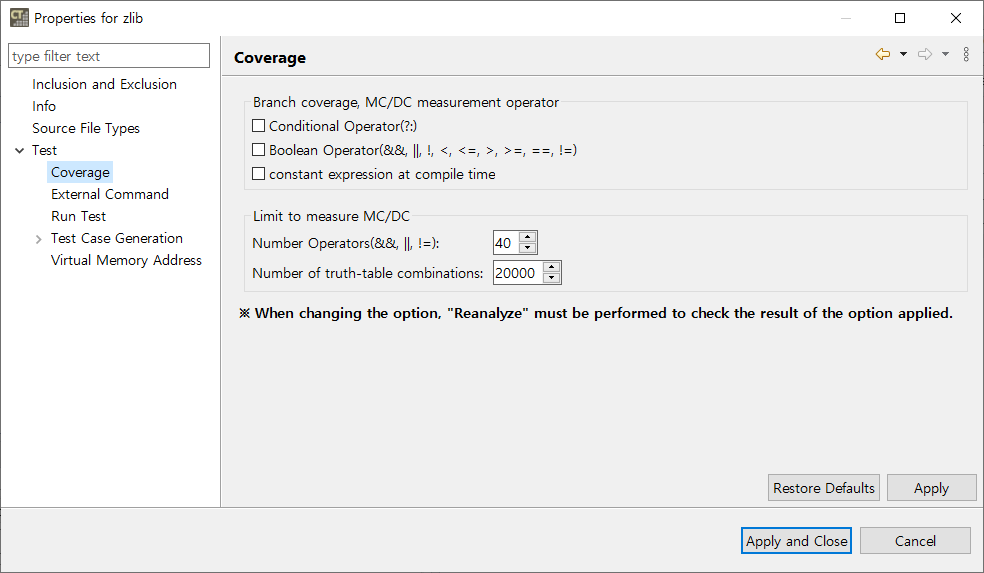
For detailed information about the options, please refer to the Coverage tab in the Configuration > Test page.
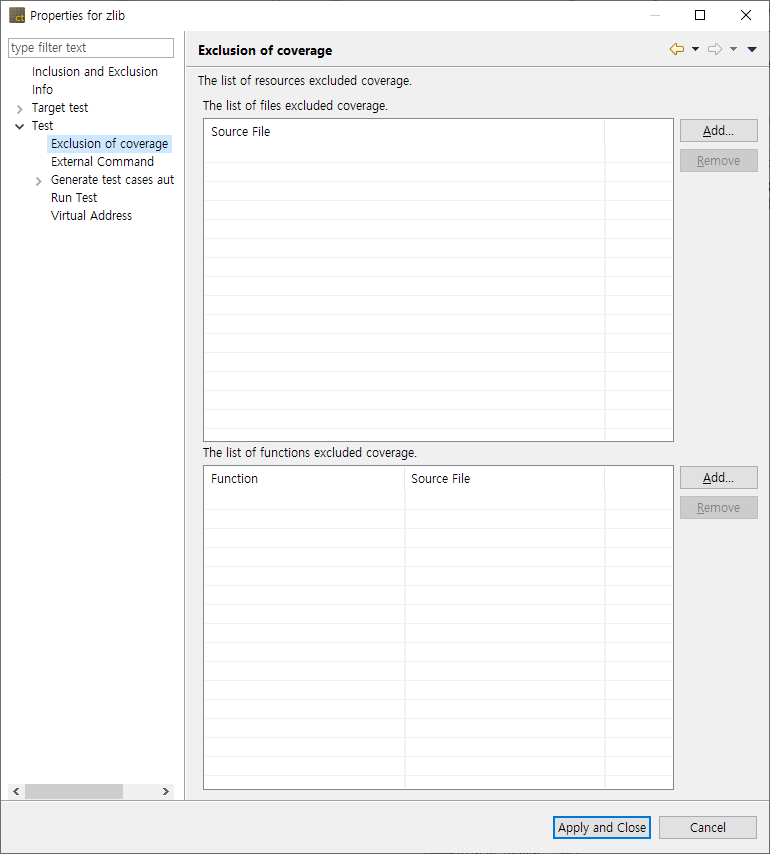
Coverage Exclusion
You can set coverage exclusions on a per-file or per-function basis.
You can see that the coverage of the excluded function is excluded from the coverage results obtained by running the test.
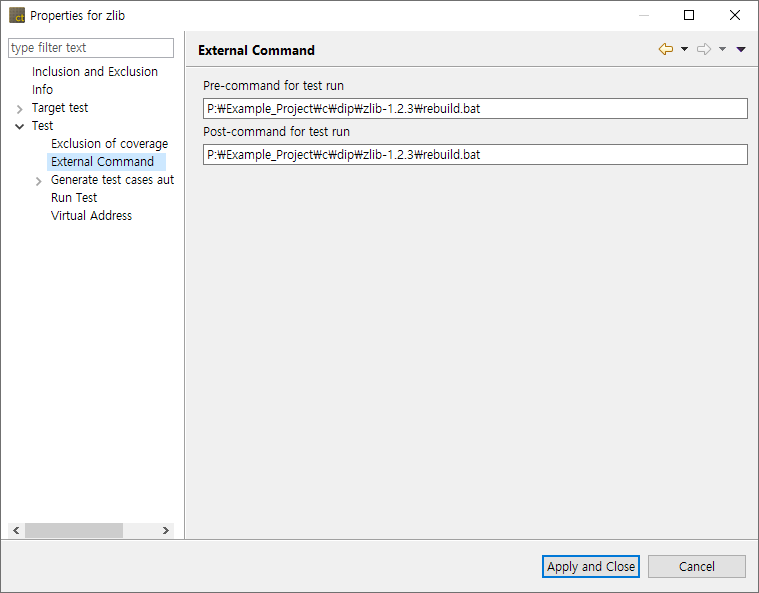
External Command
You can enter external commands to run before or after the test run.
In [Pre-command for test run], you can enter a command or batch file to execute an external command before running the test.
In [Post-command for test run], you can enter a command or batch file to execute an external command after running the test.
When using Windows Command Prompt or PowerShell, include terminal call commands such as cmd /c or PowerShell.
Mock Object
For C++ project, you can select an option to use mock objects. [Use] is selected by default for toolchains(GCC 6.0 or later, Visual Studio 2015 or later) that can use mock objects.

Run Test
Set the generated tests to run in a user-specified directory, not in a workspace. In this case, you do not need to copy the library or header files used by the target under test to the workspace or change the link settings.
Click the [Start Test in User Code] checkbox.
Select the home directory to run the test and click the [Apply] button.
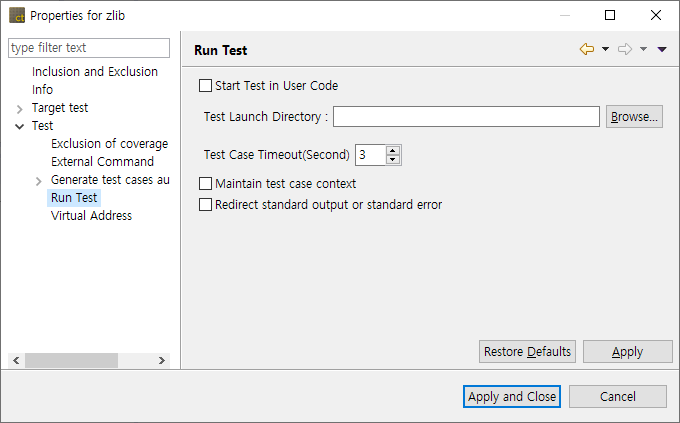
[Test Case Timeout] Set the time to be used as the timeout judgment when executing the test case. If the test execution time exceeds the test case timeout time, the test for that test case ends and the result is reported as a timeout.
[Maintain test case context] is a feature that performs all test cases with one launcher. The previous test execution result (static, global variable) is maintained during the test, and each test case result value does not appear independently. This makes the relationship between the test case result values clear.
[Redirect standard output or standard error] is a feature to record standard output and standard error in the log file for each test case.
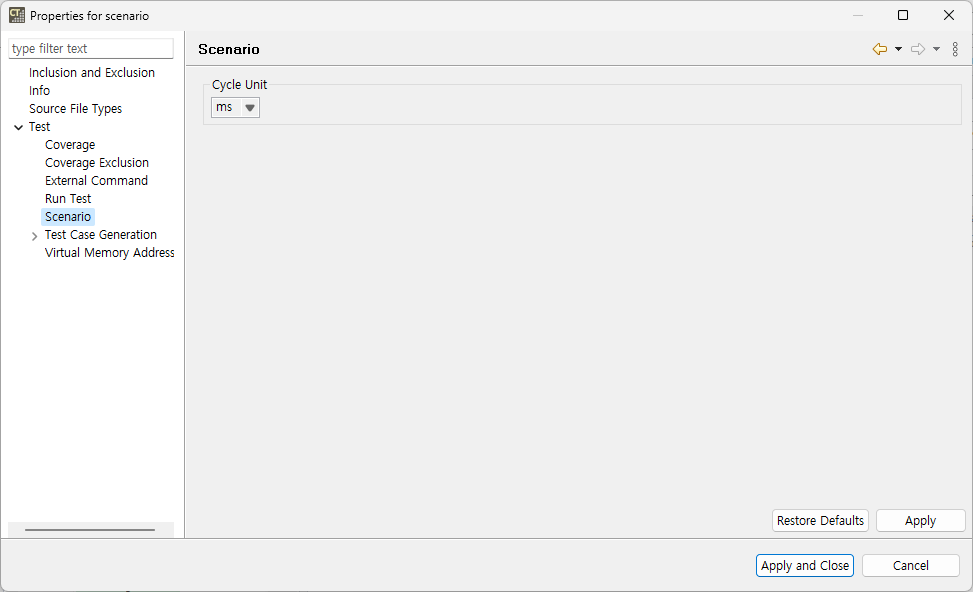
Scenario
The default value for the cycle unit in Scenario Tests of a C project can be set.
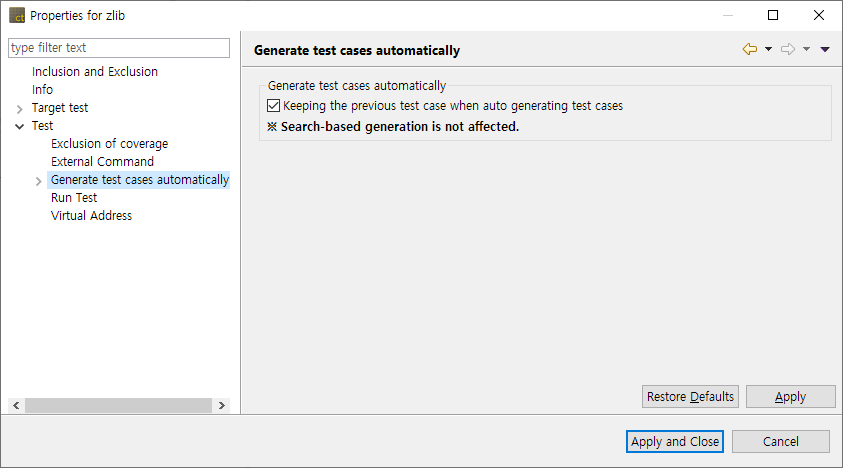
Test Case Generation
You can set to keep previous test cases when automatically generating test cases.
Combination
You can set up how to extract test data if the variable partition is range.
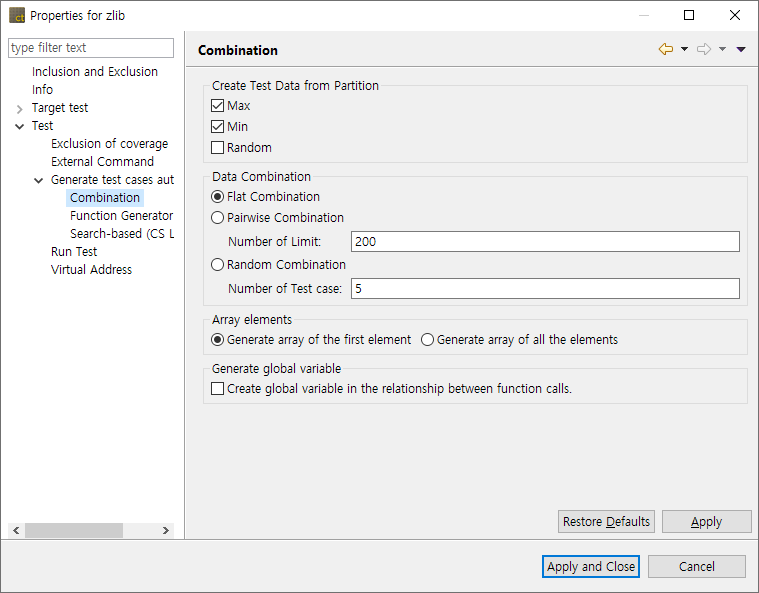
Select the desired test data extraction method by checking the checkbox. The meaning of each value is as follows.
| Method | Description |
|---|---|
| Max value | Selects the maximum value of the partition section. |
| Min value | Selects the minimum value of the partition section. |
| Random value | Selects a random value among partition sections. |
You can select multiple test methods of data extraction.
When all are unchecked, the default is automatically set to the maximum and minimum values.
[Data combination] supports Flat, Pairwise and Random. The meaning of the combination is shown in the following table.
| Combination | Description |
|---|---|
| Flat | Combines simply based on variables having the largest number of test data. |
| Pairwise | Combines so that each selected parameter data is paired at least once with the parameter data other than itself. Pairwise is performed as many as the maximum number(default 200) of symbols used for the combination, and when the number of symbols is exceeded, Flat is performed. |
| Random | Combines the test data as many as the number of test cases that the user defines any value between the minimum value and the maximum value for the variable partition of input parameters(default 5). |
[Array elements] is a feature to select how to generate test data for each array element.
| Method | Description |
|---|---|
| Generate an array of the first element | Creates only the first element regardless of the array size. |
| Generate an array of all the elements | Creates elements as much as the array size. |
When creating a test, global variable creation is an option to create all global variables used by all functions called from the function under test.
Function Generator
When using the function generator to automatically generate test cases, specify common setting values that each function has in common.
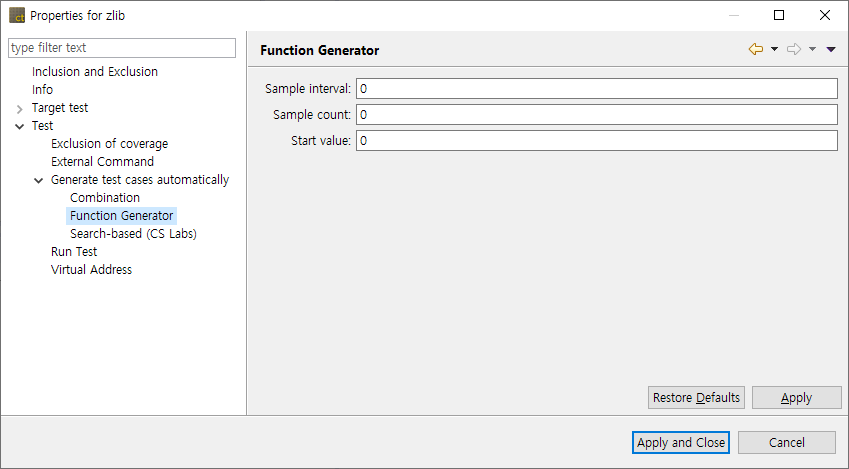
| Option | Description |
|---|---|
| Sample interval | Interval of samples when sampling from function |
| Sample count | Number of samples when sampling from function (Number of test cases) |
| Start value | Default value at which the function starts, and generates a value based on the value |
Virtual Memory Address
You can select a memory setting managed by the Virtual Memory Address preference.
If the toolchain of the project cannot use virtual memory (e.g., host toolchain), a warning will be displayed.

Import settings
Project created by Visual Studio project
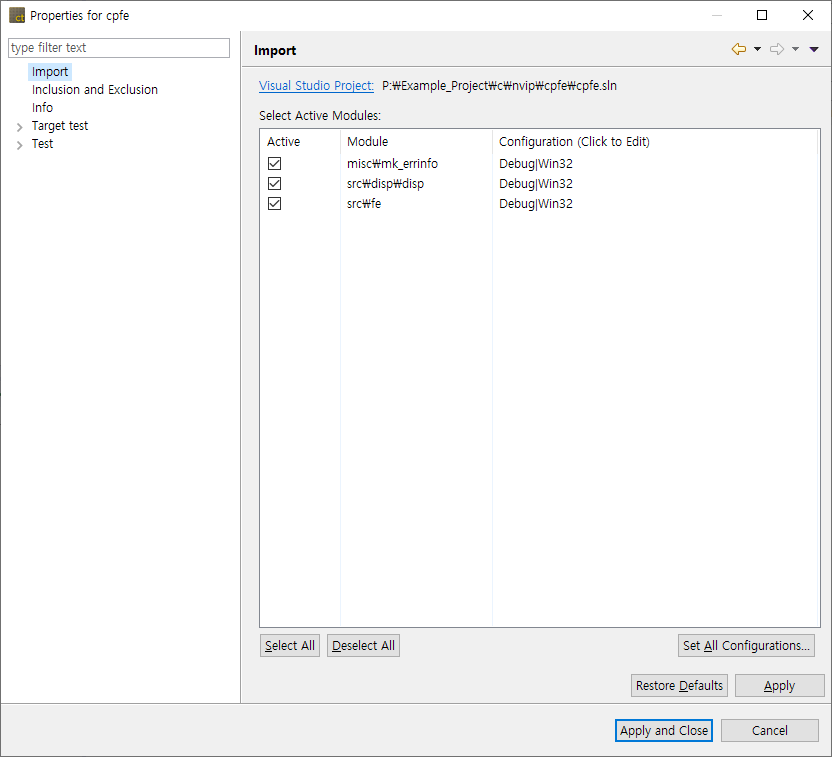
You can see the path of the Visual Studio project used for creating the project and the modules active in the selected project.
You can change whether each module is active or not and the configuration.
You can change the configuration of all modules collectively through the [Set All Configurations] menu.
- If you click the [Set All Configurations] button, a dialog box where you can select one of the configurations common to all modules opens.
![]()
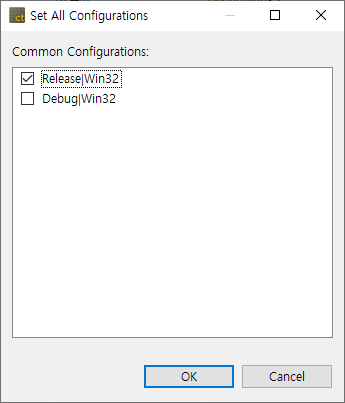
- Select the configuration to be applied to all modules in common and click the [OK] button.
Need more help with this?
Don’t hesitate to contact us here.