
Since CT 2024.12, source roots feature can be used in projects. The source code for testing in project is managed through the source roots. Changes to the structure or location of source code under test based on the Source Root can be reflected in the CT project.
Source roots can be viewed in [Properties] > [Source Roots] of the project.
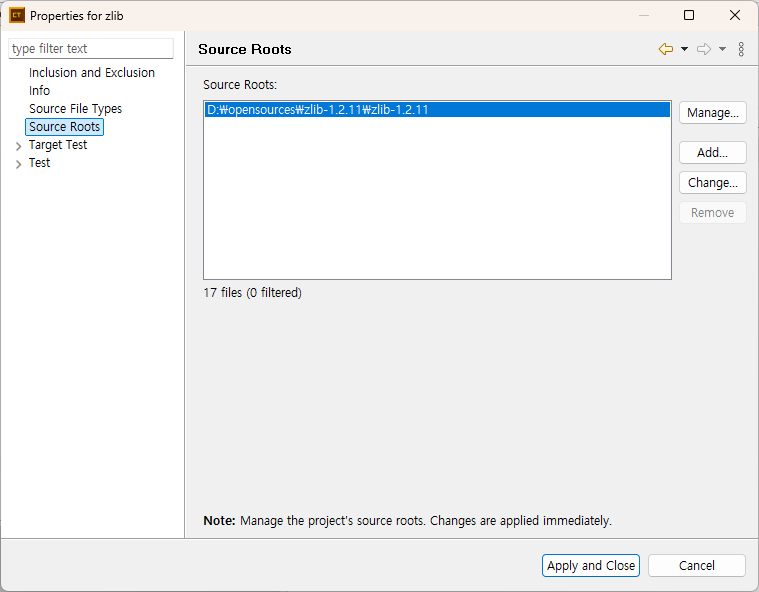
Manage Source Roots
Click [Manage…] to open the [Synchronize with File System] dialog. Add or remove source code under the Source Root to the project, and modify the filter pattern by clicking [Filter…].
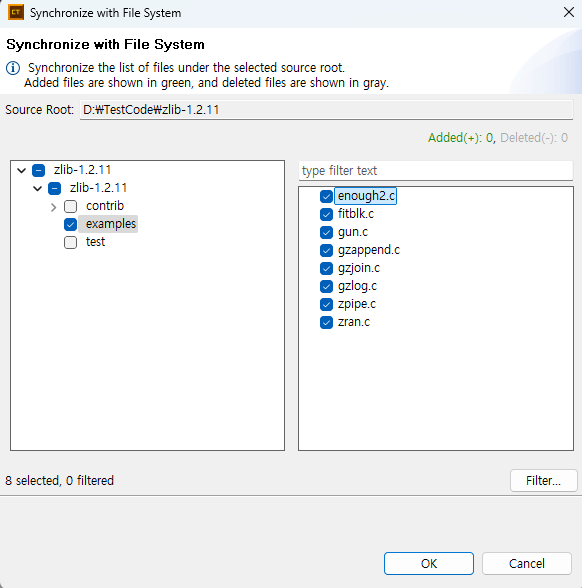
Add Source Roots
A new source root can be added if it is not identical to existing source roots in the project or does not have a parent/child relationship with them. Select the source code under the added Source Root to include in the project, and click [OK] to complete the process.
Change Source Roots
Click [Change…] to modify the source root path to a different directory. Since files in the CT project are managed based on the source roots, changing the source root may remove the source code from the project.
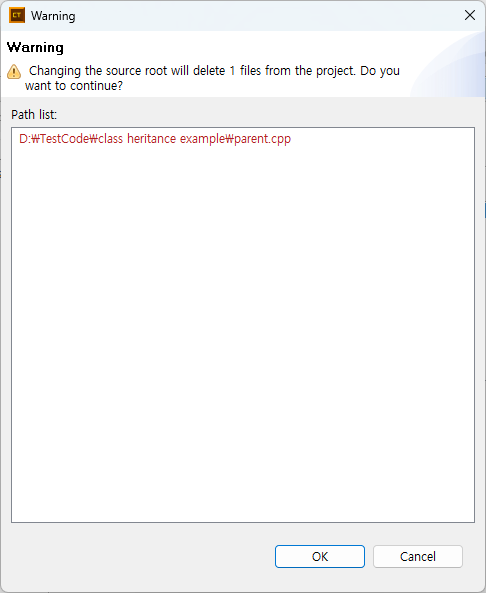
A warning dialog listing the files to be removed will appear. Click [OK] to confirm and proceed with changing the source root.
Remove Source Roots
Removing a source root also removes all source code contained within it. A source root cannot be removed if it is the only one in the project.
Need more help with this?
Don’t hesitate to contact us here.