
Install Team Testing Server
Here’s how to install Team Testing Server using the install package.
- Execute the
ct-team-testing-server-xxxx-setup.exefile.
![]()

- Select the setup language and Click [Next]
![]()

- The installation wizard runs and collects installation information. Click [Next].
![]()

- Agree to the End-User License Agreement and click [Next].
![]()

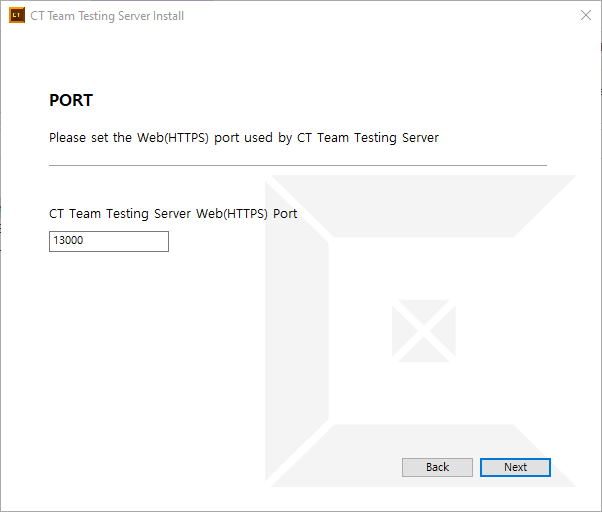
- Enter the web port to use in Team Testing Server and click [Next]. The default is
13000.
![]()
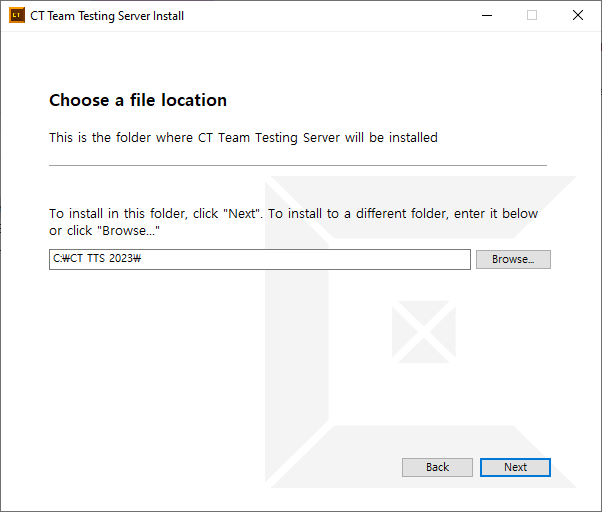
- Set the path to install Team Testing Server and click [Next].
![]()
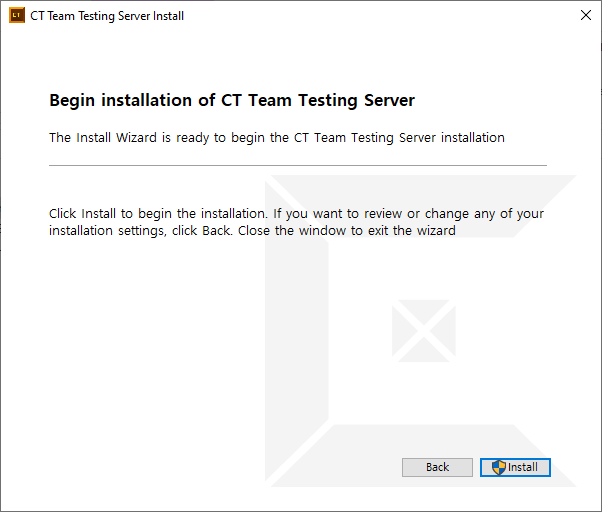
- We have gathered all the information necessary for installation. Click [Install].
![]()
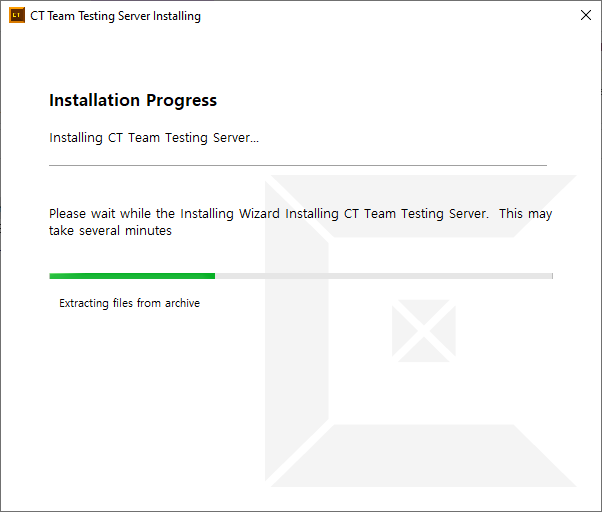
- Team Testing Server is installed
![]()
- Click [Run CT Team Testing Server] to run Team Testing Server immediately after installation is complete, or click [Finish] to end the installation.
![]()

Start Team Testing Server
Team Testing Server and Team Testing Dashboard server can be launched and monitored through the Launcher.
Execute Launcher
Run {install path}\bin\Launcher.exe.
Execute servers
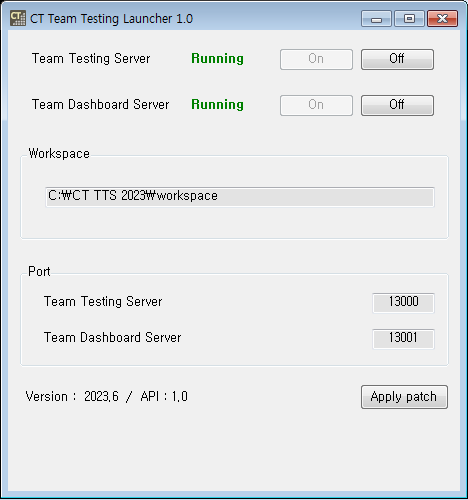
- Execute the Launcher to turn Team Testing Server and Team Testing Dashboard server on. You can manually turn them on and off using the [On]/[Off] button.
- Check the version of Team Testing Server in [Version] and click the [Apply patch] button to apply the patch.
Access the Team Testing Dashboard
Access the Team Testing Dashboard via the Properties of team projects page or directly using the Team Testing Dashboard URL.
- Team Testing Dashboard URL:
http://{tts installation IP}:{tts installation port + 1}/TBoard- Default:
http://127.0.0.1:13001/TBoard
- Default:
Need more help with this?
Don’t hesitate to contact us here.
Copyright © 2025 Suresofttech
—
Powered by 