UPLOAD AUDIO:
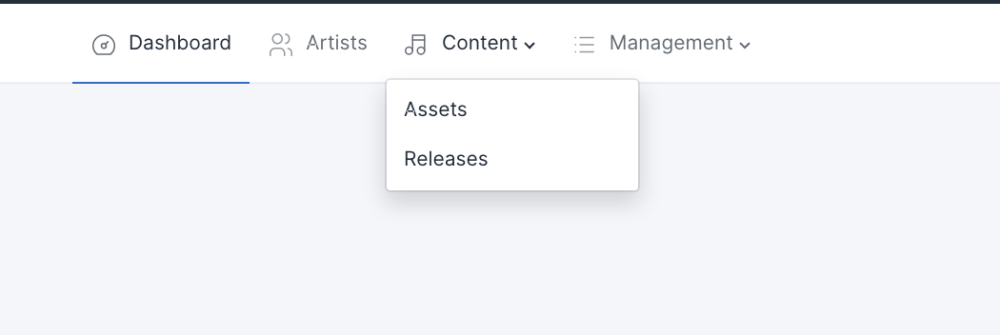
Your release will need tracks and audio. On the LMS ‘Tracks’ are called ‘Assets’, as a track is an audio asset. To start the process of creating and adding tracks, click on ‘Assets’ from the ‘Content’ menu at the top of the page:
- The first step is to add audio, so please click on the ‘Upload Audio’ button to do this:
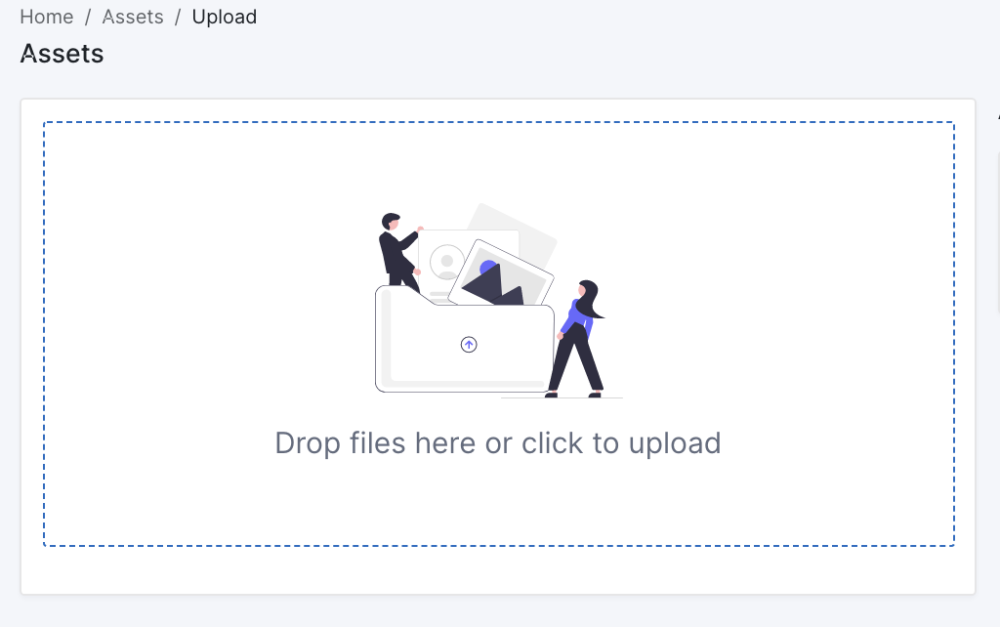
- Then you can either drag and drop your audio file/s, or click within the grey box to choose to upload from your computer
From the Available Assets list you can click on the green plus sign to be redirected to the ‘Add Asset’ page or delete the audio you uploaded by clicking the red bin symbol
ASSET CREATION
The creation of assets/tracks is in two parts, these are detailed below:
ASSET CREATION – PART 1
- As previously mentioned, you can click on the green plus sign from the Upload Audio area to add the available assets
- You can also access the ‘Add Assets’ page via the Content menu at the top of the page, click assets and then ‘Add Asset’ button:
- You will now see a form for completing the first part of the Asset information, these are the fields to be completed. Fields with an asterix * are mandatory:
SELECT ARTIST
- Artist Name: Click on the arrow and choose it from the drop down menu. If this Artist doesn’t appear then you have not yet created the Artist. You can do so by clicking on the ‘Add Artist’ or ‘Add Compound Artist’ button to be redirected to the artist page
- Featuring: Any featuring artists are added later (see Asset Creation Part 2), NOT in the track title here. If they are then they will be deleted before delivery
SELECT AUDIO
- Audio File: Next select an uploaded audio file from the drop down menu. If your audio file does not appear in the list then it did not upload successfully, so you’ll need to go back to ‘Upload Audio’.
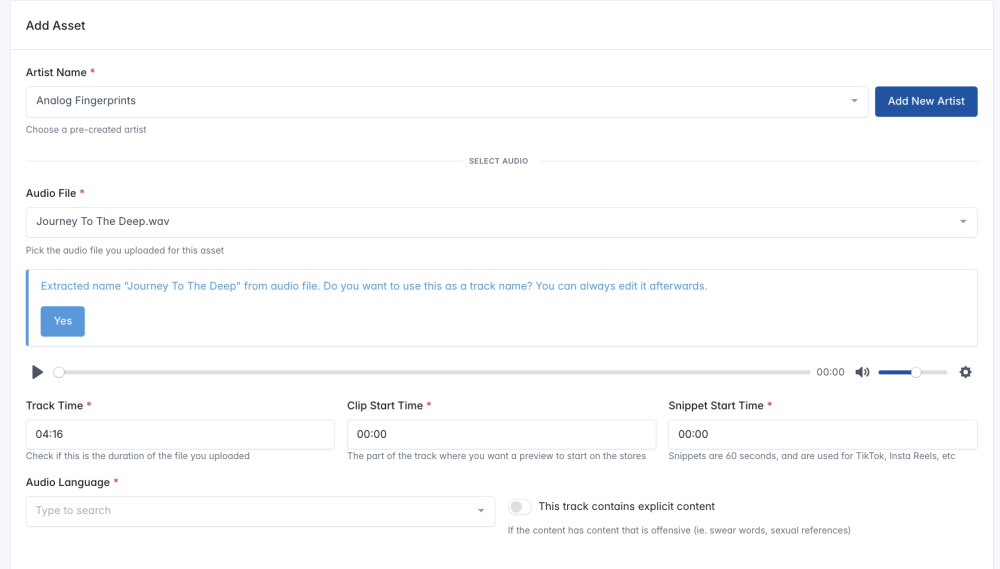
- Listen to Audio: Press play on the preview player to check the file has uploaded properly and you picked the correct audio, you still have the option to pick different audio if needed.
- Audio Language: This is in relation to the language of any lyrics in the track. If there is no lyrics then choose ‘not applicable.’ If you do have lyrics then Songwriter info is mandatory, otherwise it is not required.
- Explicit Content: If the content has content that is offensive (ie. swear words, sexual references) then please mark the track as explicit
- Extracted Name: You can use the track name used in the file name if it is the same, just simply click ‘Yes’ when prompted. The track name can still be edited below if needs be
- Clip Start Time: While filling out the information you have listened to the track and checked it has uploaded fully. Under the ‘Audio file’ you can now also pick a ‘Clip Start Time.’ This is the part of the track that you want any store previews to start. These previews are usually 30 seconds – 1 minute in length, so choose wisely.
- Snippet Start Time: This is for use with such services as TikTok, Soundcloud and Instagram Reels. A snippet is 60 seconds in length, so please bear that in mind when choosing the start point.
SUPPLY TRACK INFO
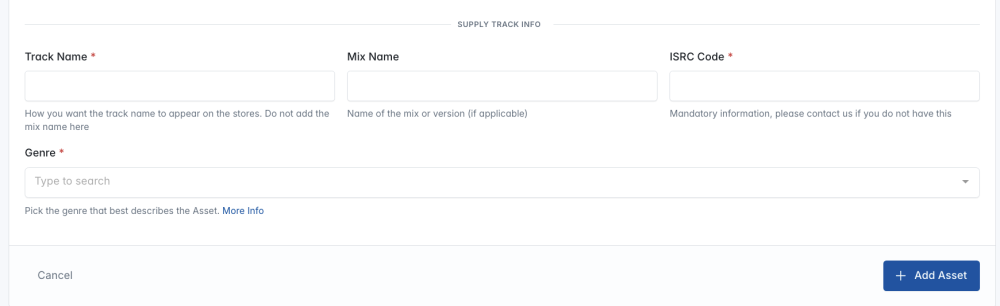
- Track Name: The track name will pre-fill with the audio file name you used if you picked this option (see Extracted name above), so always best to make sure your uploaded audio file name is exactly how you want to name the track. The pre-filled info can be edited, so be sure to delete what you don’t need from the pre-filled track name if necessary. Also make sure the track title is not CAPITALISED or involves Leading Capital Letters eg. ‘Thanks for Coming’ instead of ‘Thanks For Coming’.
- Mix name: Name of the mix (if applicable). This field is used for display purposes on most stores but some stores use the remixer name from this field for search engine purposes. Best make sure that the full remixer name is incorporated in the mix name (as well as entering his name in the ‘Remixer’ field in Asset Creation Part 2), for example: ‘Objekt Remix’
- Remixer: If you have put in a ‘Mix name’ that relates to a remix by an artist, then this artists name is added in the second part of Asset Creation.
- ISRC: 100% mandatory as it is used for tracking an asset. IF YOU DO NOT HAVE ONE THEN PLEASE CONTACT YOUR LOCAL AGENCY
- Genre: Select a genre from the drop-down menu. Please note: These are quite generic and we try to map them as best we can to the stores, but often a store may change this upon delivery if they feel it fits better in another genre on their store.
Once you are happy with the requested info for this part, please click on the ‘Add Asset’ button. If you have missed any mandatory info then you will see this highlighted with red text and won’t be able to continue. If all is fine then you will automatically be taken to the second part of the asset process.
ASSET CREATION – PART 2
The second part of the Asset creation is based around assigning additional artists on the asset (featuring artist(s), remixer(s) or amend the main artist), editing track or audio info if required, adding ownership and copyright, as well as Composers, Songwriters, Producer and Publishing info.
ARTISTS
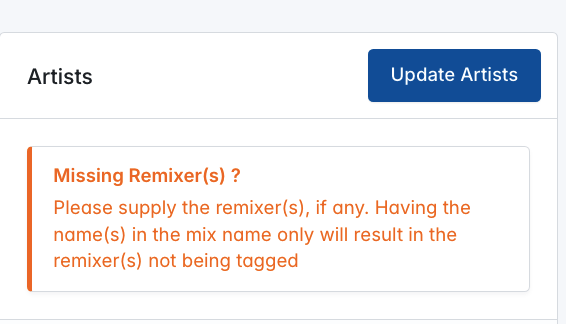
Update Artists – If you need to add a remixer, featuring artist or any change the main artist then please do so here by clicking the ‘Update Artists’ button
Main Artist – You can assign a new main artist if necessary. First click on the red dustbin icon to remove the current artist and then from the drop down menu choose ‘Main’ and then either type in the search box or pick from the artist drop down menu if you see the artists already. Then either add more artists or click close to finish
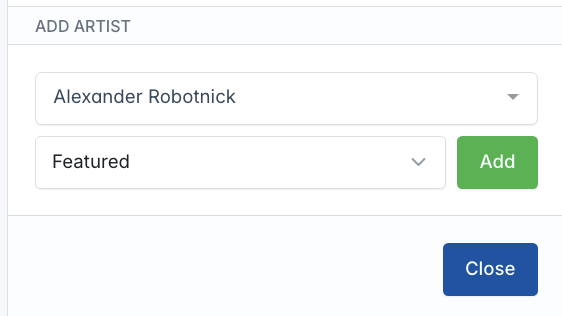
Featuring Artist – For any featuring artists on the asset then choose ‘Featuring’ from the drop down menu and type the artist name to find from your pre-created list or pick from the artist drop down menu if you see the artists already. Then click ‘Add’ and either add more artists or click close
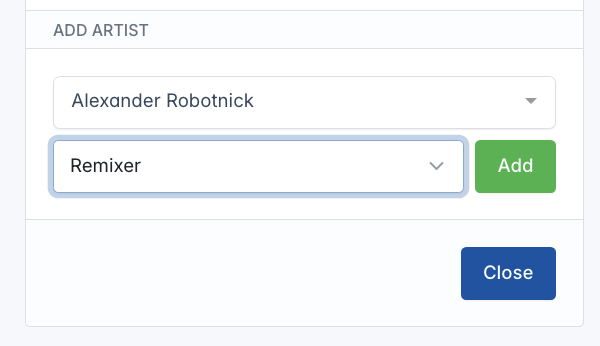
Remixer Artist – For any remixer artists on the asset then choose ‘Remixer’ from the drop down menu and type the artist name to find from your pre-created list or pick from the artist drop down menu if you see the artists already. Then click ‘Add’ and either add more artists or click close
AUDIO
Info in this section was created in the first part of Asset Creation, but here is you opportunity to check or replace the audio, change clip and snippet times and add Audio Language if necessary. To do so then click ‘Update Audio Settings’
OWNERSHIP INFO
- C-Line: The name of the Copyright owner for the track (Composition/Song/Music), as well as the year this copyright began. This is generally the Publisher, either a company or artist.
- P-Line: The name of the owner of the sound recording rights and the year these rights started. This is most likely the entity who paid for the audio master and is more often than not the Record Label.
INVOLVED PARTIES
Here you input the names of the Producer, Composer, Songwriters and Publishers involved on the asset. For Composer and Songwriter, these need to be the real full names of the parties involved. For example, you wouldn’t put Elton John, instead you would put Reginald Kenneth Dwight (his full and real legal name). The same for publishers, this needs to be accurate and exact, more info on all and the process below* (including a helpful video guide if required)*.
Process of adding Involved Parties on Asset Page
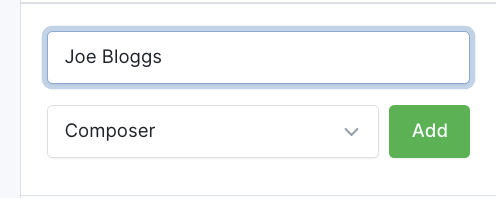
1. Input the name and only one name in each text box. When you have done this then click the ‘Add’ Button.
2. If more than one name is involved, then once you have created an artist then repeat the process as above. DO NOT ADD MULTIPLE NAMES IN ONE TEXT FIELD, BE SURE TO ADD EACH NEW NAME SEPARATELY
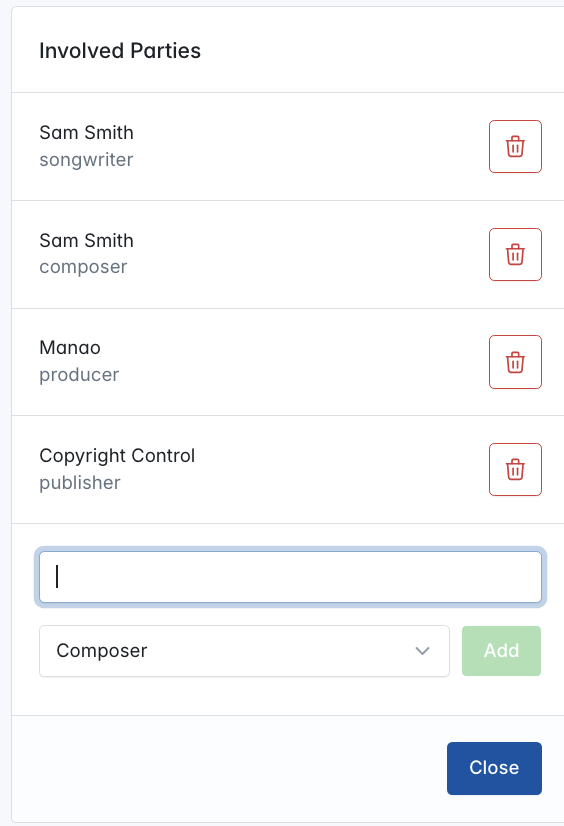
3. When you have completed info for all parties and have it how you wish, then click close to proceed. If you have not input all the mandatory fields then am orange text box will appear to prompt you to add this info:
- Composer & Songwriter: The real and full name of the person involved in the creating the music, not their artist name (unless both are the same). Format should be: First Name and Last Name.
- Producer: The artist name of the artist(s) involved on the release
- Publisher: The name of the company or label responsible for the publishing on the track. If more than one then separate with a comma, but if the name has a comma then please remove. For example, if it says ‘Warner/Chappell Music, Inc’, then please make ‘Warner/Chappell Music Inc’ instead. If no publisher is on this asset then put Copyright Control, do not put ‘none’ or ‘N/A’. Publisher name or Copyright Control will only be accepted
ERRORS & WARNING MESSAGES
If there are still clear or potential incomplete details then you will see either an error or a warning.
Red ones are ERRORS
Orange ones are WARNINGS
ERROR MESSAGE – These mean you cannot proceed with marking the asset as ready to use on a release:
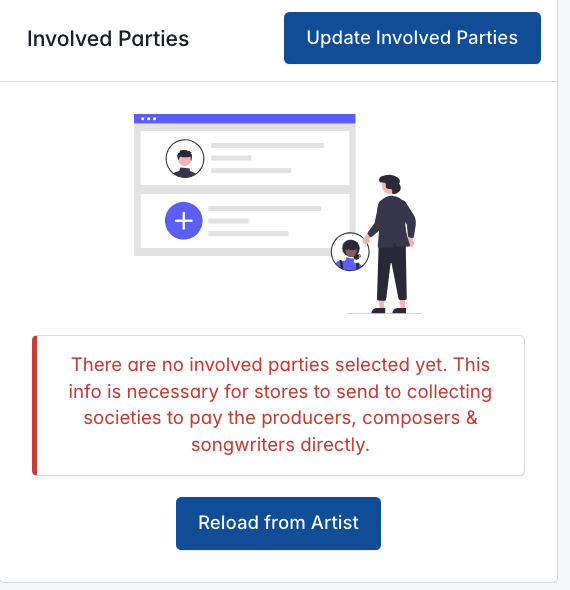
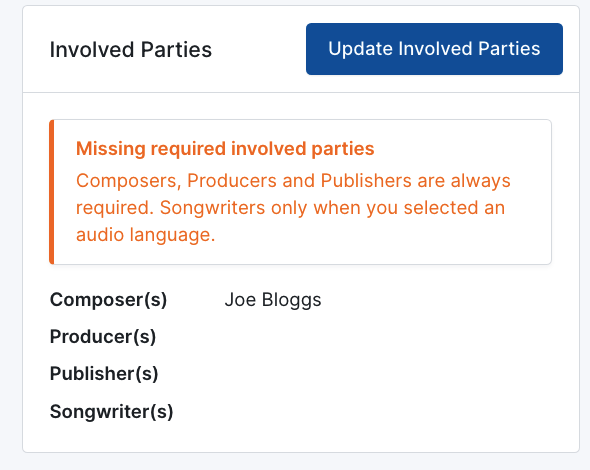
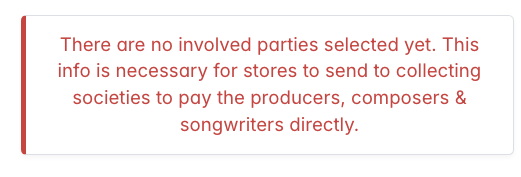
Missing Involved Parties – You either have input no Involved parties or not all of the mandatory parties, so will see one of these two errors until you complete all:
Missing required Ownership Info – You are missing C & P Line information, this needs to be completed:

WARNING MESSAGE – This is something that is not necessarily clear if you are missing it or not, but a warning appears to prompt you to review it. You would be able to mark the asset as ready, but please be sure to view these messages before doing so in case you have forgotten something:
Missing Remixer (?) – When you provide a mix name then it could be that you have forgotten to add a remixer, so you will see the below message. Of course some mix name are just mix names (Original Mix, Radio Edit, Remaster etc.), so if that is teh case then you can ignore
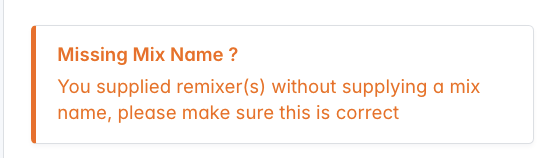
Missing Mix Name – When you add a remixer artist then there would usually be a mix name, so if you have not added this after adding a remixer then you will see this message:
CONFIRM/SAVE ASSET:
When all is complete on the asset and you are ready to use it on a release, then you need to click the ‘Mark Ready’ button:
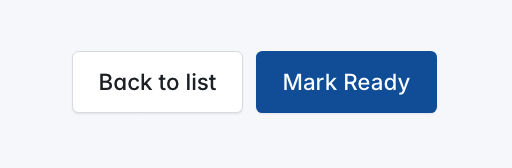
This now saves the asset ready to use, without marking as ready you won’t be able to use this.
From the asset page, you can delete an asset, or edit the metadata for an asset, as long as you have not yet used it for a submitted release. Once it has been assigned to a submitted release you can no longer change anything.
To delete the asset then click on the red dustbin symbol
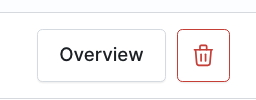
To access the edit asset options or to view asset details, then please click on ‘Overview’ to be redirected to the data for that asset: