
- Tap
![]() Record a Track to start recording your location and progress as a Track.
Record a Track to start recording your location and progress as a Track. - Name your track

 Record a Track to start recording your location and progress as a Track.
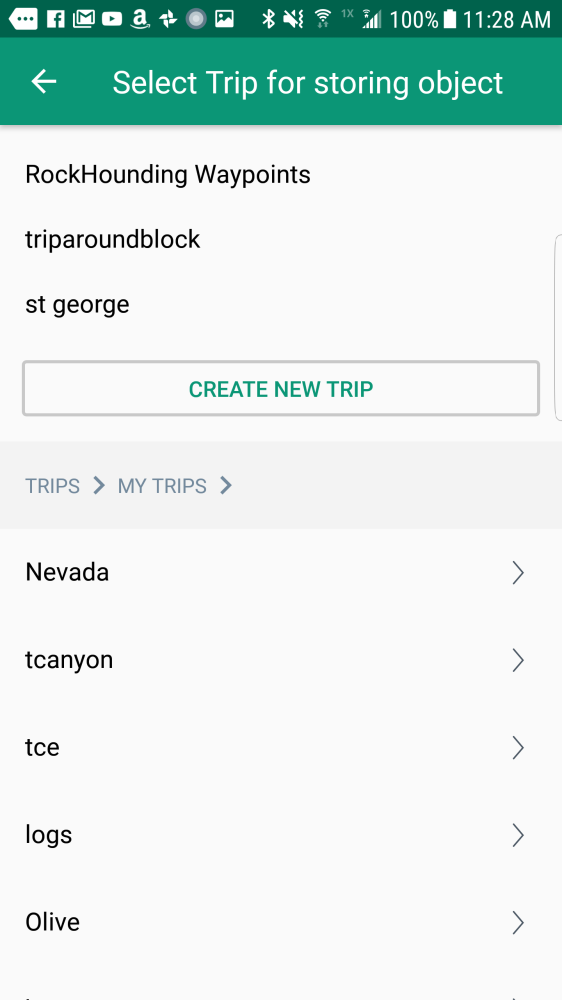
- Below the name is a link you can use to choose which trip you want to add it to.
The pinned trips (the ones currently displayed on the map) are the first three choices in this example.
Commonly, you can create a new trip to contain this track.
You can also choose from other existing trips that are local.![]()
- Tap the Color button to choose the color for your new Track.
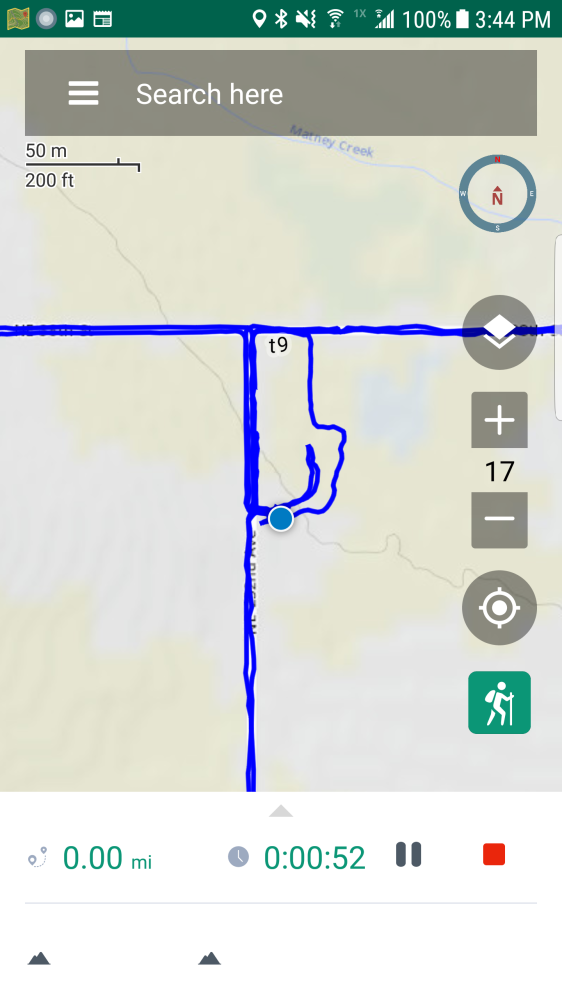
- Tap Start to begin recording your progress. You will see the track drawn on your Map Screen and a banner at the bottom.
![]()
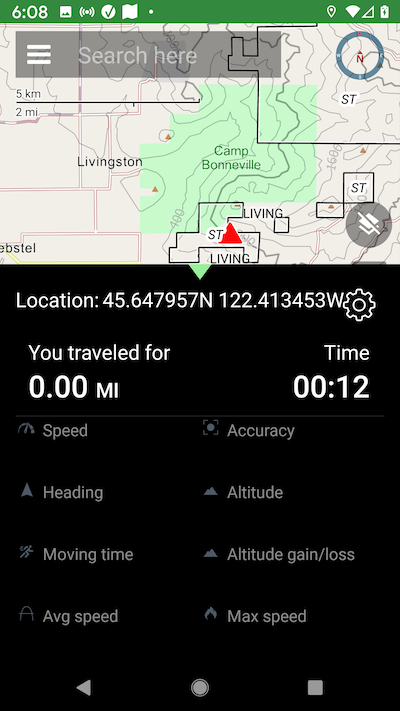
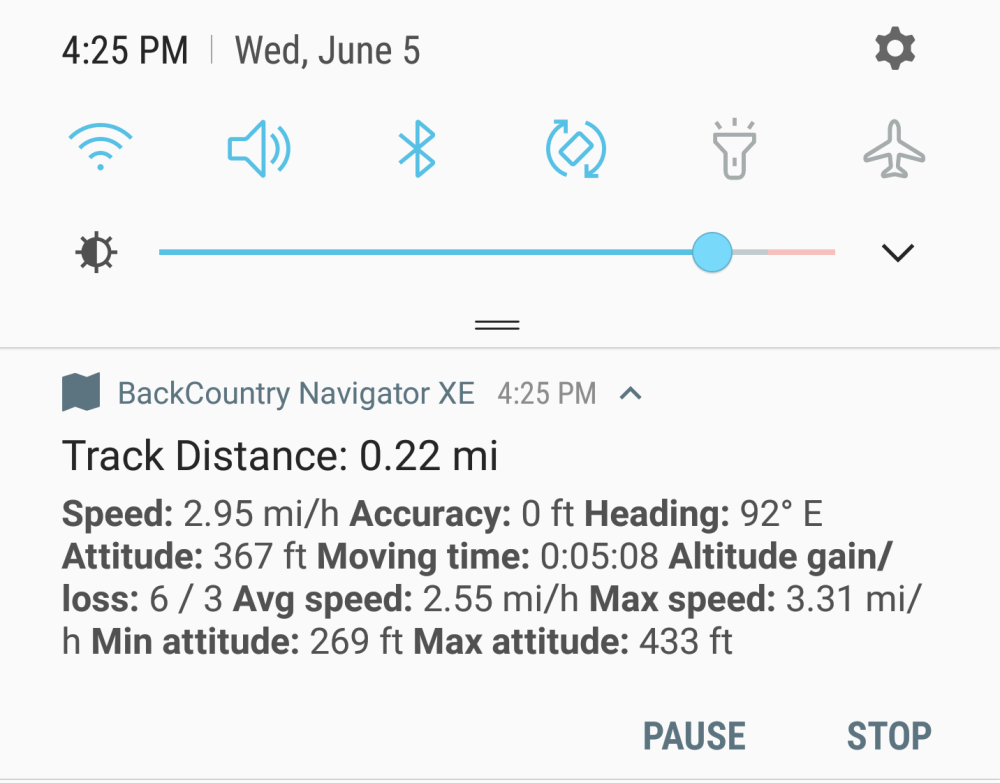
- Tap the triangle at the top of this banner to open up to see more stats in fullscreen.
![]()
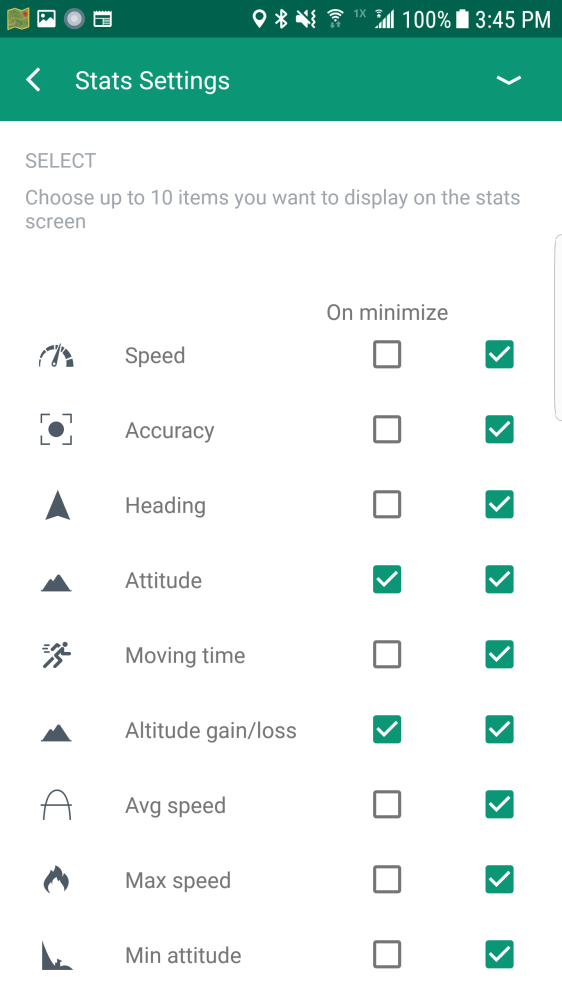
- Push the gear icon to access the settings on this page. This determines which stats are displayed when minimized and when in full screen.
![]()
- Tap the pause button to pause the track or stop button to finish recording your track.
- Tap the hiker icon at the lower right to show or hide the track banner
Need more help with this?
Helpdesk for BackCountry Navigator XE
Copyright © 2025 crittermap
—
Powered by 