
You can use the [Commit] feature to reflect what users have done locally to the team server. In order to commit, the revision on the server must be the same as the local revision. If the server and local revisions are different, an update dialog may appear.
Manual commit
- Commit manually by choosing one of the two methods below.
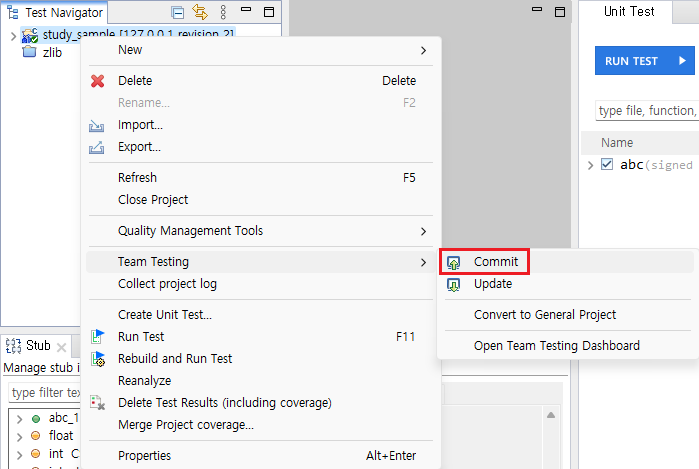
- In the [Test Navigator] view, select [Team Testing] > [Commit] from the project’s context menu.
![]()
- Select [Team Testing] > [Commit] at the top of the tool.
![]()
- In the [Test Navigator] view, select [Team Testing] > [Commit] from the project’s context menu.

- After checking the contents to be committed in the Commit dialog, click the [OK] button.
![]()
- In section 1, you can check the resources and tests to be committed.
- Resources or tests that have been added, deleted, or modified are marked with
![]() ,
, ![]() , or
, or ![]() , respectively.
, respectively.
- Resources or tests that have been added, deleted, or modified are marked with
- In section 2, you can compare the server contents (left) with the local contents (right) to be committed.
- Server contents and local contents cannot be modified.
- In section 1, you can check the resources and tests to be committed.
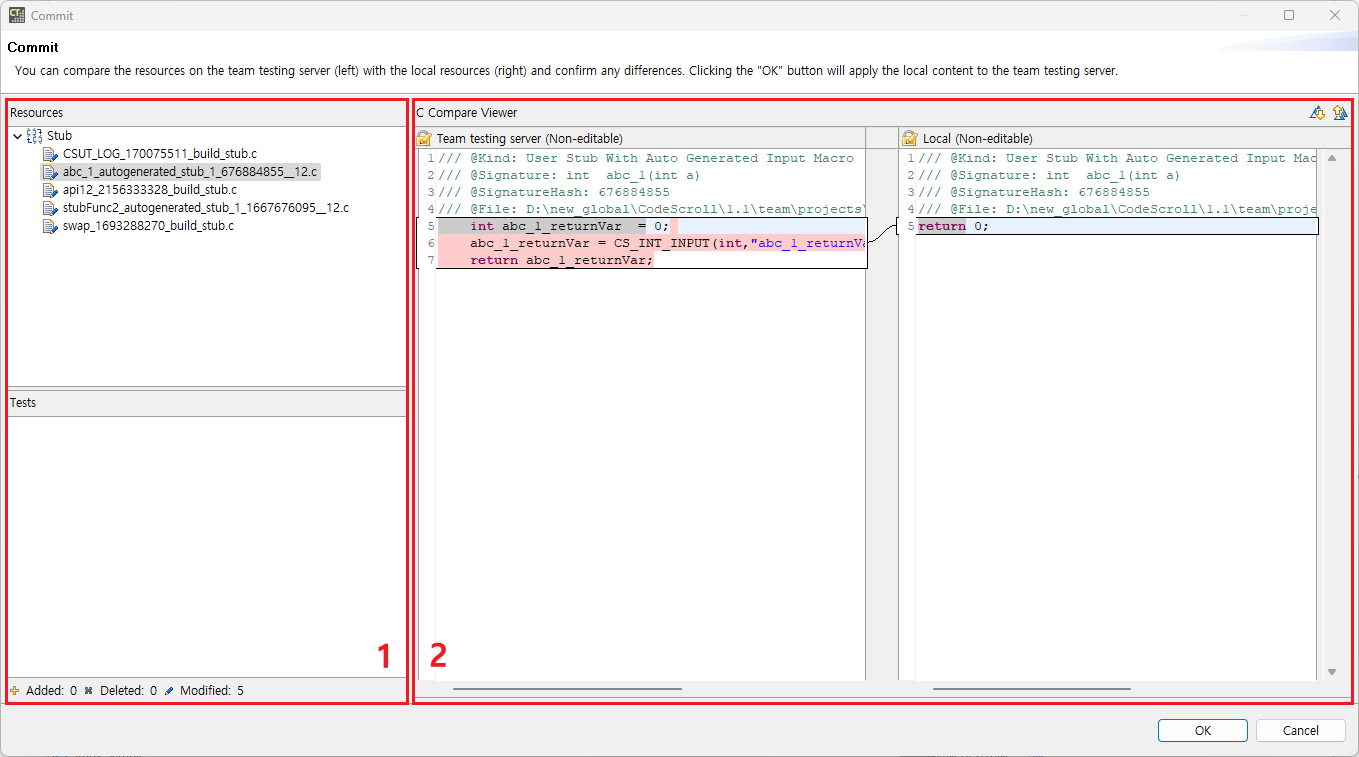
- After entering the commit message, press the [OK] button to proceed with the commit.
![]()

Automatic commit
After running the tests, the project’s changes and test results are automatically committed. When committing automatically, the commit dialog does not appear.
Need more help with this?
Don’t hesitate to contact us here.
Copyright © 2025 Suresofttech
—
Powered by 