
The Object Attributes serves as a quick way to classify an object based on a piece of data assigned by the Web Modeler. Attributes are used to add a layer of classification for items. EPC comes pre-loaded with a list of attributes for each object, but System Administrators can create and customize Object Attributes.
Object attributes types are Currency, Duration, Drop-Down – Multi-Select, Drop-Down – Single-Select, Number, Text and Date Type.
Assign Object Attributes
1. Navigate to the Properties tab in the Details Edit window of an object
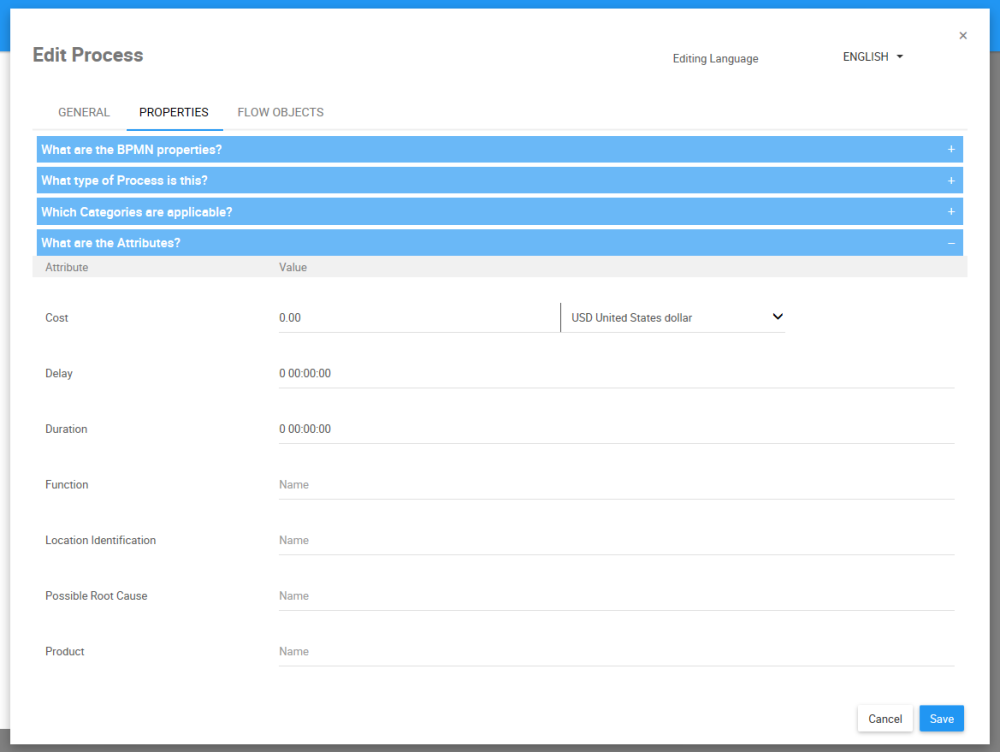
2. Assign a Currency Object Attribute
- Navigate to an Object Attribute with a Currency type. In this example, navigate to the “Cost” field
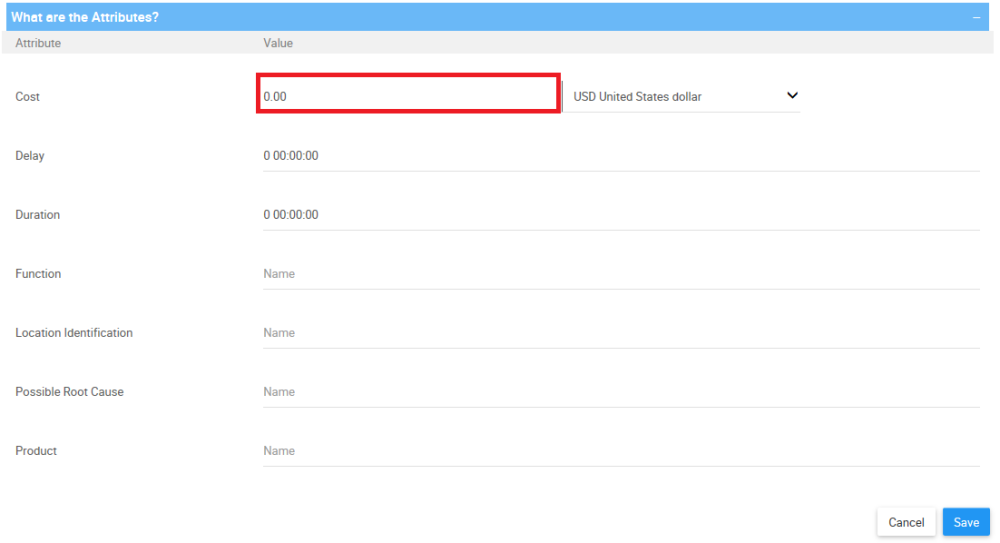
- Input the cost for the Object. In this example, the cost of executing a process is $500

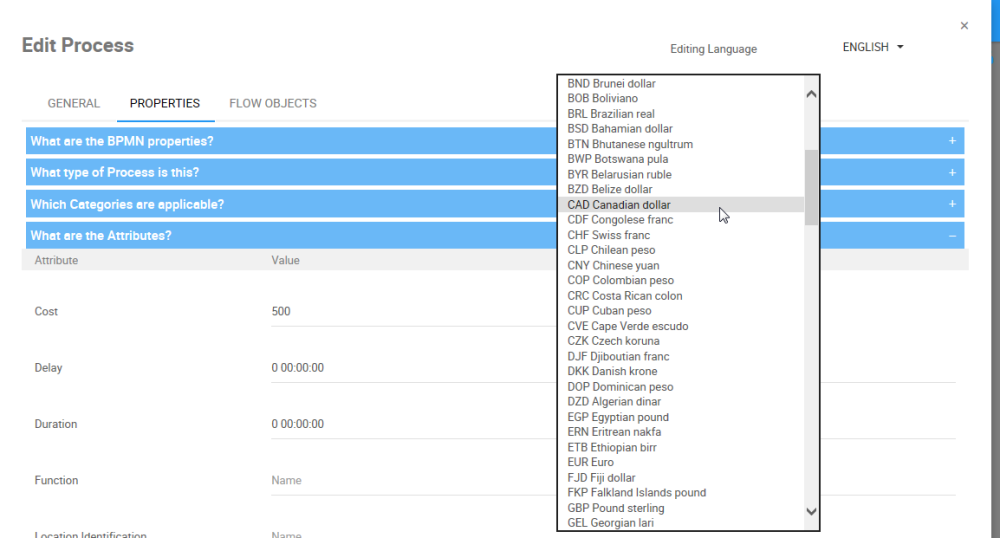
- Navigate to the currency drop-down

- A drop-down will be generated. Select the currency for the cost of the process
3. Assign a Duration Object Attribute
- Navigate to an Object Attribute with a Duration type. In this example, navigate to the “Duration” field
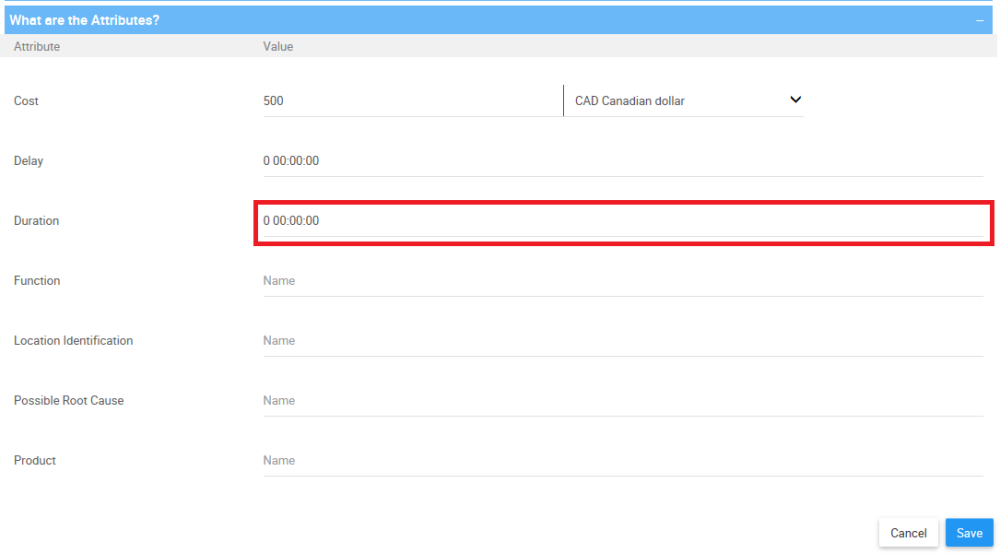
- Type the Duration for the Object. In this example, the duration of executing a process is 30 minutes

4. Assign a Number Object Attribute
- Navigate to an Object Attribute with a Number type. In this example, navigate to the “Location Identification” field
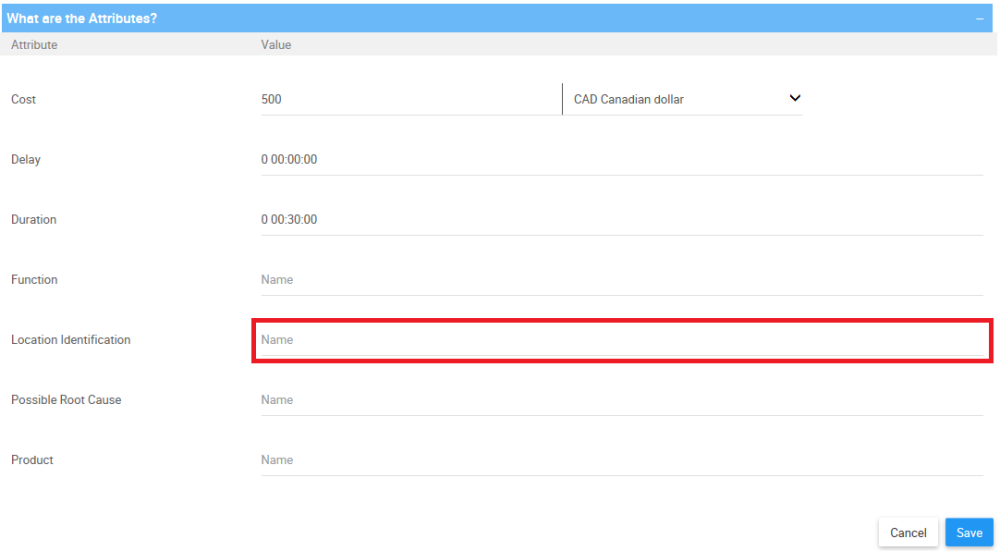
- Type the Number for the Object In this example, the location number 332

5. Assign a Text Object Attribute
- Navigate to an Object Attribute with a Text type. In this example, navigate to the “Product” field
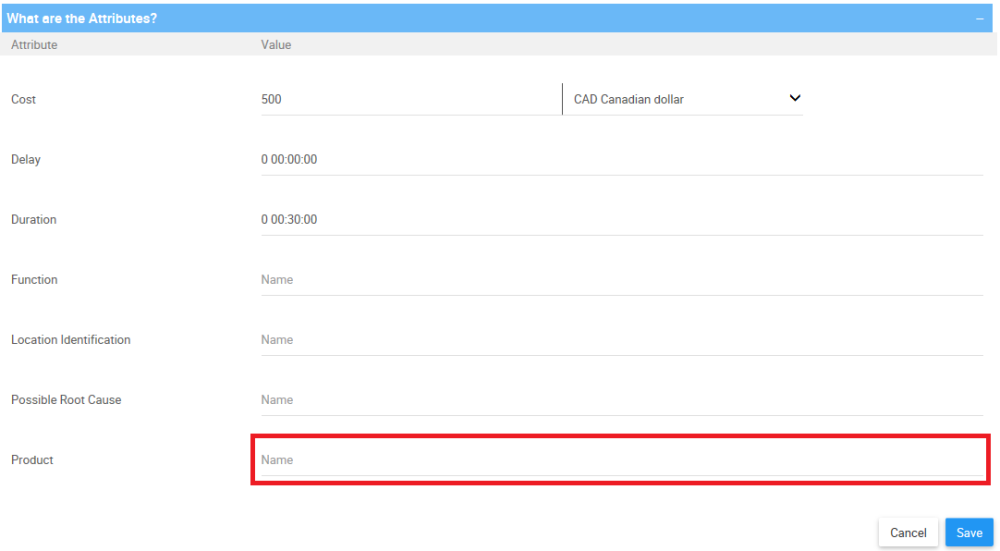
- Type the Text for the Object. In this example, the name of the product in this process is “Material I-233”

6. Assign a Rich Text Object Attribute
- Navigate to an Object Attribute with a Richtext type. In this example, navigate to the “Product” field
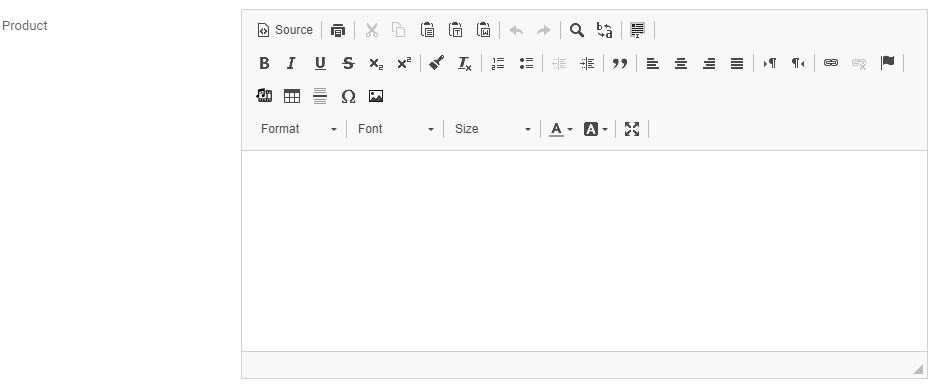
- Type the Text, add an image and a table”

7. Assign a Drop-Down – Multi-Select Object Attribute
- Navigate to an Object Attribute with a Drop-Down – Multi-Select type. Click on the “Select one or many values” field.
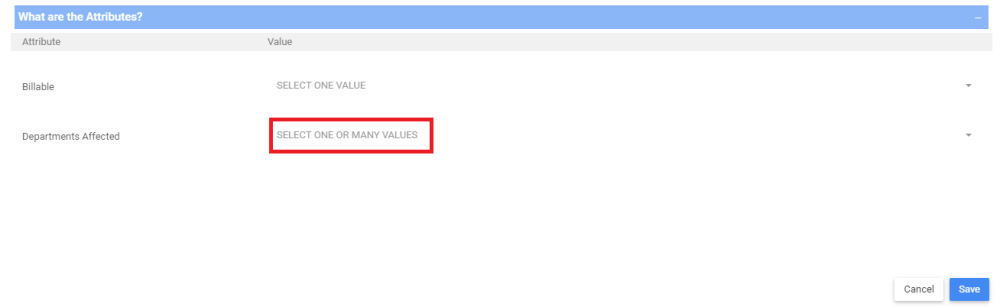
- Select one or multiple values by clicking on their name, and deselect them by clicking on them a second time. You can also select all the values by clicking on “Select All”, and deselect all the values by clicking on “Deselect All”

8. Assign a Drop-Down – Single-Select Object Attribute
- Navigate to an Object Attribute with a Drop-Down – Single-Select type. Click on the “Select one value” field.
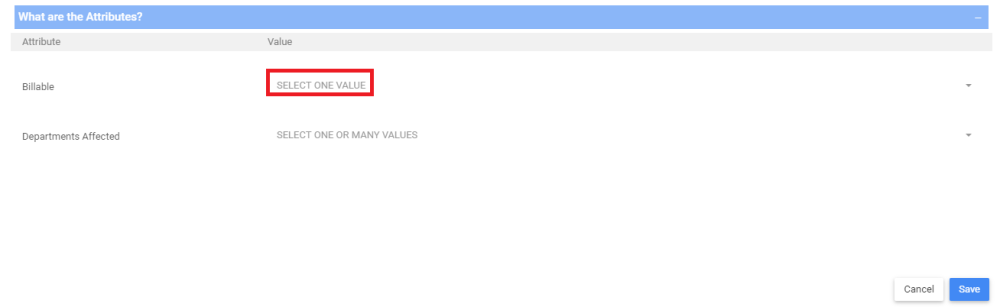
- Select one value by clicking on its name. To select another value, you can click on the other value’s name, and it will replace the first value. The (No Value) option allows you to select none of the options.

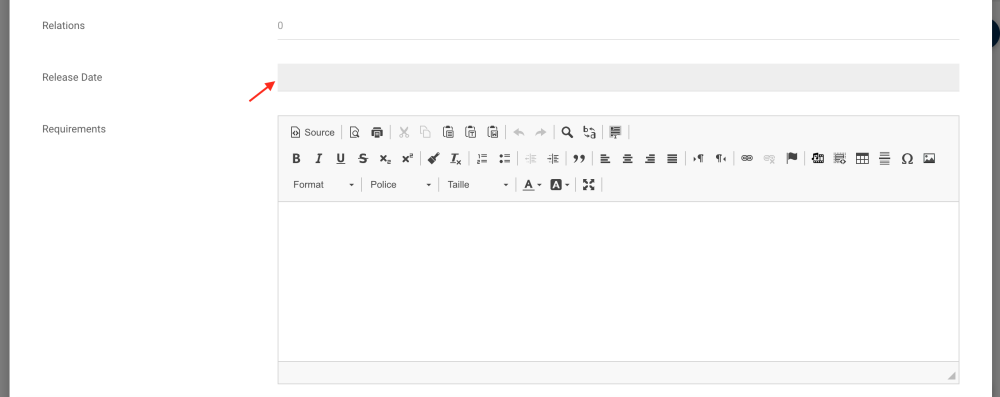
9. Assign a Date type Object Attribute
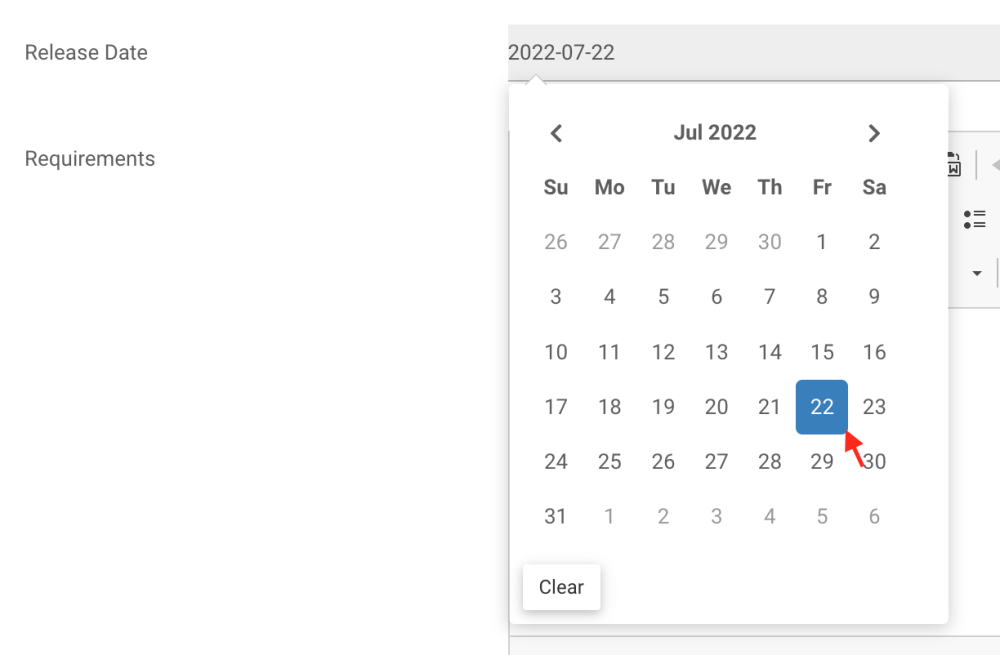
1. Navigate to an Object Attribute with a Data Type. Click on the blank field.
2. Select one value by navigating in the calendar picker and clicking on the desired date. To select another value, you can click again on the date, and select another date.
Need more help with this?
Visit the Support Portal