
A Pixel Map is the representation of where lighting fixtures are located to determine how video is applied to them.
Pixelmapper can have many different maps. Each map has a name and Index number and are opened from the Pixelmapper component.
To Create a new pixel map:
- Start the Pixelmapper Component
- Add the component to a pin board.
- Click + New Map
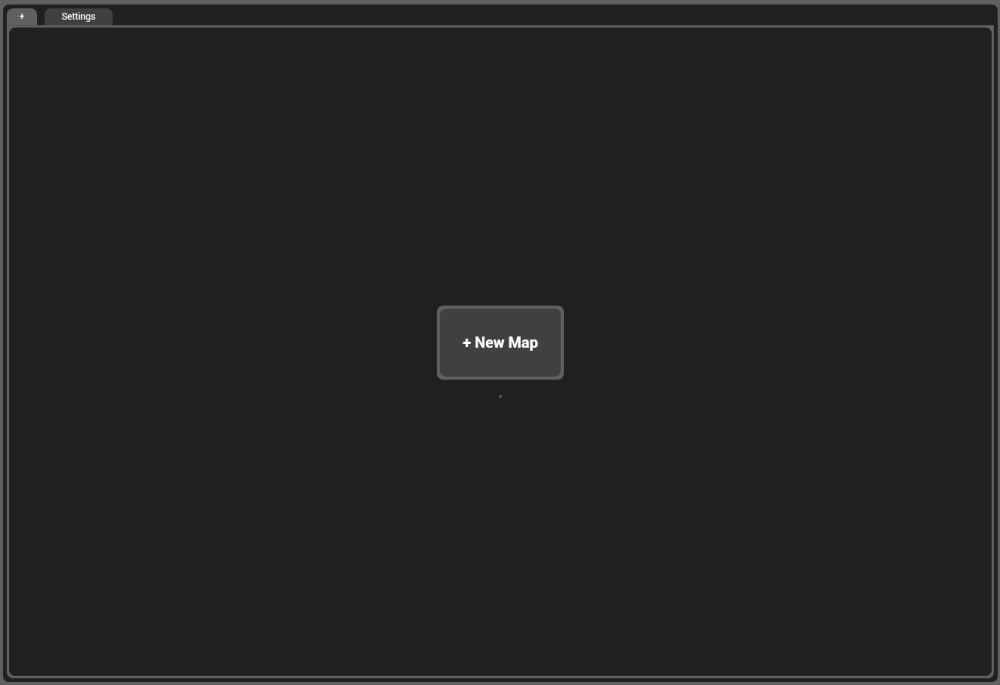
This will open a new Pixel map where fixtures can be created, added and patched to universes.
There are three basic modes used when working with pixel maps:
The active mode is show in the right side context menu.
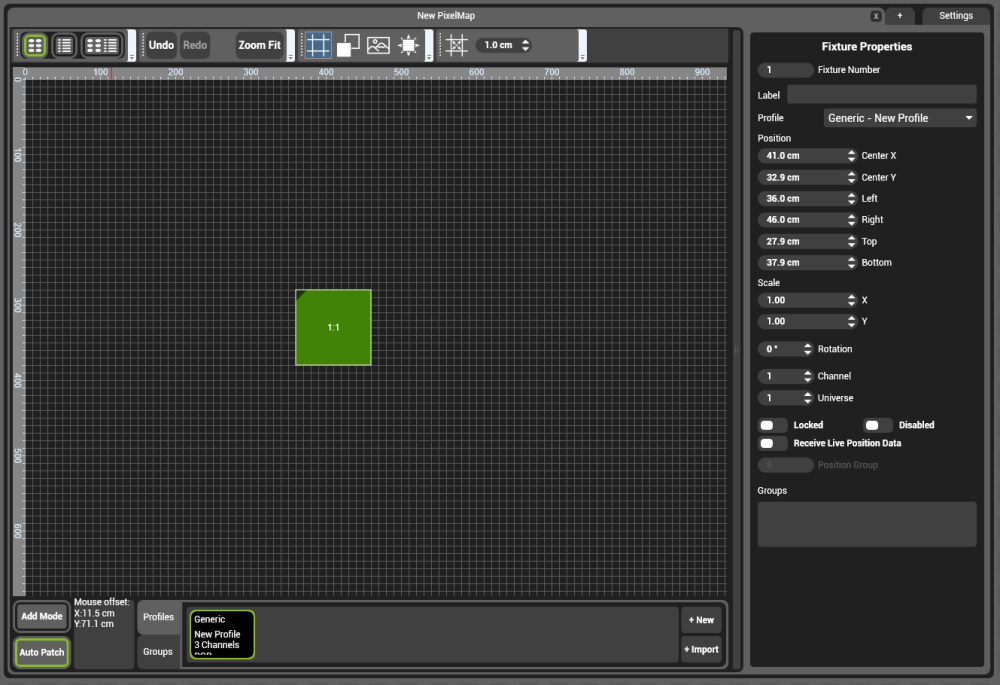
Clicking the map, a fixture or a profile will switch the properties to that object.
Around the pixelmap are a series of controls.

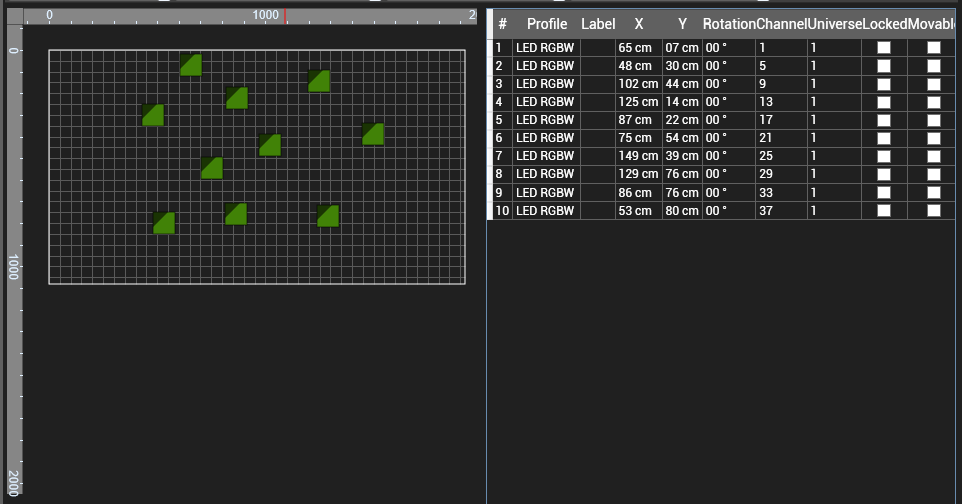
Grid / Sheet View
Changes the map view to be either full map, half data grid or full data grid.
View Controls
 Shows or hide the back ground grid
 Show fixtures as wire-frame or as solid
 Show or hide background image, also click to edit background image settings.
 Flashes selected fixture sending 0 and full DMX values to all channels of that fixture.
Snap Settings
When enabled, fixtures will be placed in multiples of the snap distance. So if set to 5, fixtures would only be placed at 0, 5, 10 etc.
Context Menu
Shows the properties of the selected item.
Profiles and Groups
Fixture Profiles define how a fixture is laid out similar to a personality in a lighting desk. Every fixture on the pixel map references a profile and if the profile is changed, the fixtures using that profile will also change.
Fixture Groups allows fixtures to be grouped together for easier editing.
Add mode / Auto Patch
Add Mode When enabled, left clicks in the pixel map will add the selected fixture.
Auto Patch All new fixtures added to the pixel map are placed in the next available DMX Address.
Post your comment on this topic.