
Color Overlay
Adds a color to all the pixels in an image. It will not affect the alpha channel so the shape of your image will be retained and only the color will change. This can be useful for making silhouettes by filling black or more creative graphical uses with images that are imported and have an alpha channel.
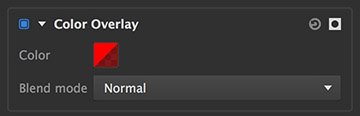
- Color: The color you want to add to all the pixels in the image and the opacity controls how much.
- Blend mode: The blend mode you want to use to mix the color with the original pixels color. See blend modes for more information.
Inner Glow
Applies a glow effect to the inside of the layer’s edges. The glow is applied as a gradient, which fades out as it reaches farther into the image.
- Color: Click the swatch to set the color of the glow.
- Size: Adjusts the width of the glow, in pixels.
- Spread: Increasing spread weights the glow transition in favor of the solid end of the gradient. The result is more of a solid line at the layer edge, and a smaller feather inside of the layer.
- Offset: Shifts the position of the glow in relation to the image, either horizontally on the X axis, or vertically on the Y axis.
The following image shows an example of black text with an orange inner glow:

Linear Gradient
Creates a linear between colors of your choice.
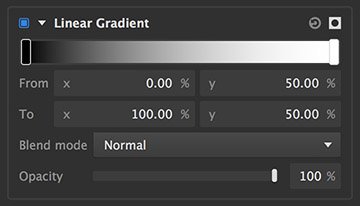
- Gradient controls: The gradient shows a visual representation of the current color selections.
- Editing the colors: Double-click the rectangular box at either end of the gradient to open a color picker and select the color you want to use at that end. You can also double click at any point to add an additional gradient stop. Up to 16 gradient stops can be specified.
- From: Defines the X (horizontal) and Y (vertical) positions of the left end of the gradient. X values run from 0 on the left to 100 on the right. Y values run from 0 at the top to 100 at the bottom.
- To: Defines the X (horizontal) and Y (vertical) positions of the right end of the gradient. X values run from 0 on the left to 100 on the right. Y values run from 0 at the top to 100 at the bottom.
- Blend mode: Choose the blend mode used to combine the gradient with the contents of the layer. Full details of all blend mode options can be found on the Blending modes page of this manual.
- Opacity: Adjusts the opacity of the gradient that is applied to the layer’s contents. Lower values make the gradient more transparent.
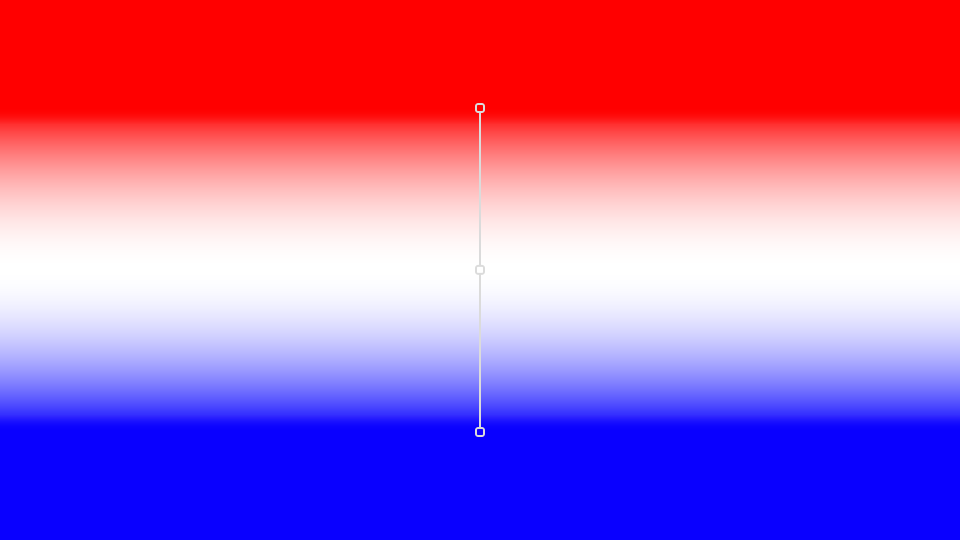
Below shows and example of a three color stop linear gradient:
Outer Glow
Applies a glow effect to the outside of the layer’s edges. The glow is applied as a gradient, which fades out as it reaches farther from the edges of the image.

- Color: Click the swatch to set the color of the glow.
- Size: Adjusts the width of the glow, in pixels.
- Spread: Increasing spread weights the glow transition in favor of the solid end of the gradient. The result is more of a solid line at the layer edge, and a smaller feather on the outside edge.
- Offset: Shifts the position of the glow in relation to the image, either horizontally on the X axis, or vertically on the Y axis.
The following image shows some text with a black outer glow:

Outline
Creates a solid line along the edges of the layer.
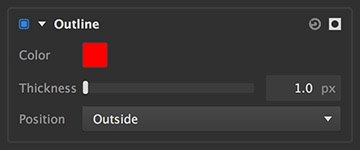
- Color: Click the swatch to open a color picker and select the color of the outline.
- Thickness: Sets the width of the line, in pixels.
- Position: Choose where the outline sits, in relation to the layer edge.
- Outside: The outline is positioned entirely outside the layer, so the inside edge of the line corresponds to the outside edge of the layer.
- Inside: The outline is positioned entirely inside the layer, so the outside edge of the line corresponds to the outside edge of the layer.
- Center: The outline is centered on the layer edge, so half the line is inside the layer and half is outside the layer.
Below is an example of a black outline on white text:

Pattern Overlay
Pattern overlay enables you to apply another image as an overlay onto the layer contents. The selected image is applied as a tile pattern, so it always fills the entire contents of the layer.

- File selector: Click the file icon at the right to open a file browser and select an image file. PNG, JPG and 8-bit TIFF files are supported.
- Scale: Adjusts the size of each instance of the selected image within the tiled pattern.
- Offset: Shifts the position of the pattern image in relation to the layer contents, either horizontally on the X axis, or vertically on the Y axis.
- Rotation: Turns the pattern image around its center point.
- Blend mode: Choose the blend mode used to combine the gradient with the contents of the layer. Full details of all blend mode options can be found on the Blending modes page of this manual.
- Opacity: Adjusts the opacity of the pattern. Lower values make the pattern more transparent.
- Mirror: By default, all tiles in the pattern use the same orientation. Enabling this option mirrors every alternate tile, for a more seamless pattern.
Below is a Imerge project with two layers. The bottom layer is a solid black layer with a pattern overlay, vignette and opacity reduced to make it blend with the black and darken. Then text is put on top with the same pattern overlay. You can see how pattern overlay can be used to make more graphical effects on both text and solid layers. It can also be used on image layers but if most useful when a layer has an alpha channel.

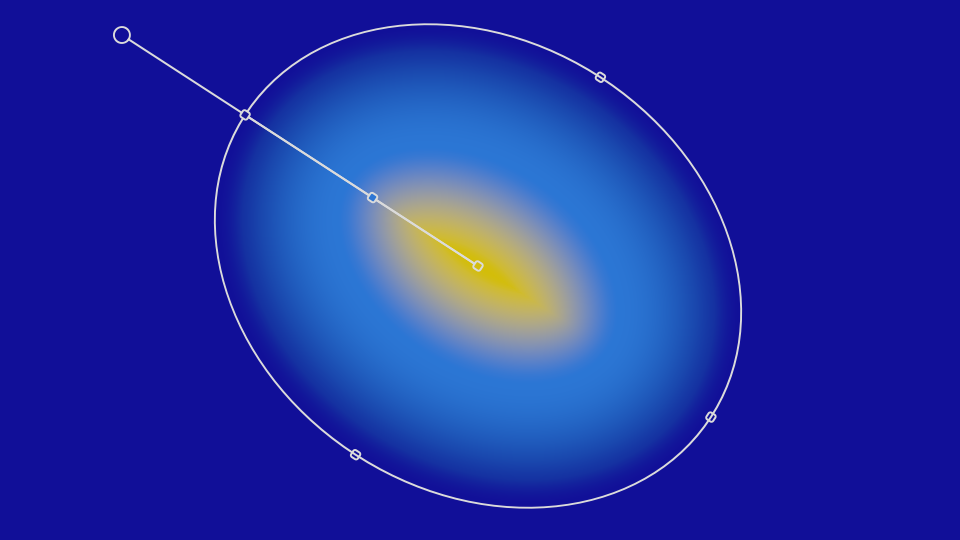
Radial Gradient
Creates a radial gradient, from one center color to another color at the outside of the radius.
- Gradient controls: The gradient shows a visual representation of the current color selections.
- Editing the colors: Double-click the rectangular box at either end of the gradient to open a color picker and select the color you want to use at that end. You can also add additional color stops between by double clicking anywhere on the gradient. Up to 16 color stops can be specified.
- Center: Defines the X (horizontal) and Y (vertical) positions of the gradient’s center. X values run from 0 on the left to 100 on the right. Y values run from 0 at the top to 100 at the bottom.
- Size: Defines the vertical and horizontal radii of the gradient, as a percentage of the layer’s width and height.
- Rotation: Spins the gradient round the center position. This option is more useful when the width and height sizes differ.
- Soften: Shifts the center of the gradient transition.
- Blend mode: Choose the blend mode used to combine the gradient with the contents of the layer. Full details of all blend mode options can be found on the Blending modes page of this manual.
- Opacity: Adjusts the opacity of the gradient that is applied to the layer’s contents. Lower values make the gradient more transparent.
Below is an example of a three stop radial gradient going from yellow in the center to dark blue at the circumference with a lighter blur half way between.
Need more help with this?
Don’t hesitate to contact us here.