
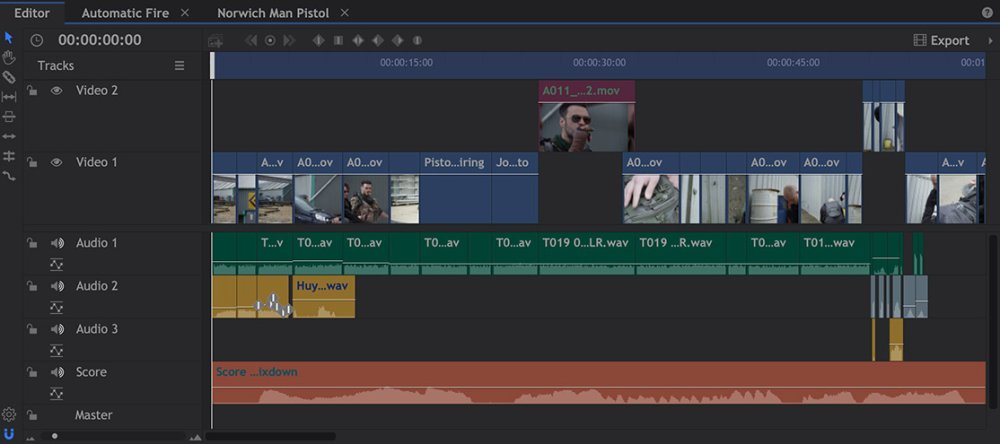
The editor timeline consists of several tracks. At first you will only have two tracks, one for video and one for audio. You can add additional tracks as needed, at any time. In the image below, there are two video tracks, and four audio tracks.
How Tracks Work
Tracks are only found on the editor timeline (composite shots use layers, which are covered in the Compositing section).
A track can only contain video or audio content, not both. In this context, ‘video’ can mean videos, images, planes or composite shots.
All video tracks are displayed in the top area of the timeline, while audio tracks are displayed in the bottom area. The amount of interface dedicated to each can be adjusted by dragging the splitter up or down.
A single track can hold as many clips as you want. Clips are placed sequentially one after the other, either end-to-end or with gaps in-between.
Linked Clips ![]()

Some media assets include both an audio and a video track. In this case the media asset is represented as two separate clips on the timeline, one on a video track and one on an audio track.
Linked clips are marked with the chain icon.
Any editing changes you make to one will also be applied to the other. Clips can be linked and unlinked by selecting them and choosing Link or Unlink from the right click menu.
The Tracks Menu
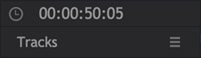
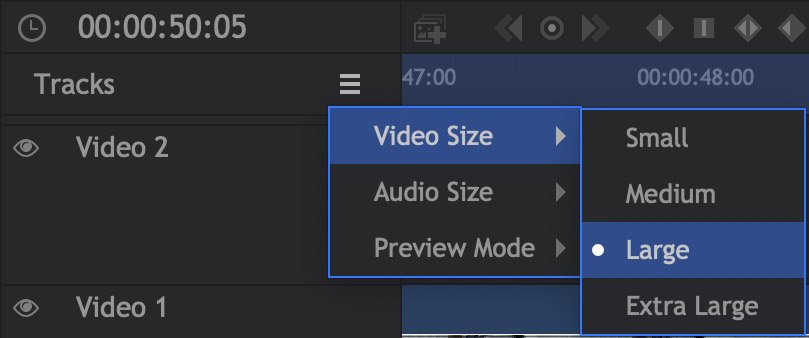
On the right end of the Tracks header bar is the Tracks Appearance menu.
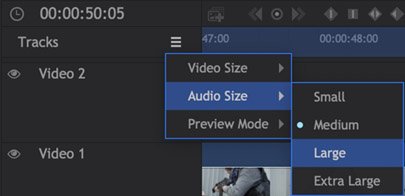
It provides access to the options for track height and other appearance options. The height of video and audio tracks can be set independently, and each gives you four size options. Medium is the default size. Larger heights make the thumbnails larger, so it is easier to see the contents of the video files contained in the tracks. Note that when Small is selected, no thumbnails will be rendered for the video tracks, and no waveforms will be displayed for audio tracks.
The Preview Mode controls how the thumbnails of the video files are displayed on the timeline.
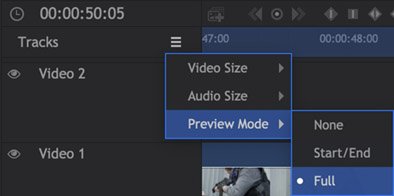
- None – removes all thumbnails from the timeline, using only the clip names to identify the individual clips that are present. This can speed up performance, since the thumbnails do not need to be calculated. The following image shows medium sized tracks with the preview mode set to None.
- Start/End – Shows only two thumbnails for each clip, one at the start and one at the end. This speeds up performance, while still providing images to help identify the clips at the edit points, where most adjustments are going to be made. This image shows medium sized tracks with the preview mode set to Start/End
- Full – Full is the default mode, and shows thumbnails across the entire duration of each video clip. This makes it very easy to identify your clips, regardless of where you are on the timeline. This image shows medium sized tracks with the preview mode set to Full.
Creating and Deleting Tracks
You can manage tracks through the menu access by right-clicking anywhere in the track listing.
- Insert Track: Adds a new track to the timeline. If you clicked in the video section of the timeline, a new video track will be added. If you clicked in the audio area, a new audio track will be added.
- Delete Track: Removes the track on which you clicked. If the track is empty, it will be deleted immediately. If the track contains media, you will see a confirmation alert before it is deleted.
- Delete Empty Tracks: Removes all empty tracks from the timeline in a single step.
- Rename Track: Opens and editor so you can enter a new name for the track on which you clicked.
Renaming and Re-ordering Tracks
Tracks by default are called Video 1, Video 2 or Audio 1, Audio 2 etc. If you want to change these names to be more descriptive you can do so. In the image at the top of this page, one of the audio tracks has been renamed to Score, to indicate what it contains.
To rename a track:
- Right click the track name and click Rename Track, then enter a new name for the track.
You can drag tracks up and down in the list to re-order them. This will move the entire track’s contents.
Locking Tracks ![]()
![]()
You can lock any track on the timeline, to prevent changes from being made to its contents.
- Unlocked:
![]() By default, all tracks are unlocked when created. When unlocked, the contents of the track remain fully editable. Click the lock icon to toggle the locked status.
By default, all tracks are unlocked when created. When unlocked, the contents of the track remain fully editable. Click the lock icon to toggle the locked status.
![]()
- Locked:
![]() When locked, the contents of the track cannot be changed in any way. This is useful for preventing unwanted changes. Click the lock icon to toggle the locked status. When a track is locked, hashmarks appear over the contents of the track, to clearly identify its locked state.
When locked, the contents of the track cannot be changed in any way. This is useful for preventing unwanted changes. Click the lock icon to toggle the locked status. When a track is locked, hashmarks appear over the contents of the track, to clearly identify its locked state.
![]()


Muting Tracks ![]()
![]()

Video and audio tracks can be turned on and off using the mute icons to the left of the track names.
*Turning a track off does not lose any of its clips or properties. 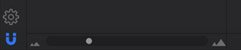
Adjusting the Zoom of the Timeline
HitFilm can dynamically fit timelines of any length into the available space. At times you will need to zoom in on a specific area of time, to fine tune the timing of an edit or of effects to a finer degree of accuracy. At the bottom left of the timeline is the Zoom slider, which controls the zoom level of your timeline.