HitFilm Pro offers a variety of tools for creating text and titles.
- The Text Effect allows you to quickly generate text on any timeline, by applying the effect to a Plane or other media object.
- The Text Tool can be used in Composite Shots to generate text layers which can be converted to 3D and interact with HitFilm’s 3D lights and cameras.
- Boris 3D Objects allow you to generate complex 3D titles with a fine degree of control.
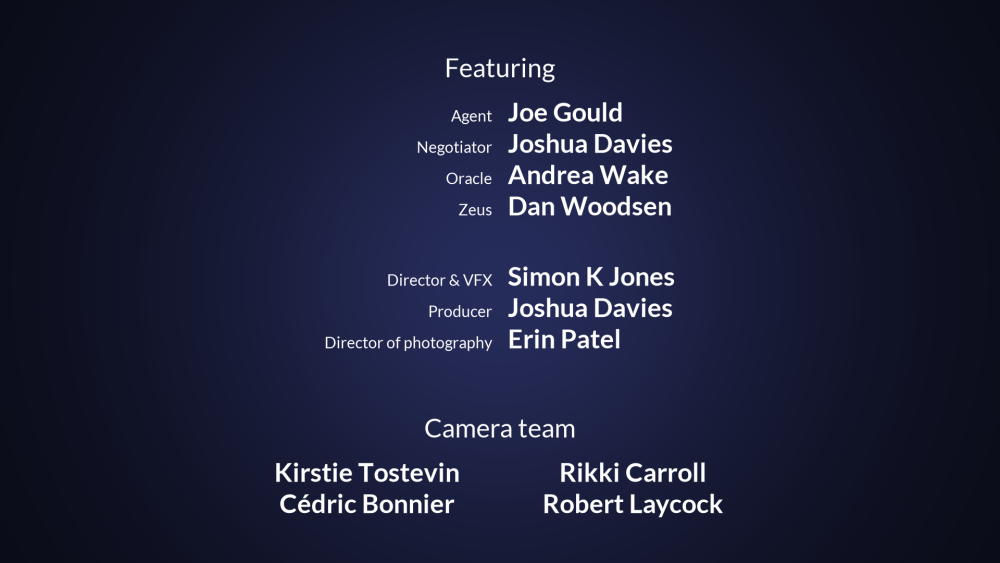
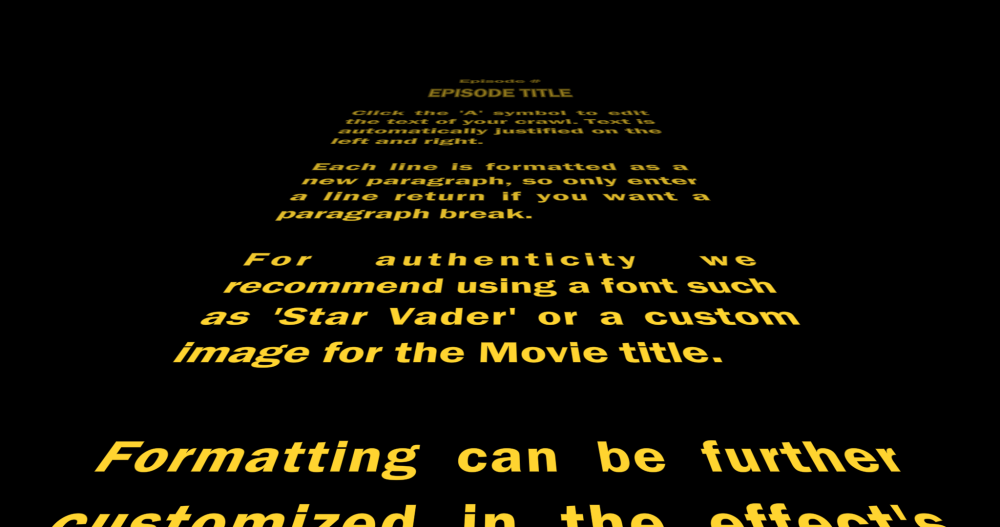
- Several other effects such as End Credits Crawl and Pulp Sci-Fi Title Crawl are designed to simplify the creation of specific text objects.
HitFilm’s own tools provide a very fast workflow for simple text, while Boris 3D Objects generates provides a greater level of control for refining the quality of 3D text shapes.
The Text Effect
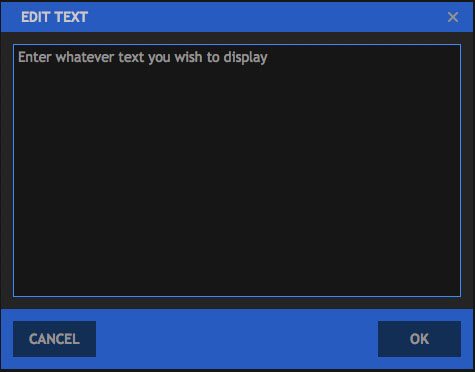
The Text effect lets you quickly generate text on any timeline, including the Editor. To add Text, drag the Text effect from the Effects panel onto a Plane, an image, or a video clip, to add text to that object. Open the controls for the effect in the Controls panel, and then click the A icon displayed to the right of the Text property. This will open the Edit Text dialog, where you can enter the text you wish to add to the layer. Once you are finished editing the text, click the OK button to close the Edit Text dialog and apply the changes. You can then edit the text and further customize the effect in the Controls panel, or directly on the timeline when working in a composite shot.
- Text: This is where you edit the contents of the Text effect. Click the “A” icon to open the Edit Text window. You can then enter whatever text you wish the effect to display.
![]()
- Cancel: discards any changes you have entered and closes the Edit Text window.
- OK: Confirms the text you have entered and closes the Edit Text window. Once the window closes, the text will be updated on the viewer.
- Transform
You can control the alignment and positioning of the Text effect through these controls.- Offset From: Select the position from which the layer movement will be measured. By default the text is Centered, but you can also place it in the Bottom Left, Bottom, Bottom Right, Left, Right, Top Left, Top, or Top Right.
- Position Offset: Sets the distance, in pixels, which the layer is moved from the default position selected in the Offset From menu.
- Rotation: Sets the rotation of the layer, in degrees.
- Format
The Format controls allow you to set the details of the text style for the effect.- Font: Select the font to be used, from a list of all fonts installed on your computer.
- Style: If your selected font includes different styles (Bold, Light, Italic, etc.), you can select your desired style here.
- Alignment: The text alignment can be adjusted here. You can align the text to Left, Center, or Right, or Justify the text to keep both sides aligned
- Color: Allows you to select a font color.
- Opacity: Sets the transparency of the Text, from completely invisible at 0.00 to completely opaque at 1.00.
- Font Size: Sets the size of your text. In general, if you want to enlarge your text, it is better to increase the font size rather than increase the layer Scale above 100%.
- Line Spacing: Defines the vertical spacing between each line of text.
- Enable Word Wrap: Toggles word wrap on and off. Enabling word wrap means that as soon as the text gets too long to fit in a single line, a line break will be created automatically, and a new line is started automatically.
- Word Wrap Width: Defines the width at which word wrap will be implemented. You can create margins in your text layer by setting the Word Wrap Width to a smaller value than the width of the layer the text effect is applied to. For example, if your text is applied to a Full HD layer that is 1920 pixels wide, and you set the Word Wrap Width to 1800, the 120 pixels that remain will be split to create a 60 pixel wide margin on each side of the layer.
- Blend: Determines how the Text is blended with the layer it is applied to. None will prevent the layer from being displayed at all, so only the text is visible. Normal displays the text over the top of the layer, so both are visible. Details on all the other Blend Mode options can be found on the page about Compositing With Blend Modes.
- Motion Blur: Sets the amount of motion blur applied to the layer when its position is animated.
The Text Tool: Creating Text Layers
The built-in Text Tool is excellent for creating custom text layers which can then be manipulated like any other layer. Text layers are always created in a composite shot timeline, and cannot be created in the Editor. If you want to create text in the Editor, use the Text effect, explained above.
There are several ways to create a text layer.
- Select Text from the New Layer menu on a composite shot timeline. This creates a cursor at the center of the Viewer, and you can immediately type in your text.
- Use the Viewer Text Tool to click anywhere in the Viewer. Clicking once will create a cursor so you can begin typing at that location, or you can click and drag to draw a text box of any size.
Editing Text
You need to have the Text tool selected in the Viewer to edit text.
With the Text tool selected, only text layers will be highlighted in the Viewer. Drag to select the text you wish to edit, then begin typing. You can select text and move the cursor as you would in an ordinary text application.
When a text box is used, the text you enter will automatically wrap to the next line. when using an open text layer, line breaks must be entered manually using the Enter key.
The shape and size of a text box can be adjusted by dragging the handle on its bottom-right corner when the Text tool is selected. The text will automatically update as the text box is changed.
Text properties such as size and font are controlled from the Text panel. The text panel affects the currently selected text and any text you’ll create in the future. If you want to change the attributes of existing text, make sure you have it selected in the Viewer with the Text tool.
Character
The character properties are as follows:
- Font Name: Lists all the compatible fonts available on your computer.
- Font Weight: If your selected font includes different weights (Bold, Light, Italic, etc.), you can select your desired weight here.
- Size: Sets the font size, to control the size of your text. In general, if you want to enlarge your text, it is better to increase the font size rather than increase the layer Scale above 100%.
- Line Spacing: Defines the vertical spacing between each line of text.
- Character Spacing: Sets the horizontal spacing between each individual character.
- Outline Size: Sets the width of the text outline. At 0px no outline will be visible.
- Color: Allows you to select a font color.
- Outline Color: Lets you choose the color of the outline, which will only be visible if the Outline Size is greater than 0px.
Paragraph
The alignment of text can be adjusted using these controls. The first set of controls works for both open text layers and text boxes. For open text, each line can be aligned independently, so if you want to apply a specific alignment to multiple lines, make sure to select them all first.
- Left Alignment: Aligns the left edge of the text to the X position of the layer, for open text layers, or to the left edge of the text box, for text boxes.
- Center Alignment: Aligns the center of the text to the X position of the layer, for open text layers, or to the center of the text box, for text boxes.
- Right Alignment: Aligns the right edge of the text to the X position of the layer, for open text layers, or to the right edge of the text box, for text boxes.
For text boxes, additional justified alignment options are available.
- Left Justify Alignment: Adjusts the spacing between words in each line so that each line fills the complete width of the text box. The final line of the paragraph will be aligned to the left.
- Center Justify Alignment: Adjusts the spacing between words in each line so that each line fills the complete width of the text box. The final line of the paragraph will be center aligned.
- Right Justify Alignment: Adjusts the spacing between words in each line so that each line fills the complete width of the text box. The final line of the paragraph will be aligned to the right.
- Justify Alignment: Adjusts the spacing between words in each line so that each line fills the complete width of the text box. If the final line of the paragraph has only a single word, it will be aligned to the left. If there are multiple words, the final line will be justified like all other lines.
- Top Alignment: Aligns the top of the first line of text to the top of the text box.
- Middle Alignment: Centers the paragraph vertically within the height of the text box.
- Bottom Alignment: Aligns the bottom of the last line of text to the bottom of the text box.
- Left Indentation: Indents the text from the left side of the text box, effectively creating an empty margin on the left side.
- Right Indentation: Indents the text from the right side of the text box, effectively creating an empty margin on the right side.
- First Line Indentation: Indents only the first line of each paragraph, to define the start of paragraphs and create a standard paragraph layout. Negative values will shift the line to the left. This property is available for both open text layers and text boxes.
- Top Indentation: Indents the text from the top of the text box, effectively creating an empty margin above the text.
- Bottom Indentation: Indents the text from the bottom of the text box, effectively creating an empty margin below the text.
- Gap Before Paragraph: Creates a gap above the line break defining the start of the current paragraph, to separate it from the precending paragraph. This does not affect the first paragraph in the text box. This setting can be edited per paragraph, and is available for both open text layers and text boxes.
- Gap After Paragraph: Creates a gap below the line break defining the end of the current paragraph, to separate it from the following paragraph. This does not affect the first paragraph in the text box. This setting can be edited per paragraph, and is available for both open text layers and text boxes.
Animating Text
If you have the Viewer Select tool selected you can transform the text layer like any other layer in the viewer, with full rotation and position controls.
3D Text
Text layers can be converted to be 3D objects that integrate directly into HitFilm Pro’s 3D compositing environment. By converting the text layer to 3D, you can make it a 3D plane that can be rotated on the X, Y, and Z axes. By adding Geometry effects and adjusting the Materials, you can transform it into an actual 3D object which can be illuminated by Lights.
- Geometry
- Convert the Text layer to 3D.
- Apply the Extrude Geometry effect to the text layer. (For full details on the Geometry effects, see the Geometry Effects page.)
- Materials
In the Materials you can adjust how the text layer is affected by 3D lights you add to your scene. You can also apply an Environment Map to text, so that the text can receive specular or diffuse reflections from a specific layer on your timeline, or from the entire composite shot which contains the text.- Open the Materials controls for the Text layer, and enable Receives Ambient Occlusion and Casts Ambient Occlusion.
- Open the Environment Map menu and select Use Composite Shot. This will apply all other layers in the composite shot as an environment map. If you have a single layer you prefer to use, you can select it instead.
- Adjust the Specular Reflectivity and the Diffuse Reflectivity to control how much of an impact the Environment Map has on your layer.
Boris FX 3D Objects
This is available in the Effects library and can be applied like any other effect. You will usually want to apply the 3D Objects effect to a plane or grade layer, which can then serve as a host.
For details on using Boris FX 3D Objects, see the Boris documentation included with the plugin. To access the help, click the Help button in the plugin’s main controls.
The Boris plugin features its own lighting and camera controls, which allow you to create three dimensional, illuminated text objects, even on a 2D timeline. If you are working in a 3D timeline, however, you can set Boris to use HitFilm’s native lights and camera, so the Boris text is integrated into HitFilm’s Unified 3D workspace. You can use either the built-in Boris lights or HitFilm’s native light layers, or use both together.

- Use Comp Lights: allows the Boris text to use HitFilm’s native light layers, and is disabled by default.
- Use Built-in Light: illuminates the text with the lights included in Boris. One light is enabled by default, but you can have up to three lights in your Boris Text effect, by enabling the tickboxes for additional lights.
- Use Comp Camera: overrides the built-in Boris camera, and displays the text based on its 3D position relative to the active HitFilm camera layer. By default this option is off, and the camera built into Boris is used to display the text.
You can also find the Boris FX documentation installed on your computer here:
Windows: C:\Program Files\Boris FX, Inc\Boris Continuum Complete OFX 10.0\Documentation
Mac: Library/Application Support/BorisFX/BCC OFX 10/Documentation
End Credits & Text Crawl Effects
The end credits and text crawl effects provide a very rapid way to generate text. More details can be found in Generate.