
Instantly create a wormhole-style rift in space!
The Dimension Rift effect has several built-in features for easily creating authentic portals:
- Automatically displace the background video as the portal opens
- A layer can be selected to be visible through the portal
- Pre-animated opening, closing and connecting of portals with controllable animation speed
- Fine control over 3D wave surface
- Create custom shapes
Applying the rift
The Dimension Rift effect can be applied directly onto a video or image layer. This will enable it to displace and warp the background as the portal opens, but you will not be able to rotate and position it in 3D, because it is locked to the host layer.
For more flexibility it is recommended that the effect is added to a separate plane layer (see Creating and using planes). This plane layer can then be transformed in 3D (see Transforming layers in 3D), which will also transform the dimension rift. Even when applied to a separate plane layer, the effect can still warp the desired source layer. See the Wall Image property, detailed below.
Wall image
As described above, when applying the effect you may want it to be able to warp a different layer to the host. The Wall Image property is used to define the layer which should be warped.
For example, take an example of a composite shot containing two layers: a live action video clip and a 3D plane. The Dimension Rift is applied to the 3D plane, which is then positioned in 3D space so that the portal is applied to a wall. The Wall Image property is set to the video layer, so that as the portal opens it warps the video.
Shape
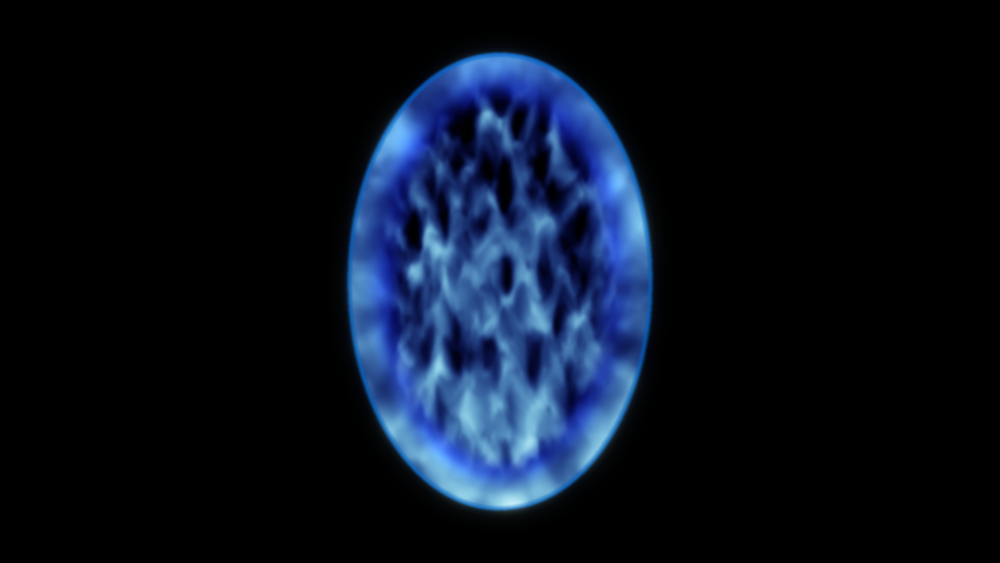
The Dimension Rift defaults to a classic oval shape. This can be customized in the Shape group.
The From Mask option can be used to select a separate layer to use as the shape. For example, an image or embedded composite shot containing an alpha channel. This makes it easy to create your own custom shapes.
View
This is what is seen through the portal, when it is open.
With the Image set to None, the view through the portal is simply a hole cut through the host layer. Setting the Image to another layer will composite that layer inside the portal. Note that it will only be visible if the Connection property is increased above 0.00.
The position, depth (Z), rotation and scale of the selected Image can be adjusted as required. Increasing the Z depth will create a greater sense of parallax movement if you move the portal in 3D.
Appearance & Animation
These settings are used to adjust the outline and interior elements of the portal, and how they animate over time.
The Sparks setting is used when the expansion and connection properties are adjusted.
Optional layers
Specific elements of the effect can be turned on and off, which can be useful when creating more complex composites. This lets you render elements individually, providing finer control.
Colors
The Primary color is used on the side of the dimension rift closest to camera. The Secondary color can be glimpsed through the portal when it is open, and represents the portal on the ‘other side’. This can be set to be a different color.
Expansion & Connection
The behavior of the dimension rift is controlled with these properties.
Expansion animates the portal appearing/disappearing on a surface. This includes displacement warping as it expands, as long as you have selected a Wall Image.
With Connection set to 0.00, the portal will be closed, with a rippling, water-like surface. Increasing the Connection will dissolve the rippling surface to reveal the View, as set in the View properties.