
Color grading effects are for giving your project a unique visual style.
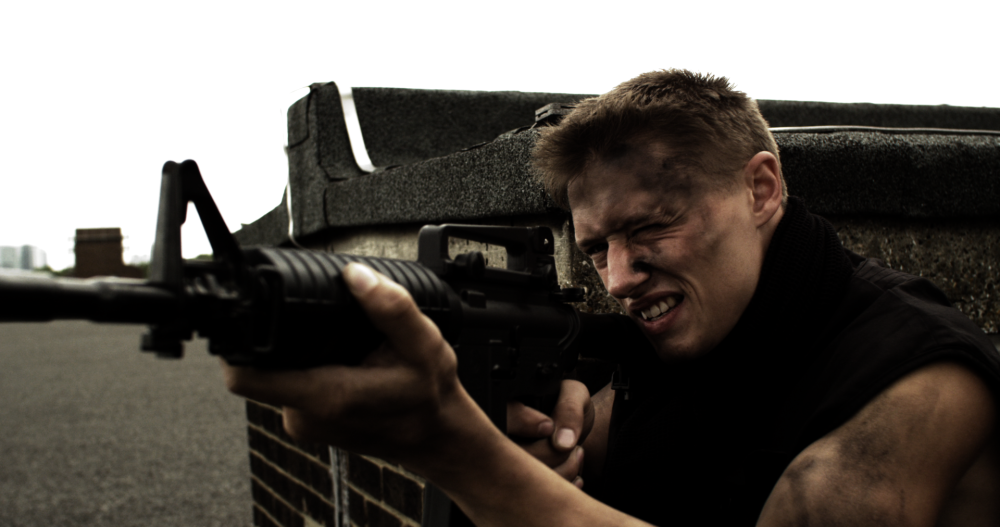
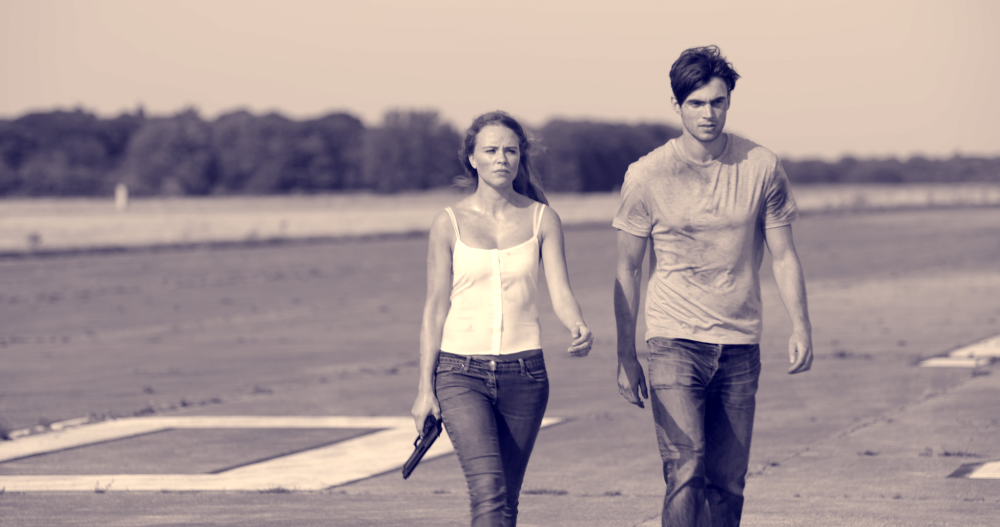
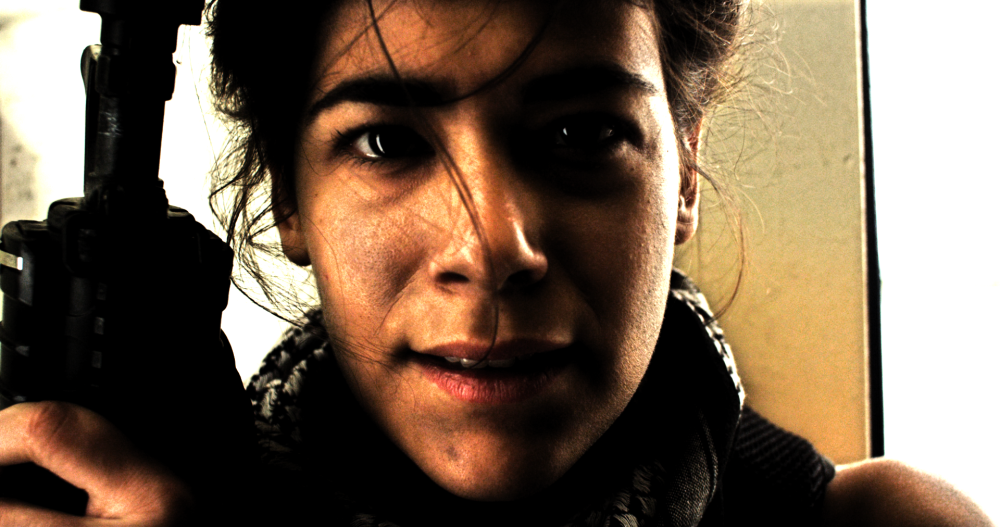
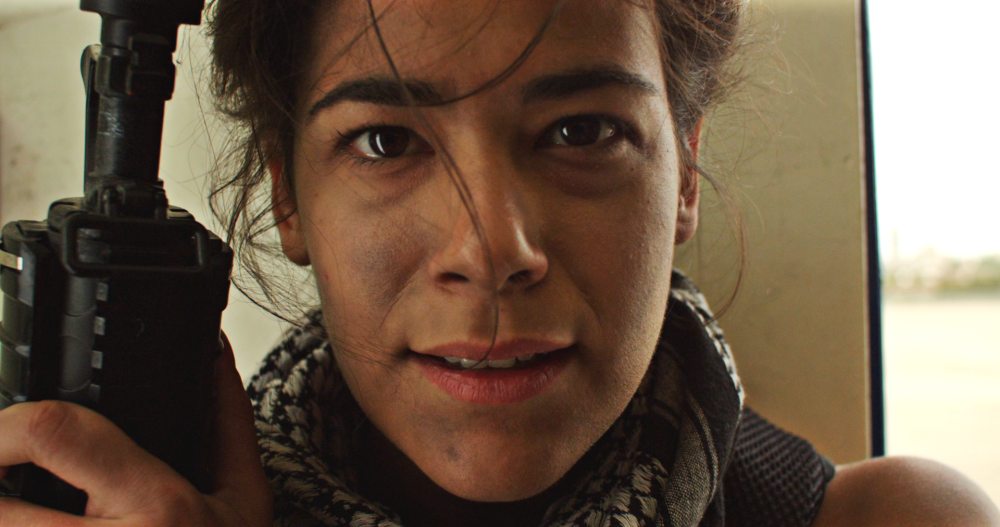
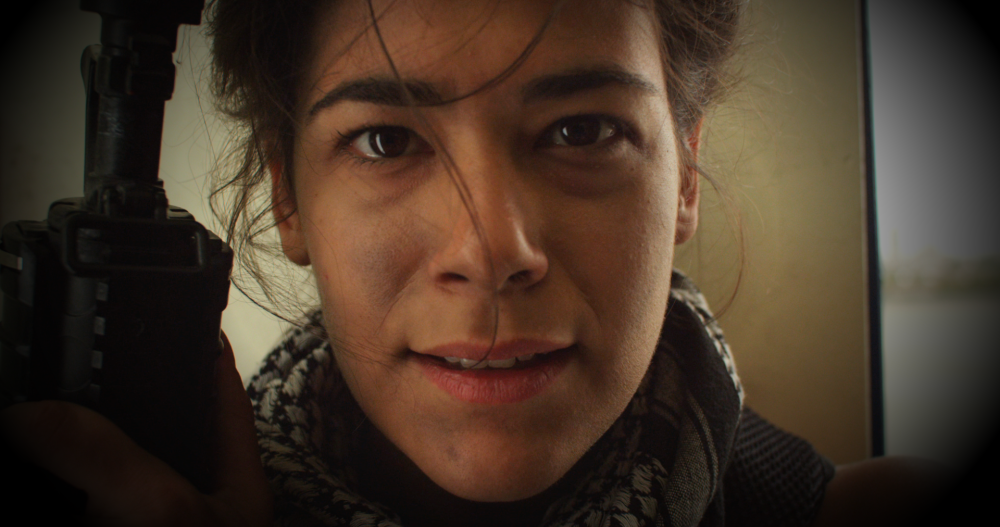
Bleach Bypass
Simulates the harsh, high contrast look of bleach bypass film processing. Often used for war movies.
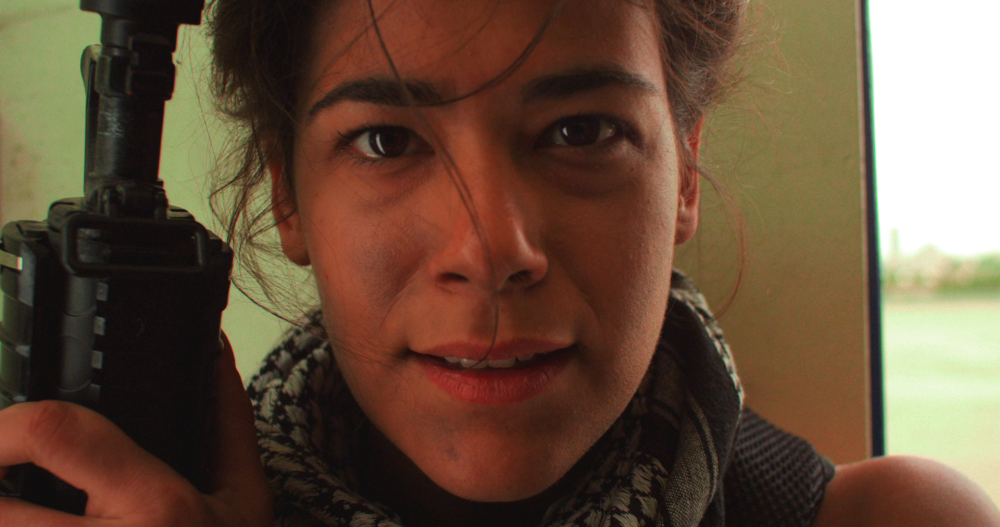
Cine Style
Using an s-curve shift, cine style creates a cinematic, Hollywood-style look. It is a fast method for achieving a professional, high quality finish. While it offers a rapid grade, it still provides controls for fine tuning the appearance.
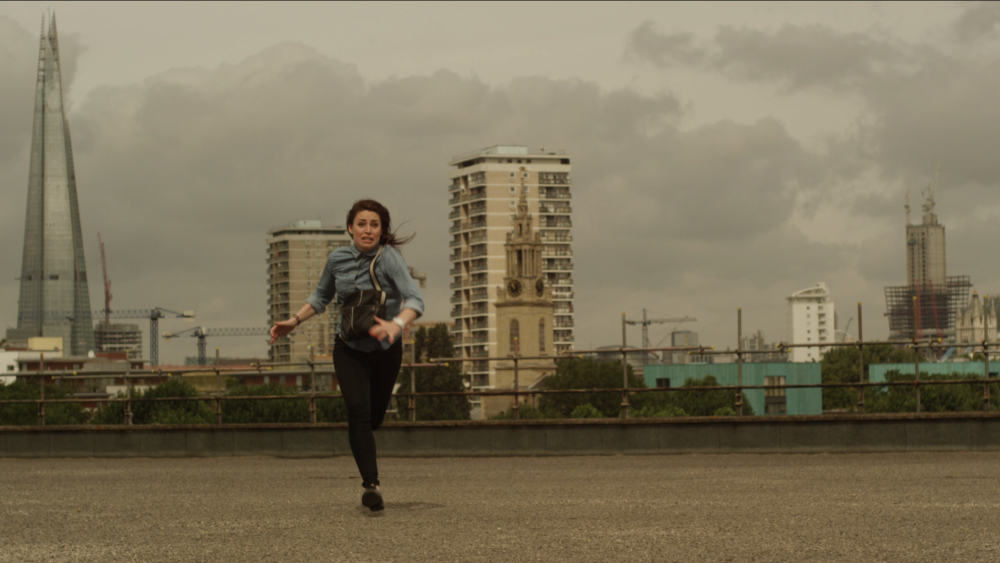
Cine style includes built-in grain, vignette and letterboxing features. These can be turned on or off depending on the desired look.
The s-curve property adjusts the contrast, while the color adjustment properties determine the effect of the color shift. The defaults push towards the orange-and-teal palette popular in Hollywood blockbuster filmmaking.
Classic Cine Style
This effect is all about recreating retro film looks. It includes several presets and can also be fully customized. Here’s an example of a preset recreating the look from 1950 film Gentlemen Prefer Blondes:
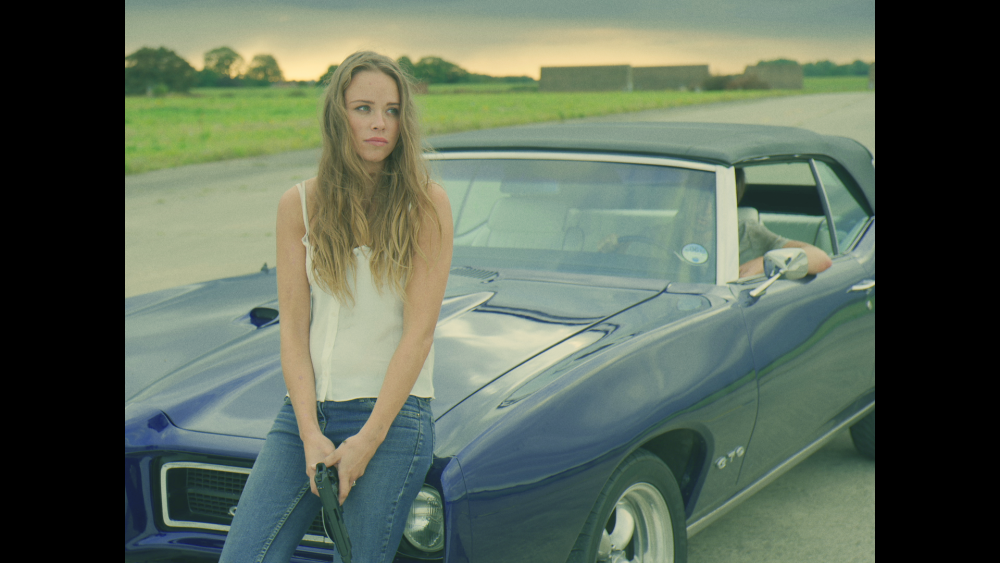
Basic contrast is controlled with the built-in s-curve adjustment and exposure and saturation can be easily adjusted.
The film grain effect is integrated into classic cine style, applying a range of procedural grains based on 8mm, 16mm and 32mm film stocks.
The red, green and blue channels can be adjusted individually and letterbox and vignette controls are also included.
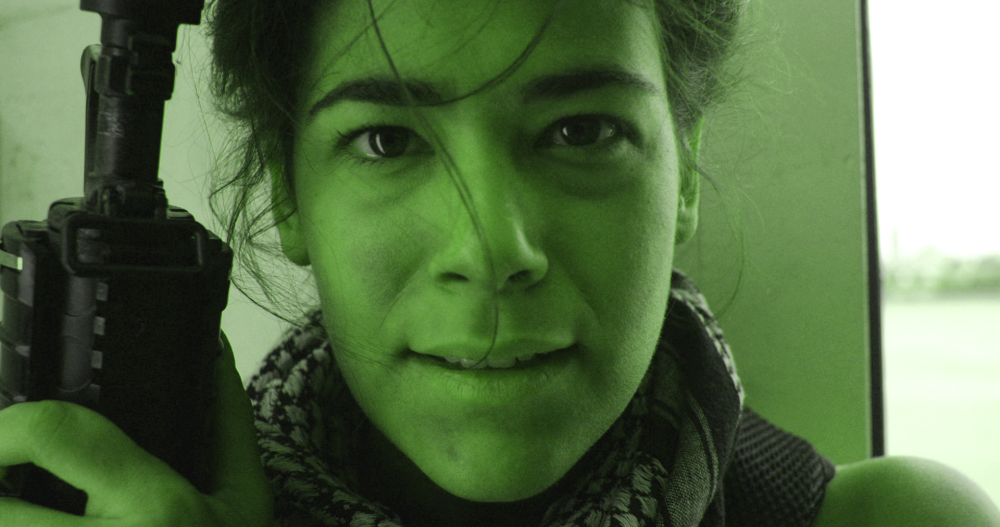
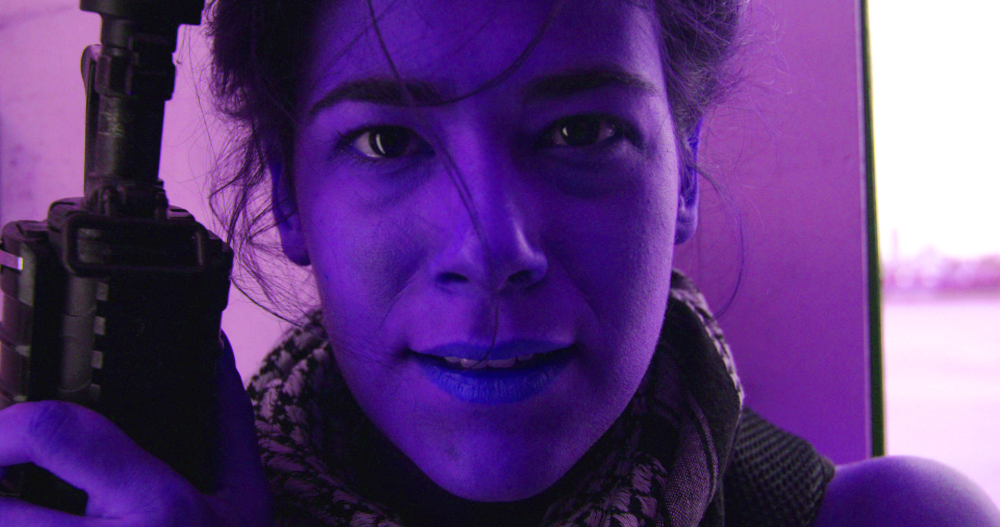
Color Cycle
Color cycle loops the color palette. It includes numerous presets for quickly generating specific looks, such as this hue cycle:
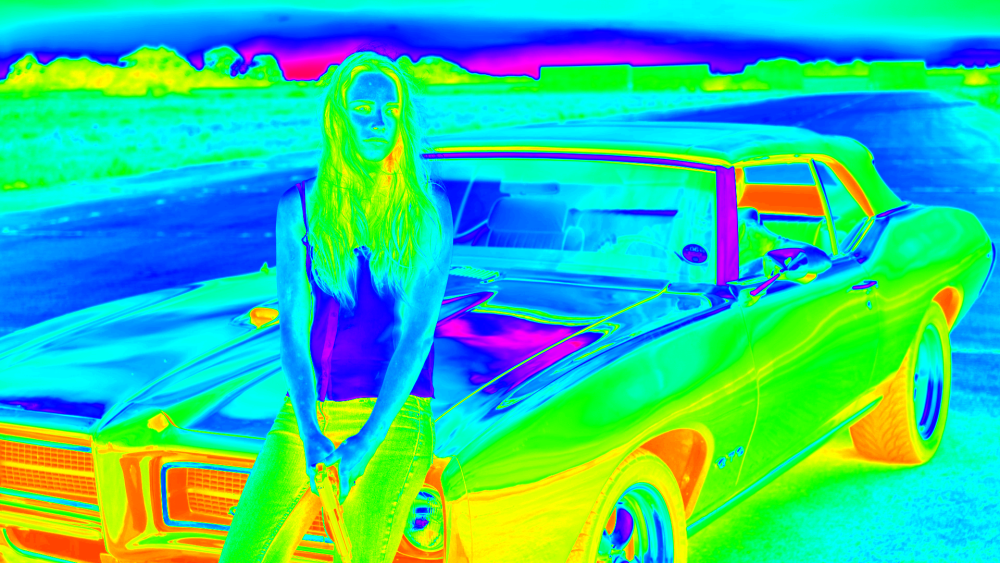
The input phase is used to determine which channel from the source is used to map through the color cycle.
Adjusting the phase shift will cause the colors to cycle. Each color can be adjusted individually, including adjusting its alpha transparency. This can therefore be used to generate mattes based on specific color ranges.
Color Map
The color map effect can be used to apply a color range from one layer to another layer. This is most commonly used with a color gradient.
In the following example this color gradient is used:
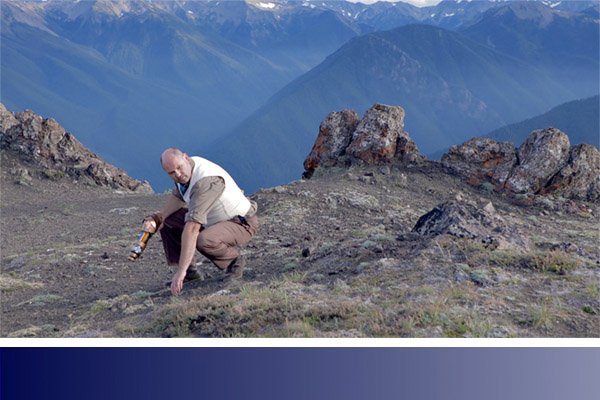
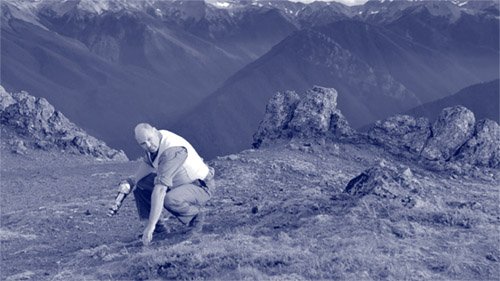
The image below shows the result of using the color map effect with the color gradient above.
The top image is the original, ungraded shot. The middle image shows the full effect of the color map, with the original colors mapped to the new blue gradient. The bottom image shows the color mapped version blended back onto the original to create an appealing color grade.
In the color map properties you first need to select the color map source. This can be any other layer on your timeline.
The X axis and Y axis property groups define how the color map source is mapped onto the layer.
In the above example, using the luminance channel for the X axis results in the gradient’s colors being sampled from right to left, starting with the brightest end of the gradient. The Y axis in this case has no effect as the colors in the gradient are uniform from top to bottom.
Color Phase
Each color channel can be phased, shifting it to a different color range.
Color Vibrance
This effect is ideal for adding color to greyscale, procedural effects such as particles and textures.
Here’s a grayscale planet created using a combination of fractal noise and sphere effects inside HitFilm:

Here’s the same shot with color vibrance applied:
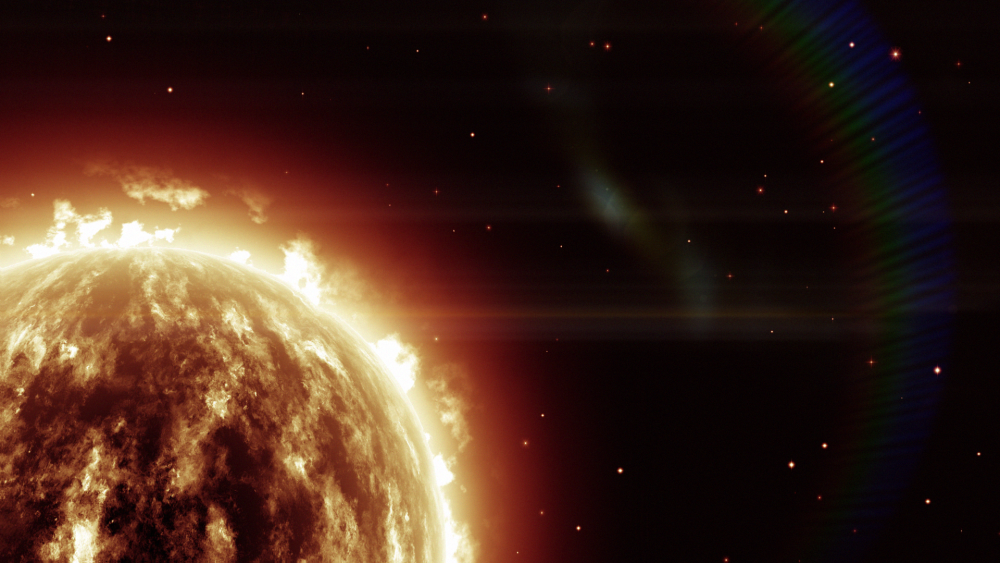
Color vibrance is particularly effective at retaining detail in bright areas without creating excessive bloom.
The strength of the vibrancy and the luminance preservation can be adjusted, as can the color and phasing of the effect.
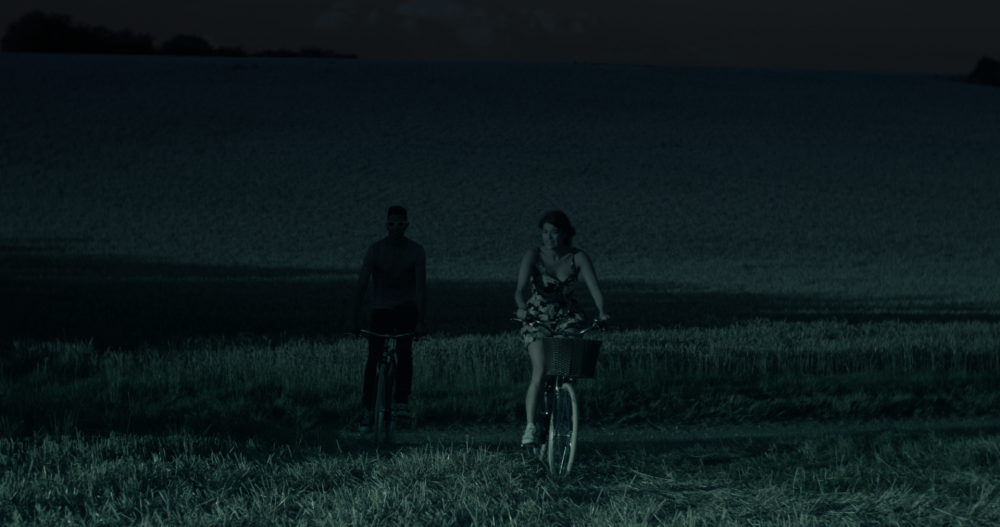
Day for Night
A quick way to convert a shot filmed in the day to having the appearance of being filmed at night.
Applies a gradient based on the Horizon property, with separate controls for the near and far areas.
Duo Tone
Creates a two tone look based on two specified colors.
Threshold is used to adjust the location color split in the image’s brightness scale, while softness is used to adjust the overall contrast.
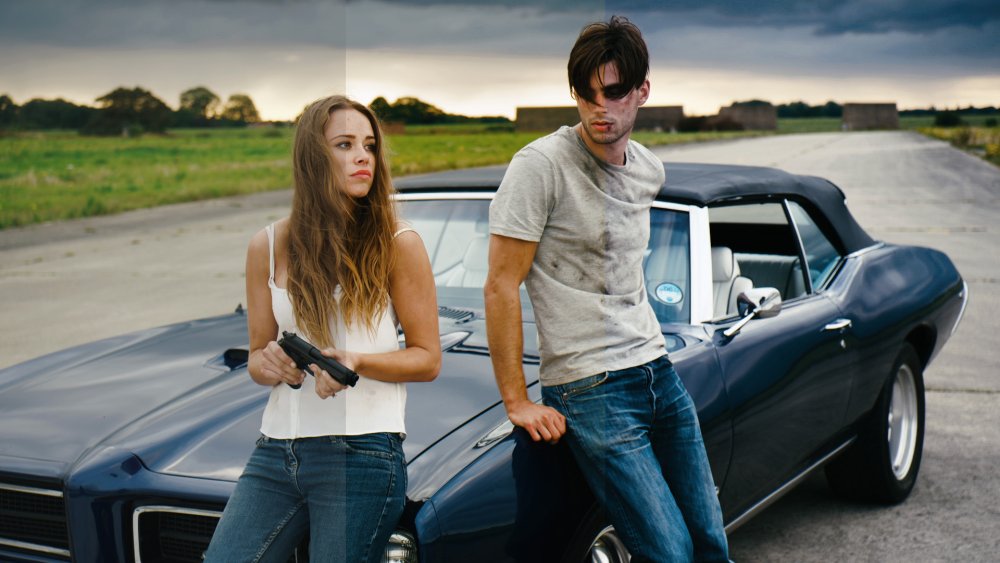
Grading Transfer
Matches the look of a layer to another layer. This is a quick way to grade based on an existing source.
The transferred grade can then be further customized, either globally or specific to the shadows, mid-tones and highlights.
Brightness shift affects how much of the source’s brightness is transferred, while chrominance shift affects how much of the source’s color is transferred.
Hue Colorize
Applies a new hue to the layer,.
Hue Shift
Moves the entire color spectrum of the layer through different hues.
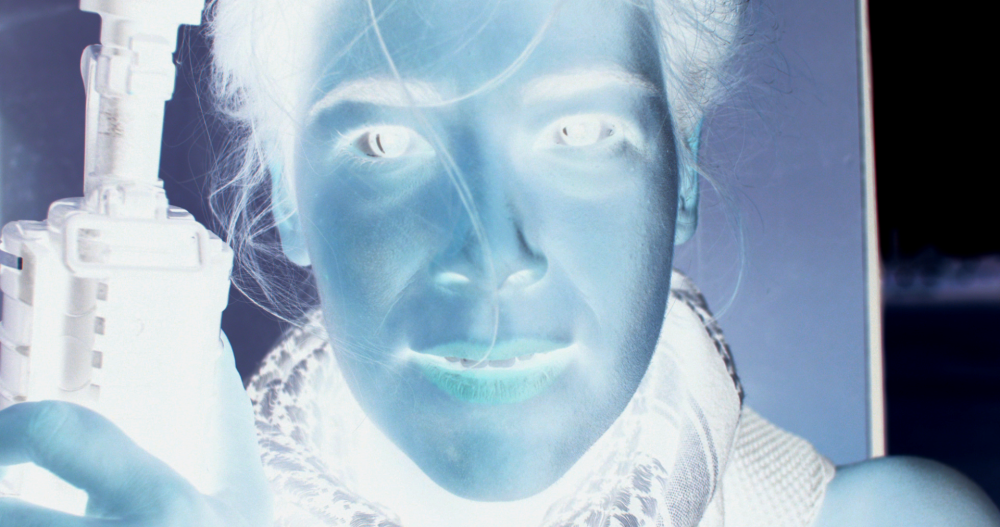
Invert
Inverts the colors.
LUT
LUT files are used to transform color values, which helps to ensure accurate color correction across multiple software and hardware setups. The LUT effect can import .cube LUT files.
LUT also provides a powerful way to provide a one-click grade, simulating specific film stocks and processing techniques. Applying a LUT to flat footage can produce high quality results very quickly.
Take a look at this comparison:
On the left is the original footage, which was purposely shot to be ‘flat’, providing a neutral starting point for the grade.
The middle image is using a LUT designed to mimic the look of KODACHROME film. The only additional alteration I’ve made is to slightly reduce the saturation. In about 10 seconds I went from a basic flat look to a highly dramatic and filmic grade.” Find out more about KODACHROME and grab the LUT here.”:https://frankglencairn.wordpress.com/2014/01/15/everything-looks-better-on-kodachrome-k-tone-lut/
The image on the right is using a Kodak 2393 emulation LUT, Again, I’m achieving a good film look with literally a couple of clicks, and note how different this look is to the KODACHROME. You can download several film emulation LUTs and find some great behind-the-scenes info here.
Shadows & Highlights
Provides fine control over the contrast and sharpness of a layer.
Three Strip Color
Simulates the three strip color film process commonly used in the early days of color film, resulting in richer, deeper colors.
Two Strip Color
Simulates the two strip color film process. More information on the process can be found in this article on Wikipedia.
Vibrance
Adds pop to your image, emphasizing edge detail by increasing local contrast.
Vignette
Adds a colored overlay to the edges of the layer. You can customize the color, shape and softness of the vignette.
Vignette Exposure
This alternate vignette effect adjusts the exposure of the edges of the frame, instead of applying an overlay. This can produce a subtler and more natural vignetting result.
The vignette can also be pushed brighter, which creates a halo effect or can be used to reduce the effects of unwanted vignetting in the source footage.