
![]() Click on the Brick Wall like Toolbar Icon in the Skalp Toolbar
to bring up the main Skalp Pattern Designer dialog:
Click on the Brick Wall like Toolbar Icon in the Skalp Toolbar
to bring up the main Skalp Pattern Designer dialog:

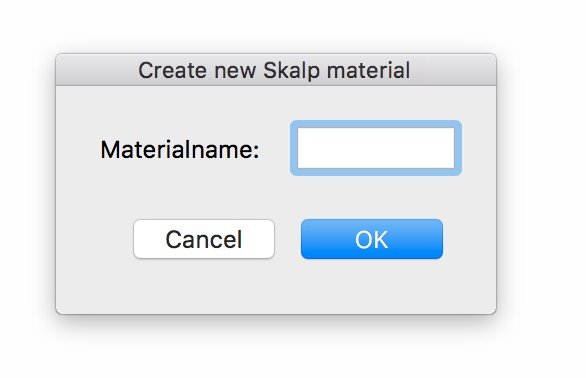
1. Add a new material to the Pattern Designer.
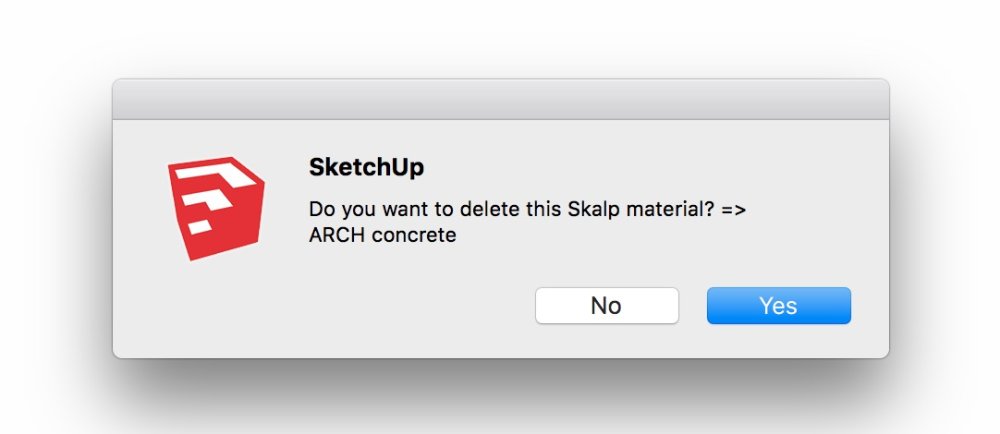
2. Deletes the material form SketchUp material dialog.
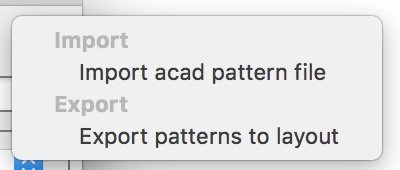
3. Menu: manage import and export of Pattern files.
4. Assignment Icon: assigns the selected pattern to the groups / components in the current SketchUp selection set.
5. Select the material stored in the model which you want to edit.
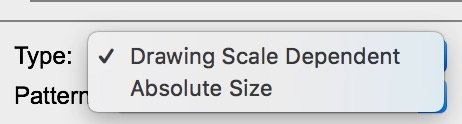
6. Select the pattern type.
7. Pattern selector, also allows you to rename the pattern to a custom name.
8. Pattern preview windows with slider to zoom the pattern.
10. Calibrate the pattern size by changing of the length of the red X and/ or green Y gauges. Click on these numbers to edit its values.
11. Pattern Fill Color. Click to open color picker.

12. Pattern Line Color. Click to open color picker.
13. Determine Pattern Line Width. This will change the pattern line width in the generated pattern texture.
14. Determine Pattern Section Cut Width. This will change the line width of the sectionalize around the objects whit this material assigned.
15. Check this if you want to align the pattern x-axis with the longest edge of the sectioned object.
Basic tutorial on how to create and assign a Skalp section cut material.
Post your comment on this topic.