
To configure the SmartMonitor device with the desired configuration (see user manual SmartView for instructions), wake up the device from sleep mode with a short press of the multifunction button.
Manual configuration
| Step | Screen | Description |
| 1 | 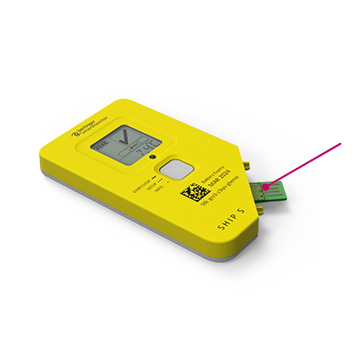 |
Remove the USB cap and plug the SmartMonitor SHIP S into the USB port of your computer. |
| 2 | 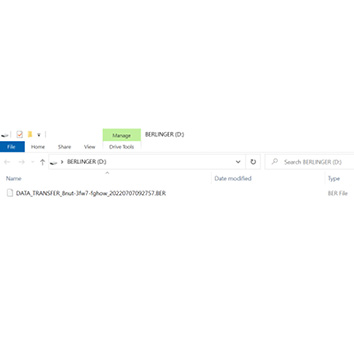 |
When connecting the SmartMonitor to your computer, a pop-up window of SmartMonitor (BERLINGER) will appear. If the pop up window does not appear, locate the BERLINGER USB-Drive on your computer and open it. |
| 3 | 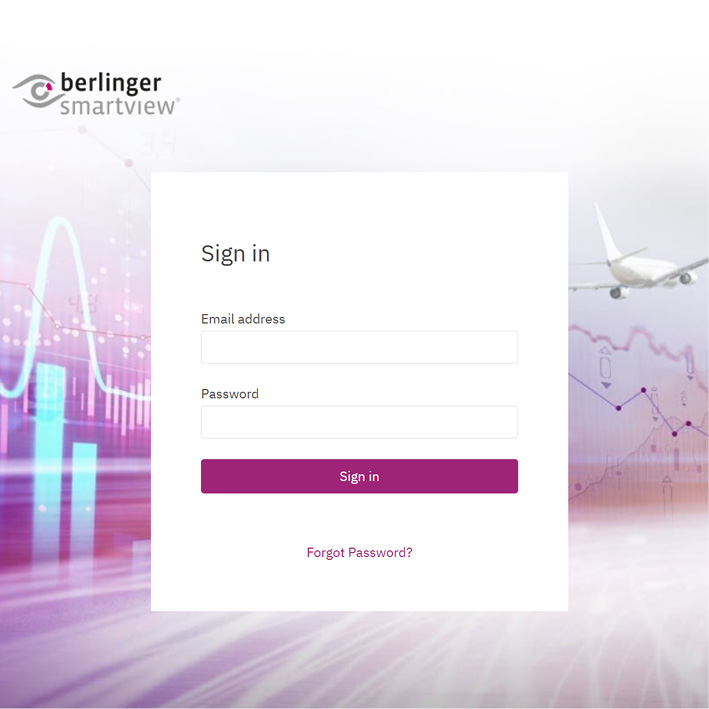 |
Log into SmartView with your credentials. In SmartView, navigate to “Devices” under the section “Monitoring”. In the search function, type in the serial number of the device that you would like to configure. ! The serial number is printed on the front of the SmartMonitor. |
| 4 | 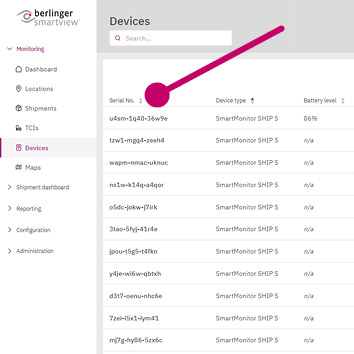 |
Click on the serial number to open the device page. |
| 5 | 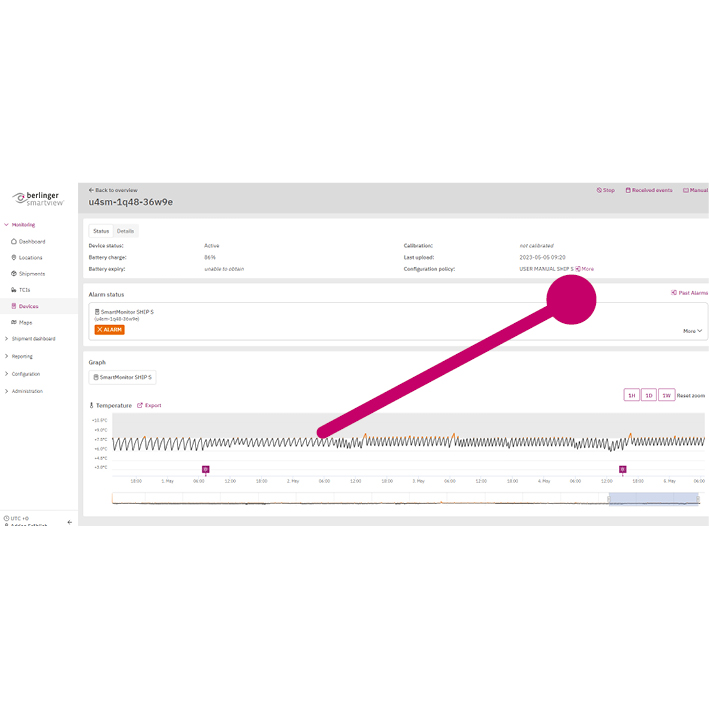 |
Click the “More” button under “Status” next to the configuration policy. |
| 6 | 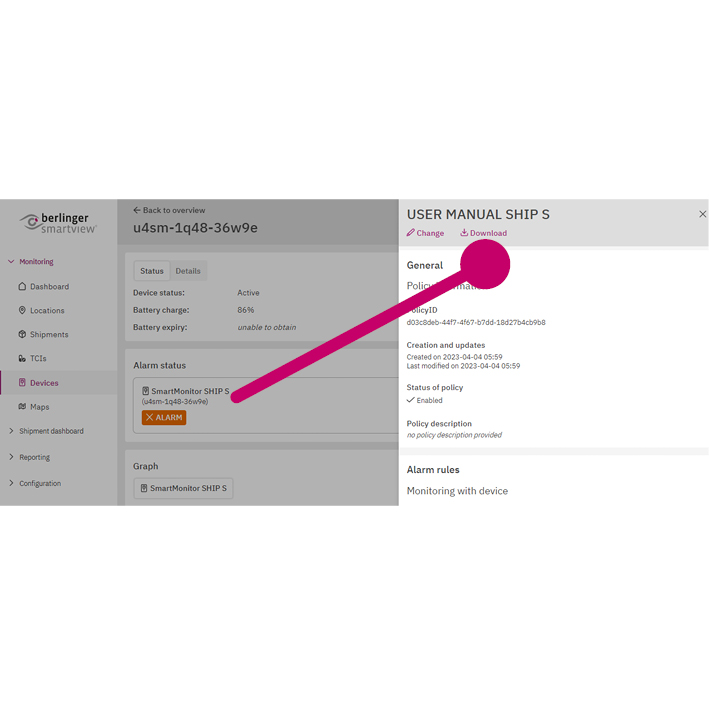 |
Select “Download”. Once the configuration policy file has been downloaded successfully to your computer, it can be found in the Download folder. |
| 7 | 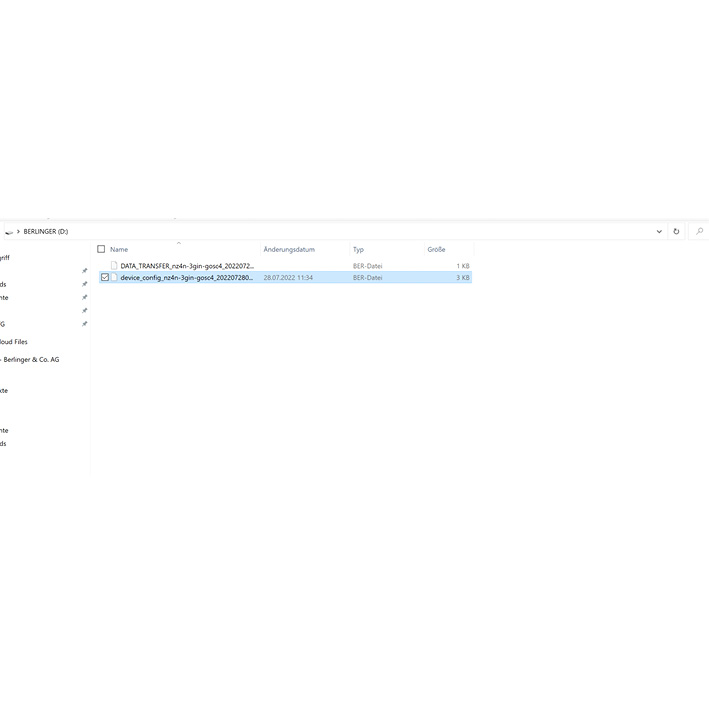 |
Save the device configuration file in the BERLINGER USB Drive. |
| 8 | 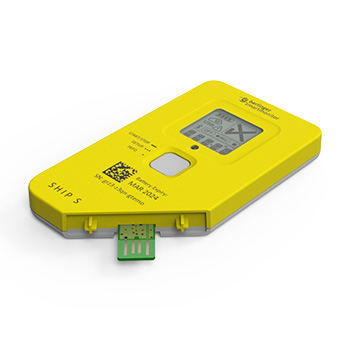 |
Disconnect the SmartMonitor from your computer. |
| 9 | 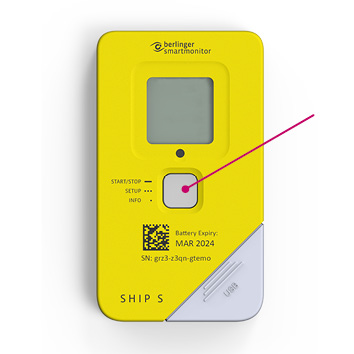 |
To check if the download has been successfully completed, short press the multifunction button. The scroll text should display the correct configuration name. The device is now ready to be started. ! If the download was unsuccessful, the SmartMonitor display will show an incorrect configuration name e.g., CONFIG NAME DEFAULT. |
Feedback
Copyright © 2025 Berlinger & Co. AG
—
Powered by 
Post your comment on this topic.