
To Install the Omega Datacube App and Start Your First Backup, Complete the Following Steps:
Step 1. Ensure the Micro SD card is inserted into the Omega DataCube and your Android device is properly attached to the Omega DataCube.
*See the Setting Up and Attaching Your Omega DataCube section for details on how to do this.
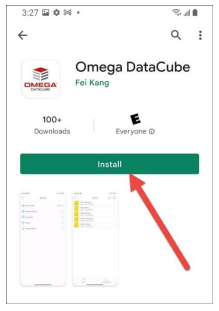
Step 2. Open the Google Play app on your Android device.
Step 3. Search for “Omega DataCube”.
Step 4. Tap “Install” to install the app.
Step 5. Once the installation is complete, open the Omega DataCube app.

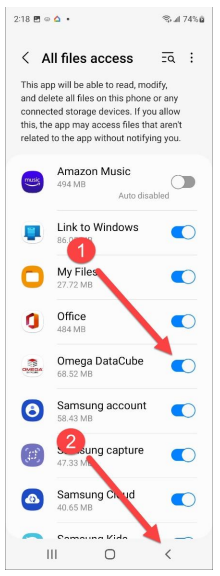
Step 6. For Android 12 and newer devices, the “All Files Access” settings will open after first starting the Omega DataCube app. Please ensure that it is turned on for the Omega DataCube app. After ensuring it is set to allow, tap the back arrow to continue.
Step 7. When prompted, tap “Allow” to allow the Omega DataCube app to access your photos, media, and files on your device.

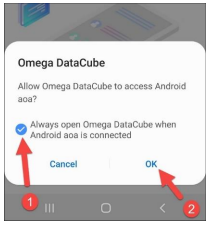
Step 8. If you would like backups to automatically start when you plug your Android device into the Omega DataCube, ensure the checkbox is selected next to “Always open Omega DataCube when Android AOA is connected”. Then tap “OK”.
Step 9. A backup will automatically start in 10 seconds, or you can tap “Cancel” to not run a backup at this time.

Step 10. During the first backup, you may be prompted to allow access to your contacts. If you would like the Omega DataCube to back up your contacts, please tap “Allow”.

Step 11. When the backup completes, tap “Finish”.

Post your comment on this topic.