
Orchid Alto VMS exclusively supports Axis cameras (using ACAP version 2.0 or newer, and Axis firmware 6.x or greater). Each of these cameras will need to be configured individually to work with Alto. Once we complete this series of steps, we’ll be able to add the cameras to the Orchid Alto VMS system.
For additional information on this process, please refer to the following Knowledge Base article: Orchid Alto VPN Connector For Axis Cameras.
Installing the Orchid Alto VPN Connector ACAP
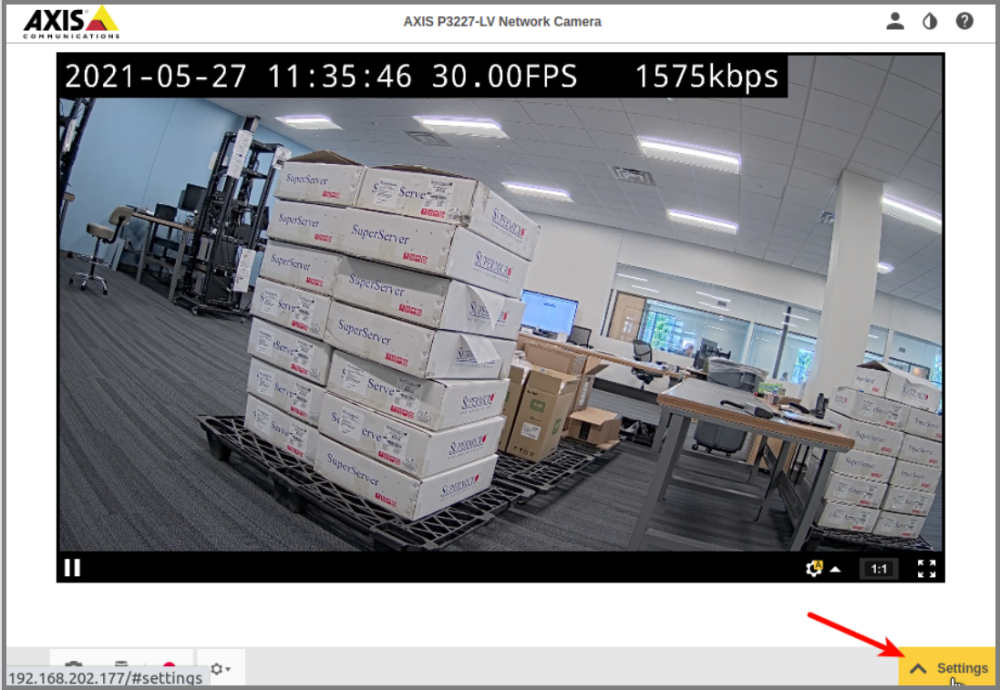
- From the Axis camera web interface, navigate to Settings.
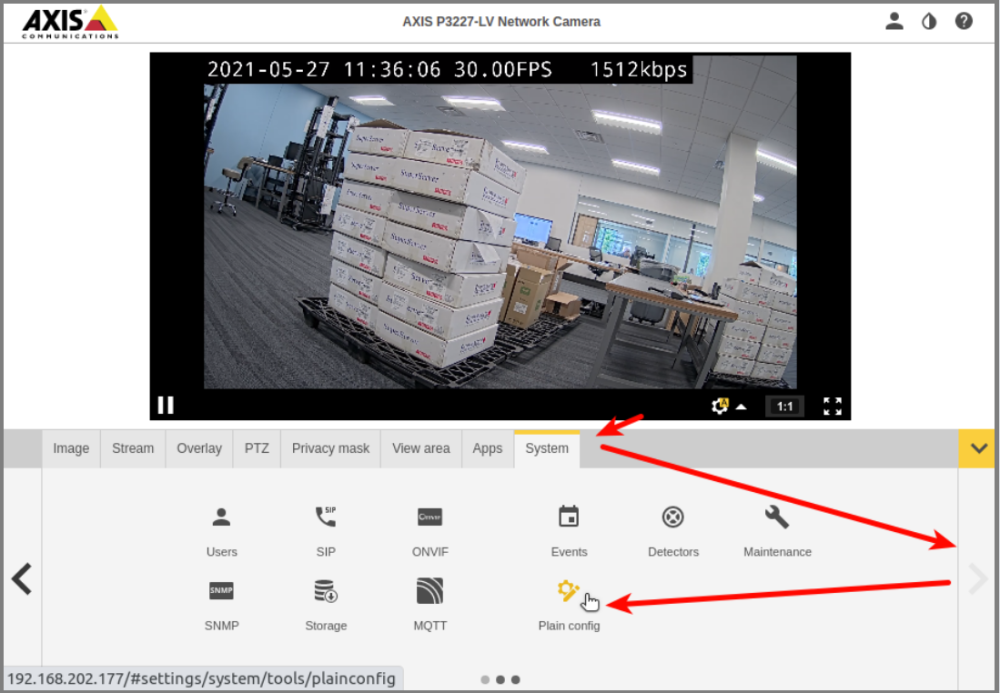
- Select the System tab, then click on Plain Config. (You might have to scroll to the right to find it.)
- Click “Got it,” if prompted.
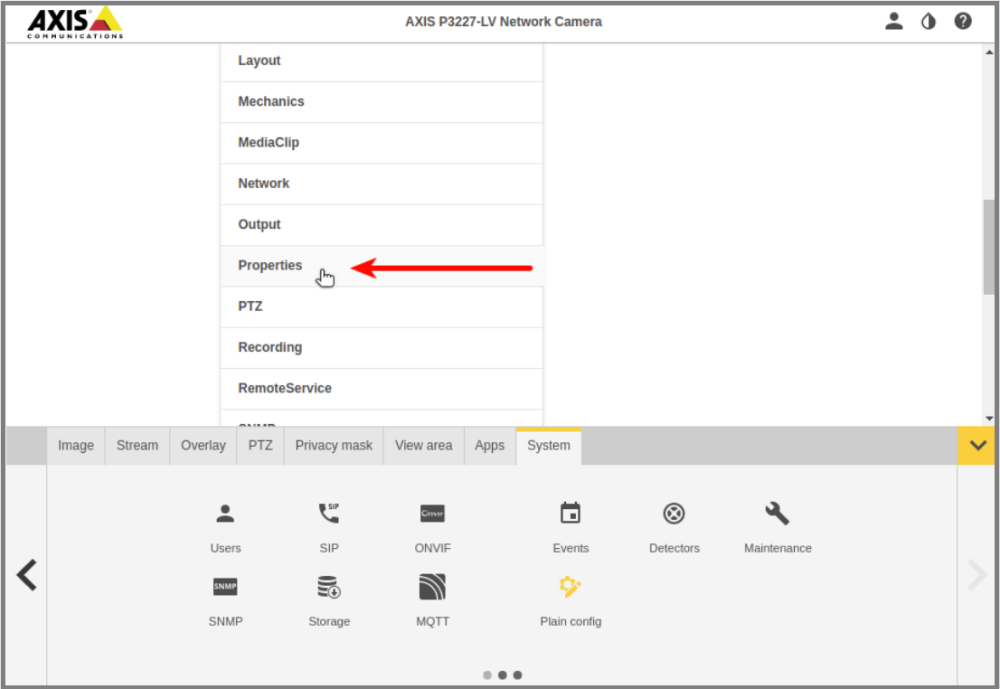
- Now select Properties.
- Once you’re on the Properties page, scroll down to find Architecture. (In your browser, you may press Ctrl+F to search for Architecture.)
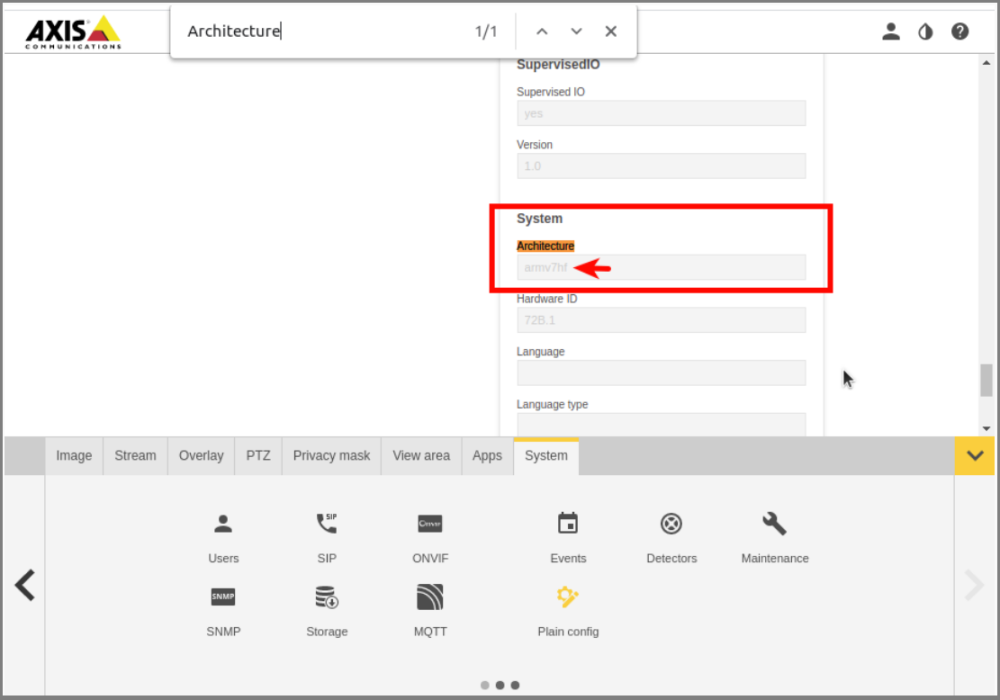
- In this example, the camera’s CPU architecture is arm7hf. (Make note of this; you’ll need it later.)
Download the ACAP Installer
- Using your web browser, navigate to: https://download.ipconfigure.com/alto-acap/
- There are six versions of the installer available. Make sure that you download the version that matches the camera’s architecture (as found previously).
- If your camera uses an armv7hf CPU, you have two options: one for supporting ACAP version 2, and another supporting ACAP version 3. If in doubt, download the ACAP 2 version.
Install and Start the ACAP
- Now that you have downloaded the installer, navigate to Settings on the camera’s web interface, then click the Apps tab.
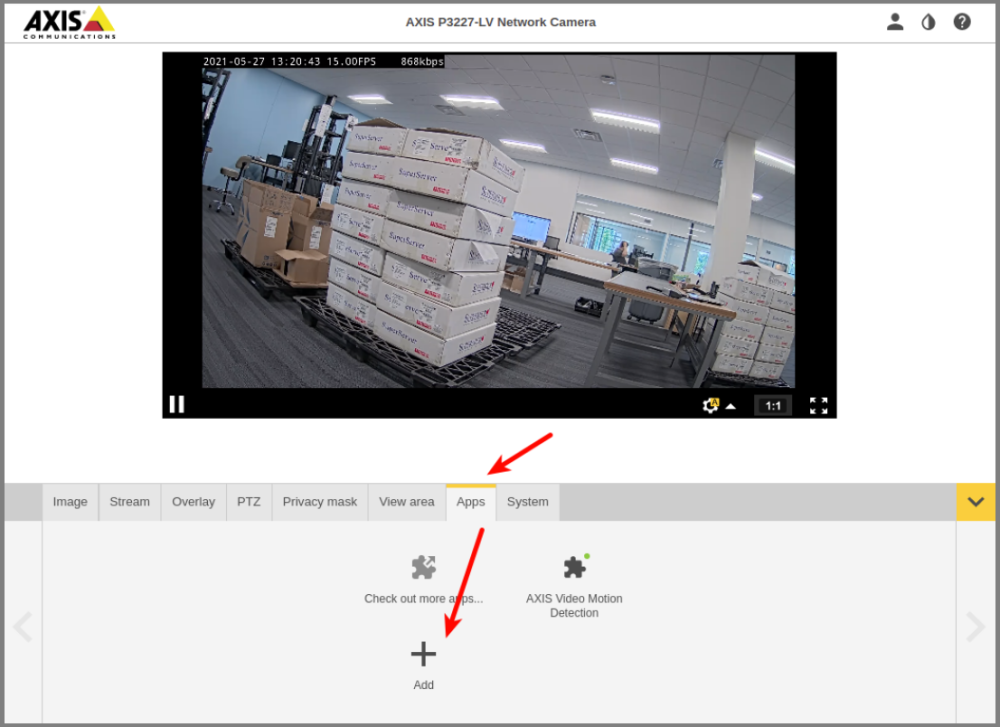
- Click the Add button.
- From the Add dialog, find the downloaded .eap file and click Install.
Once the file is installed, you will see Orchid ACAP VPN Connector listed as one of the installed Apps.
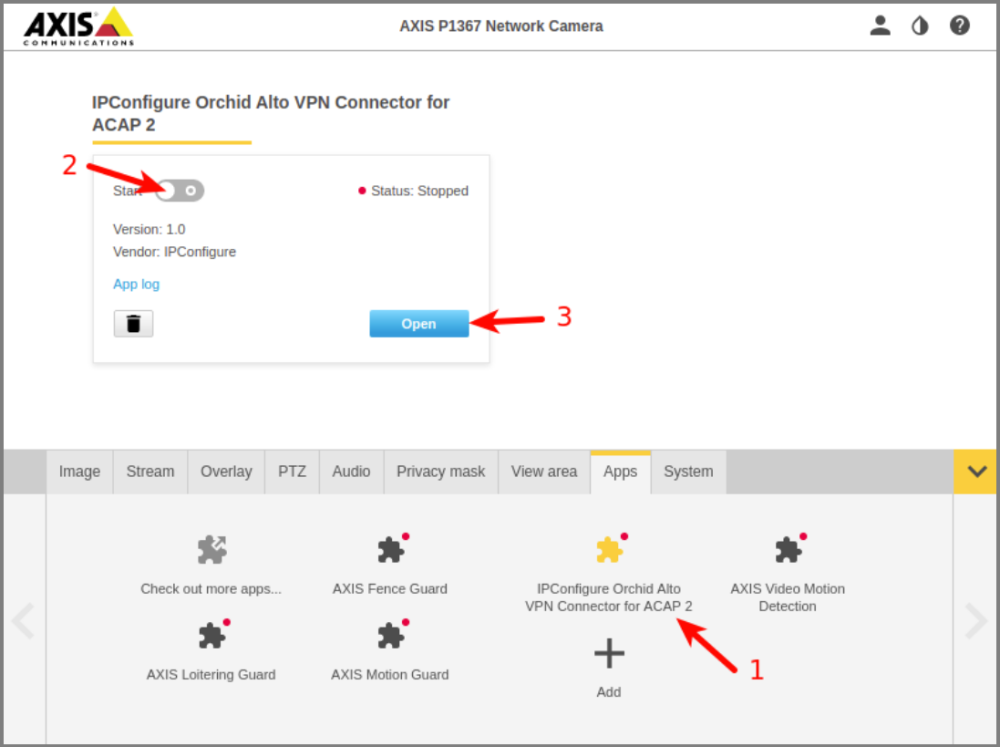
- Click on the App name.
- Click Start (to start the App).
- Then click Open (to open the configuration interface).
Set the Tunnel Configuration File
Once the App is open, you should see the IPConfigure Alto Connector dialog.
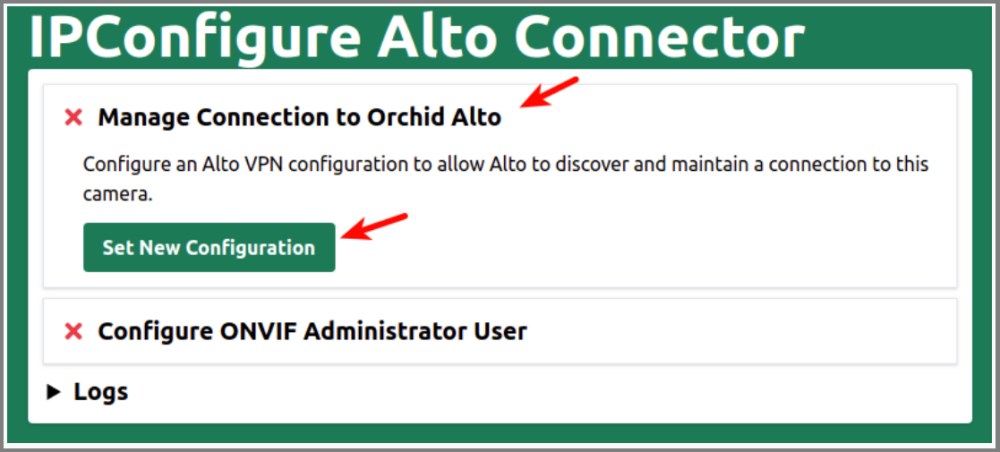
- Click on Manage Connection to Orchid Alto, then click the Set New Configuration button.
- Select the .conf file you received when you purchased your Alto service. This will set a unique .conf VPN configuration file for the camera (which is required for every camera).
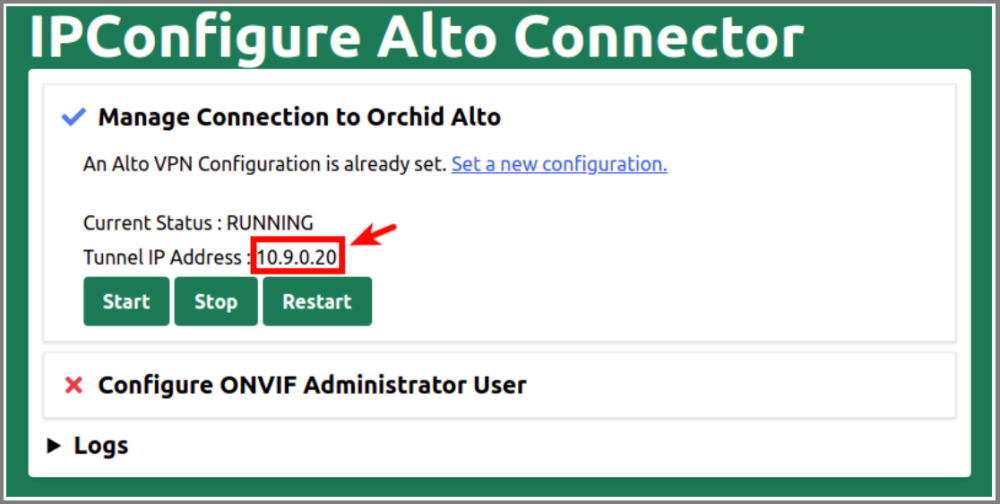
Once the configuration file is set, the Alto Connector will confirm that your camera’s VPN connection is Running. You will also see a unique Tunnel IP Address that has been assigned to the camera. (Make note of this; you will need it later.)
Set an ONVIF Password
- Using the IPConfigure Alto Connector dialog, click on Configure ONVIF Administrator User.
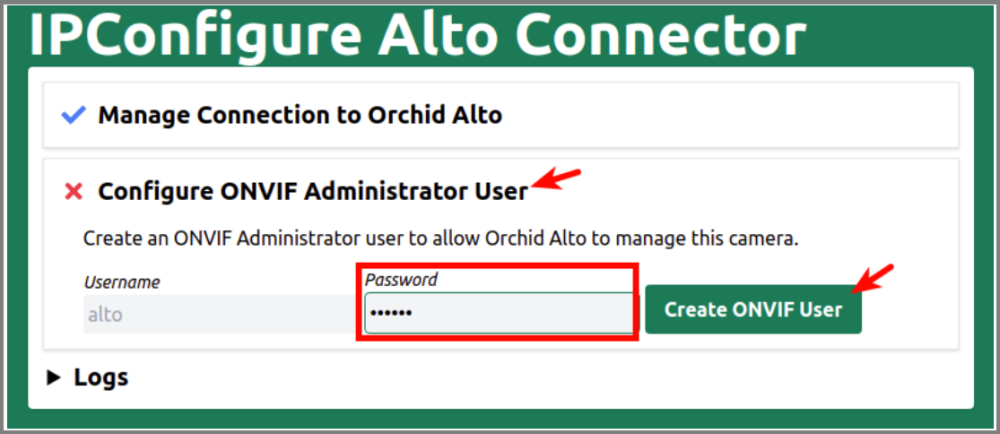
- Click into the Password field and enter a password, then click the Create ONVIF User button. (Make note of this; you will need it in the next section.)
Post your comment on this topic.