
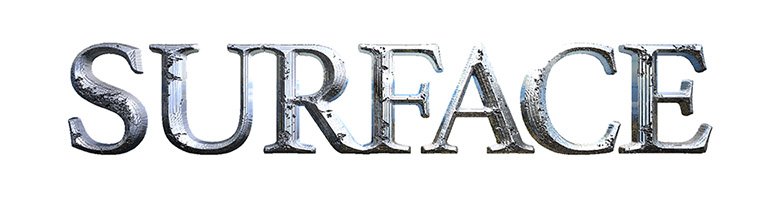
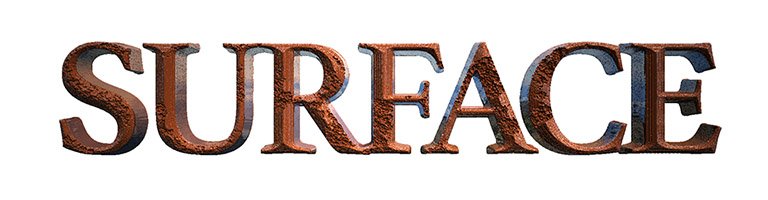
Surface Studio is a powerful tool for generating smooth or roughly textured metallic and vitreous surfaces on any text or layer. It uses a ray tracing algorithm, together with height maps, to render 3D geometry based on 2D layers.
The default height map is created based on the values present in the layer the Surface Studio effect is applied to.
- Height: Sets the overall height of the height maps. Height maps use greyscale values to define the height of each pixel, with black pixels being the lowest and white pixels being the highest. This value defines the range between the highest and lowest points.
- Environment: Select a layer to be used as an environment map. If the materials used for the surface are reflective, then the environment map will be reflected as if it surrounded the layer in 3D.
- Background: Select a layer to be a background, behind all surfaces. Especially when transparent surfaces are being used, having a background is important for getting accurate refractions.
Background Layer
These settings affect the background layer selected above.
- Visible: Toggles whether the background layer should be visible outside of the raytraced surfaces.
- Depth: Defines how far behind the height maps the background layer sits.
- Wrap: Toggles whether wrapping should be applied to the background layer
Material
- Ambient: Determines how much the layer is illuminated by ambient lights.
- Diffuse: Determines how much the layer is illuminated by point, directional and spot lights.
- Specular: Adjusts the strength of specular highlights when illuminated by point, directional and spot lights. A low specular value will create a more matte surface.
- Shininess: Adjusts the size of the specular highlight. A low shininess creates a large, diffuse highlight while a high value creates a smaller, defined highlight.
Surfaces 1-4
Surface Studio allows you to layer up to 4 different surfaces within the effect, each using its own height map. Using multiple surfaces allows you to build up a material made of multiple layers.
For example, you could use one surface to represent the bricks of a wall, then another to represent the plaster over the bricks, and a final layer on top to represent the paint or wallpaper over it. Then, by animating the height maps for the different surfaces, you could make the wall age, and start to crumble, to reveal the layers beneath.

Surface 1 is the top level, primary surface. The other surfaces are positioned underneath it in sequence, with surface 4 being the lowest. Surfaces 2-4 have a Mode property, which determines how they interact with or are affected by the surface above. Each surface has its own set of the following controls.
- Height: Sets the depth of the height map for the current surface. Height maps use greyscale values to define the height of each pixel, with black pixels being the lowest and white pixels being the highest. this value defines the range between the highest and lowest points.
- Mode: The mode determines how the current surface interacts with or is affected by the surface above it. This menu is only available for surfaces 2-4.
- Clamped: Clips any areas where the current surface reaches higher than the surface above it. Thus the current surface is only ever seen through the surface above. Useful if Surface 1 is set to be glassy or watery.
- Overlap: Allows the entire height map of the current surface to be used. In areas where the current surface reaches higher than the surface above, it will be rendered accordingly. In areas where the height map of the current surface is below the height map of the surface above, it will be rendered behind it.
- Overlay: Only areas where the height map of the current layer reaches higher than the surface above it will be rendered. The current surface is thus added to the top of the the original top surface. Useful for adding moss or other surface detail to the top of Surface 1.
- Color: Sets the color of the surface.
- Surface Alpha: Adjusts the transparency of the surface.
Height Map
- Height Map: Select the image you wish to use as a height map for the current surface.
- Depth Blend: Select how the user defined height map is blended with the default height map based on the contents of the layer the Surface Studio effect is applied to.
- Add: For each pixel, the value of that pixel in the default depth map, and the value of that pixel in the height map selected for the current surface are added together, to determine the value its height will be based on.
- Max: Compares the value in the two maps, and for each pixel selects whichever is higher.
- Min: Compares the values in the two maps, and for each pixel selects whichever value is lower.
- Mult: For each pixel, the value in each of the two maps are multiplied to create the new value on which the pixel’s height will be based.
- Subtract: For each pixel, the value of the current surface’s depth map is subtracted from the value of the default height map.
- Generate: Toggles the height map for the current surface on and off.
Bevel
These settings modify the height map that is generated for the current surface.
- Height: Adjust the overall height distance between the white and black areas of the map.
- Size: Changes the size of the height map.
- Edge Offset: Shifts the edges of the surface outward from the actual edges of the layer
External Material Properties
These settings determine how the raytracing interacts with the outer skin of the current surface.
- Reflectivity: Determines how reflective the external surface of the current surface is.
- Fresnel: Adjusts how the reflection changes based on the viewing angle.
- Ambient: Determines how much the layer is illuminated by ambient lights.
- Diffuse: Determines how much the layer is illuminated by point, directional and spot lights.
- Specular: Adjusts the strength of specular highlights when illuminated by point, directional and spot lights. A low specular value will create a more matte surface.
- Shininess: Adjusts the size of the specular highlight. A low shininess creates a large, diffuse highlight while a high value creates a smaller, defined highlight.
Internal Material Properties
These settings determine how the raytracing behaves while traveling through the volume of the current surface’s height map.
- Refractive Index: Defines how the raytracing behaves as it travels through the volume of the current surface’s height map.
- Translucence: Defines how cloudy or how transparent the surface is. Increasing the value means that the raytracing will be impacted more by the color of the surface as the ray travels through it.
- Illumination: Select the illumination options that will be used to render the layer
- Default Lights: Renders using the illumination built into the Surface Studio effect. If there are no lights on the timeline, this still allows you to see the 3D aspects of the effect.
- Comp Lights: Uses all of the lights that are present on the timeline.
- Selected Lights: Allows you to select specific lights that are present on the timeline, if you don’t wan tall lights to be factored into the render.
- Antialiasing: Determines the number of rays cast to trace each pixel by the raytracing engine. Higher values take longer to render, but may give more accurate, realistic results.