
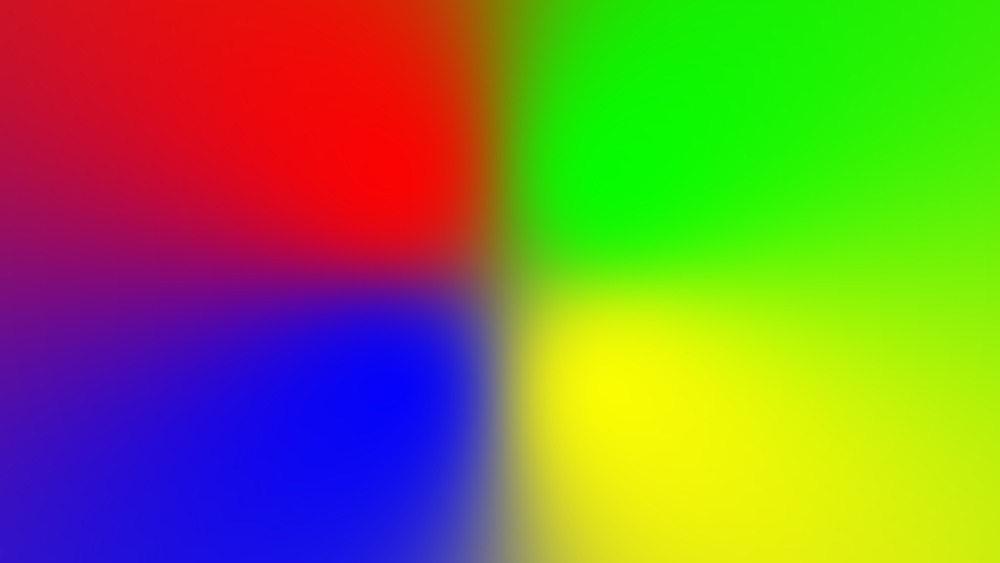
Generates a 4-color gradient. The colors and mixing of the colors can be changed, as can the position of the gradient points.
- Preset: Several predefined configurations are provided in this menu for your use.
- Point 1 (four numbered copies of these controls are present, for the four control points)
- Position: Sets the location for the selected point, using X (horizontal) and Y (vertical) values.
- Use Layer: Select another layer from the timeline using this menu, to use the selected layer’s position to control the position of the selected gradient point. When a layer is selected, the Position property above functions as an offset from the parent layer’s position.
- Color: Choose a color for the selected point. You can use the eyedropper to choose a color from the layer, or click the swatch to open a color picker and choose any color you prefer. You can also manually enter the color values for the red, green, and blue channels.
- Color Blend: Adjusts the area affected by each color point. at 1.0, all four colors are blended across the entire frame, resulting in the frame being colored with an average of all four color values. At 25.0, each color extends from its center point, half of the distance to the nearest point in any direction.
- Ramp Scatter: Adds subtle noise into the gradient areas between colors, which can help to improve naturalness.
- Opacity: Changes the overall visibility of the gradient effect. 0.0% is completely transparent, and 100.0% is completely opaque.
- Blend: Select the blend mode used to combine the gradient with the contents of the layer to which it is applied.