
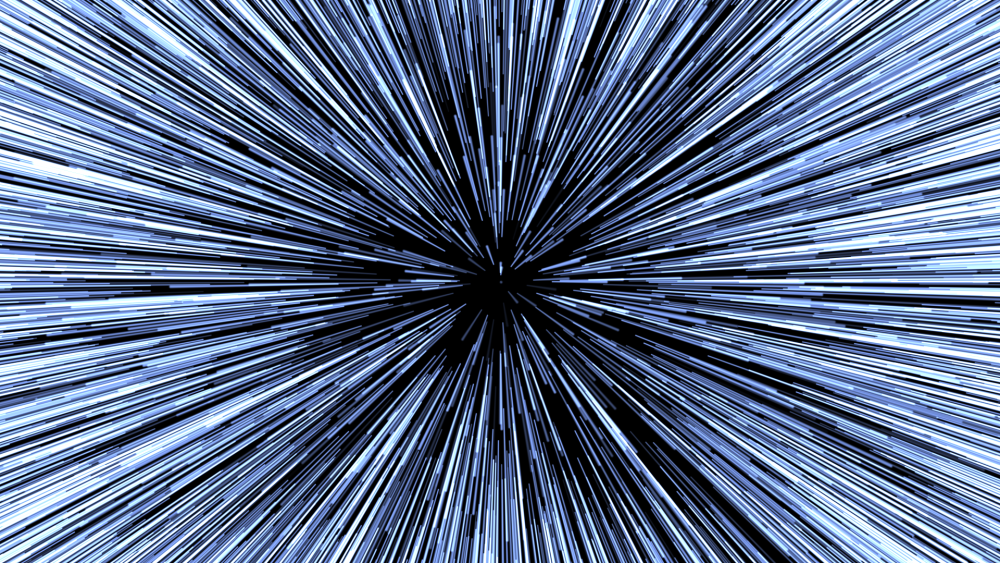
Jumping to lightspeed is as easy as dusting crops with this effect, which generates a spray of streaking stars, complete with built-in animation and customization.
- Progress: Controls the overall animation of the effect. At 0% the stars have not yet appeared, and at 100% they have completed their animation past camera. Keyframing the progress creates the animation of the effect.
- Temperature: Sets the base color temperature (in Kelvin) of the stars and star lines. Higher temperatures shift the color toward blue. Lower temperatures shift the color toward Orange and red. Daylight white is around 6500 K.
- Temperature Variation: Add some variation to the star colors by increasing this value. Colors will vary from the base temperature in both directions, by the amount you select.
- Number of Stars: Determines the number of stars within the frame.
- Seed: Each seed value provides a different layout of the star placement, effectively randomizing their positions.
- Star Blend: Choose the Blend mode which is used to combine star trails where they overlap. Add is often the best option, which creates a pleasing brightness in overlapping areas.
- Blend With Source: Choose the blend mode used to combine the stars and star trails with the contents of the layer to which the effect is applied. None makes the underlying layer transparent, so only the Hyperdrive effect is visible, and makes it easy to composite the effect onto underlying timeline layers. On Top lays the stars and star trails over the contents of the layer to which the effect is applied.