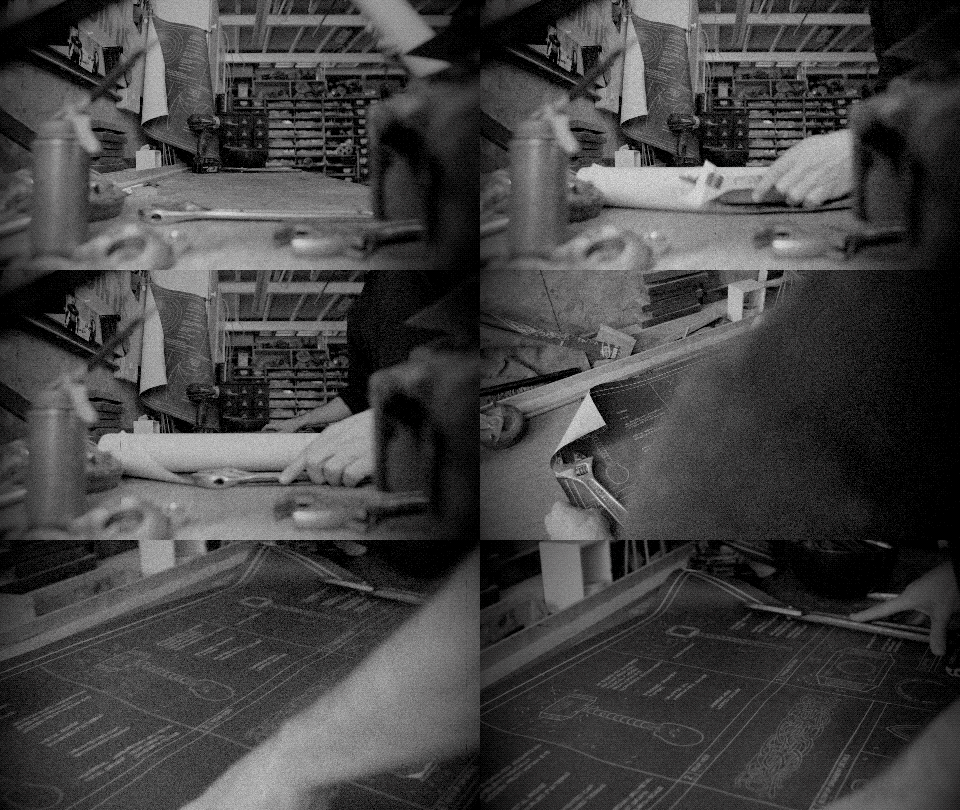
Simulates the flaws and problems seen in aged or poorly projected film stock, including grain, stains, dust and scratches, frame shake and flickering. You can control each of the elements individually to get the exact look you want.

- Seed: Randomizes the specific frames which are affected by the various elements of the Film Damage effect.
Grain
Grain is an inherent characteristic of traditional film. It is an optical texture of the film stock, created by tiny particles of silver halide on each frame of film being exposed to photons of light. It is similar to digital noise, but film grain tends to have a more organic appearance. The prominence of the grain will vary based on the film stock used, the exposure settings, and the physical size of the frame. In most cases, it should be applied subtly, so it doesn’t draw attention to itself. Here we see the grain from our example clip, isolated onto a white background:

- Enabled: Toggles the grain component on or off.
- Amount: Sets the amount of grain present in the frame.
- Size: Adjusts the size of the individual grain particles.
- Monochrome: When enabled, this option makes all of the grain grayscale. When disabled, random colors are assigned to each particle of grain.
Stains
Stains are generated per frame. They replicate the flaws which may be present on old film that was poorly maintained, and allowed to be splattered with liquid, or dripped on. Here we see the stains from our example clip, isolated onto a white background:

- Enabled: Toggles the stains component on or off.
- Quantity: Sets the number of stains present per frame.
- Quantity Variation: Higher values increase the variation in the number of stains from one frame to the next.
- Size: Sets the average size, in pixels, of each stain.
- Size Variation: Higher values increase the variation in the size of each individual stain.
- Opacity: Defines how visible each stain is. Higher values make the stains more opaque, lower values make them more transparent.
- Color: Choose a color for the stains. You can use the eyedropper to choose a color from the layer, or click the swatch to open a color picker and choose any color you prefer. You can also manually enter the color values for the red, green, and blue channels.
Dust
This element replicates the appearance of dust on the projector lens, creating blurry, out of focus spots on the frame. At very low Size settings, it can also effectively serve to replicate dust on the film itself. Here we see the dust from our example clip, isolated onto a white background:

- Enabled: Toggles the dust component on or off.
- Quantity: Sets the amount of dust present per frame.
- Quantity Variation: Higher values increase the variation in the amount of dust from one frame to the next.
- Size: Sets the average size, in pixels, of each dust spot.
- Size Variation: Higher values increase the variation in the size of each individual dust spot.
- Opacity: Defines how visible each dust spot is. Higher values make the dust more opaque, lower values make it more transparent.
- Color: Choose a color for the dust. You can use the eyedropper to choose a color from the layer, or click the swatch to open a color picker and choose any color you prefer. You can also manually enter the color values for the red, green, and blue channels.
Scratches
Simulates the appearance of scratches on film that has not been well cared for, and has been abraded or scuffed. Here we see the scratches from our example clip, isolated onto a white background:

- Enabled: Toggles the scratches component on or off.
- Quantity: Sets the number of scratches present per frame.
- Length: Adjusts the length of the individual scratches.
- Width: Defines the width of the scratches.
- Taper: Tapers the ends of the scratches, so they fade out rather than stopping abruptly.
- Color: Choose a color for the scratches. You can use the eyedropper to choose a color from the layer, or click the swatch to open a color picker and choose any color you prefer. You can also manually enter the color values for the red, green, and blue channels.
- Opacity: Defines how visible the scratches are. Higher values make the scratches more opaque, lower values make them more transparent.
Shake
The Shake component simulates the behavior of film that is improperly registered in the projector, or which is slipping off the projector’s drive sprockets and periodically getting out of alignment. Here we see the shake from our example clip, isolated onto a white background:

- Enabled: Toggles the shake component on or off.
- Frequency: Adjusts the frequency of frames being mis-aligned.
- Amplitude: Sets the range of how far off the alignment will be.
- Regularity: Changes how consistently the shake occurs.
- Gap: Adjusts the width of the space between one frame and the next, when the division between frames is visible.
- Blur: Adjust the amount of blur present on frames where the alignment is shifting.
Vignette
This component makes the edges of the frame darker than the center. Some projectors may create this effect, when the projector bulb doesn’t illuminate the frame evenly. Here we see the vignette from our example clip, isolated onto a white background:

- Enabled: Toggles the vignette component on or off.
- Center: Controls the placement of the vignette.
- Position: Sets the location for the center of the vignette, using X (horizontal) and Y (vertical) values.
- Use Layer: Select another layer from the timeline using, to use the selected layer’s position to control the position of the vignette. When a layer is selected, the Position property above functions as an offset from the parent layer’s position.
- Horizontal Stretch: Adjusts the width of the vignette, relative to the width of the frame.
- Vertical Stretch: Adjusts the height of the vignette, relative to the height of the frame.
- Softness: Adjusts the transition from full brightness to darkened vignette, around the vignette’s edges.
- Curvature: Shifts the weighting of the transition, between the center of frame and the edge of the vignette.
- Opacity: Adjusts the opacity of the layer to which the vignette is applied, for some reason.
- Background: These controls adjust the appearance of the vignette itself.
- Opacity: Defines how visible the vignette is. Higher values make the vignette more opaque, lower values make it more transparent.
- Color: Choose a color for the vignette. You can use the eyedropper to choose a color from the layer, or click the swatch to open a color picker and choose any color you prefer. You can also manually enter the color values for the red, green, and blue channels.
Flicker
The Flicker component varies the brightness of each frame, simulating the effects of a slightly mis-aligned or sloppy shutter in a film projector, which does not allow a consistent amount of light through the lens. Here we see the flicker from our example clip, isolated onto a white background:

- Enabled: Toggles the flicker component on or off.
- Frequency: Controls how often the frame flickers.
- Amplitude: Defines the range of brightness within which the adjustments will be applied.
- Randomness: Controls how regularly or randomly the flicker is applied.
- Brightness: Modifies the default brightness of the layer.
- Red: You can modify the flicker of each color channel individually. These controls affect the red channel.
- Amplitude: Controls how far the red channel flickers toward the selected phase.
- Phase: Choose the color phase toward which the red channel will be shifted.
- Green: You can modify the flicker of each color channel individually. These controls affect the green channel.
- Amplitude: Controls how far the green channel flickers toward the selected phase.
- Phase: Choose the color phase toward which the green channel will be shifted.
- Blue: You can modify the flicker of each color channel individually. These controls affect the blue channel.
- Amplitude: Controls how far the blue channel flickers toward the selected phase.
- Phase: Choose the color phase toward which the blue channel will be shifted.
Defocus
Defocuses the image subtly, on a per-frame basis, as if the filmstock has shifted slightly out of the focal plane while traveling through the projector. Here we see our example footage with only the defocus component applied:

- Enabled: Toggles the defocus component on or off.
- Frequency: Controls how often the focus is softened.
- Amplitude: Adjusts how much blur is applied when the defocus occurs
- Randomness: Modifies how much the range of blur varies, within the range set by the Amplitude property.
