
Clouds
This effect generates a randomized fractal pattern simulating the appearance of clouds. This is most commonly combined with other effects to produce computer-generated patterns and textures.
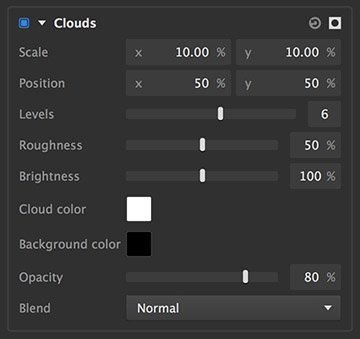
- Scale: Sets the granularity of the cloud effect, on the X and Y axes. X values run from 0 on the left to 100 on the right. Y values run from 0 at the top to 100 at the bottom.
- Position: Shifts the effect on the X and Y axes. X values run from 0 on the left to 100 on the right. Y values run from 0 at the top to 100 at the bottom.
- Levels: Sets the fineness of the effect. Higher levels create additional detail in the pattern.
- Roughness: Adjusts the visibility of the finer details, by tuning the contrast between the cloud color and background color.
- Brightness: Adjusts the brightness of the cloud color.
- Cloud color: Defines the color used for the cloud pattern. Click the swatch to open a color picker and select any color you desire.
- Background color: Defines the color used to fill in all areas around the cloud pattern. Click the swatch to open a color picker and select any color you desire.
- Opacity: Sets the opacity of the cloud effect. At 0% the clouds will not appear at all, while at 100% the layer itself will be completely obscured by clouds (assuming a normal blend mode).
- Blend: Choose the blend mode used to combine the cloud effect with the layer contents. Full details of all blend mode options can be found on the Blending modes page of this manual.
Dot Matrix
The dot matrix effect transforms the image into a grid of dots, simulating the appearance of an image produced by a dot matrix printer. The controls are split between three tabs: General controls, controls for the pattern of Dots, and Variation controls to add variety to the pattern.
General
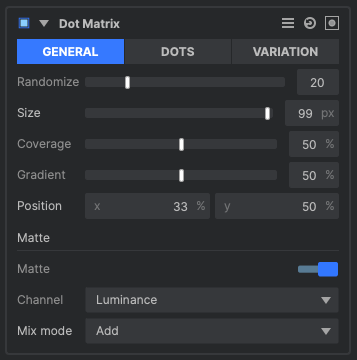
- Randomize: Randomizes the placement of the dot matrix pattern.
- Size: Controls the overall size of the effect.
- Coverage: Controls how much of the source image is covered by the dot matrix pattern.
- Gradient: Controls how many of the dots are affected by the variation settings
- Position: Offsets the entire pattern along the X (horizontal) axis or Y (vertical) axis.
- Matte: Control where the dot matrix pattern is applied in regard to the underlying image, by using a specific channel of the image as a matte.
- Channel: Select the channel from the source image which will be used as a matte. The dot matrix pattern will appear in white areas of the channel, and be masked out in black areas.
- Mix mode: Choose the method used to blend the dot matrix pattern onto the source image.
Dots
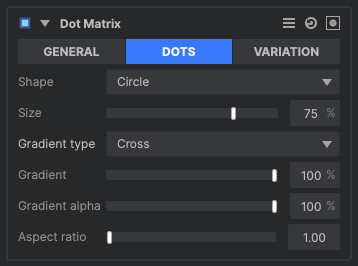
- Shape: Select the shape used for the dots.
- Circle: Creates a grid of round dots. Note that the apparent shape of the dots will also be affected by the gradient type selected below.
- Square: Creates a grid of square dots. Note that the apparent shape of the dots will also be affected by the gradient type selected below.
- Size: The size of each dot, within the available space for that dot.
- Gradient type: Each dot can be filled with a gradient to create finer detail within the effect. Use this menu to select the kind of gradient used.
- Radial: A radial gradient with a bright center and dark edges is used for each dot.
- Pyramid: A four-sided pyramid gradient is used for each dot, with the peak and edges of the pyramid being bright, and the sides gradually darkening toward the outside.
- Cross: A cross with bright vertical and horizontal lines, darkening toward the corners, is used for each dot.
- Gradient: Defines how visible the gradient is on the dots.
- Gradient alpha: Adjusts the opacity of the gradient over the top of each dot.
- Aspect ratio: Stretches the dots horizontally, changing their width.
Variation
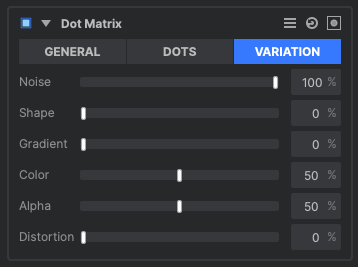
- Noise: Adjusts the randomization of which dots are visible within the pattern.
- Shape: Adjusts the range of variance available for the shape of each dot.
- Gradient: Defines the amount of variance available for the gradient of each dot.
- Color: Defines the range of variance available for the color of each dot.
- Alpha: Adjusts the range of variance available for the opacity of each dot.
- Distortion: Warps the grid matrix, distorting the shape of each dot.
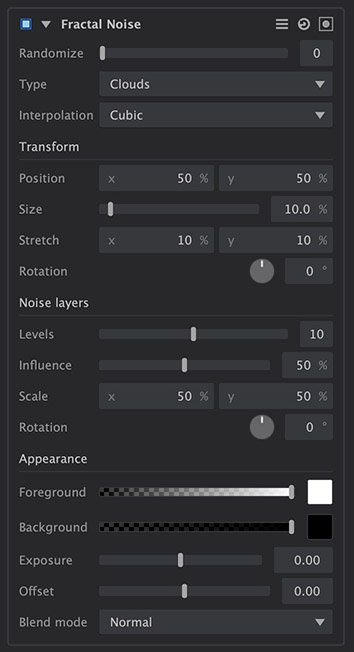
Fractal Noise
Fractal noise procedurally generates a variety of patterns, based on multiple iterations of fractal geometry.
- Randomize: Randomizes the pattern within the style created by the other settings. The seed value can also be keyframed to create movement within the pattern.
- Type: Each type uses a different fractal, to give a different appearance to the pattern.
- Blob: Creates a pattern of solid blobs with defined edges.
- Clouds: Creates a pattern of gradual transitions with dithered edges, reminiscent of clouds.
- Colored Clouds: Similar to clouds, but using the entire spectrum of colors.
- Emboss: Uses a pattern similar to clouds, but then applies a height map, creating a stone-like texture.
- Marble: A pattern of randomized fluid lines, giving the appearance of marble.
- Swirl: A variation of clouds where each tone has a linear aspect, so the colors swirl softly together.
- Whisp: Stringy, high contrast pattern.
- Wood: A strong linear pattern reminiscent of wood grain.
- Energy: A pattern of thin, energetic strings.
- Fluid: Replicates a pattern similar to the caustics created by looking through a volume of water.
- Smoke: Soft, billowing shapes like the texture of smoke.
- Interpolation: Choose the method used to build the texture from the fractal geometry.
- Block: Creates a square, pixelated appearance.
- Linear: Applies more gradual transitions from one block to the next.
- Cubic: More dramatic gradients completely obscure the block pattern to create organic shapes.
Transform
- Position: Moves the origin point of the fractal pattern, thereby shifting the entire pattern by the value selected.
- Size: Adjusts the scale of the fractal pattern.
- Stretch: Allows you to scale the pattern on a single axis.
- X: Scales the width of the pattern without affecting the height.
- Y: Scales the height of the pattern, without affecting the width.
- Rotation: Rotates the pattern around the origin point.
Noise layers
These settings affect the additional iterations of the fractal which are used to break up the primary fractal and create the finer details.
- Levels: Sets the number of sub levels which will be applied.
- Influence: Adjusts the balance of the original fractal and the sub levels. Values below 50% favor the original, and values above 50% favor the sub levels.
- Scale: Adjusts the size of the sub levels, without altering the original.
- Rotation: Rotates the sub levels, without rotating the original.
Appearance
- Foreground: Controls for the first color used to generate the fractal pattern. You can use the eyedropper to choose a color from your image, or click the swatch to open a color picker and choose any color you prefer. Use the slider to adjust the transparency of the first color.
- Background: Controls for the second color used to generate the fractal pattern. You can use the eyedropper to choose a color from your image, or click the swatch to open a color picker and choose any color you prefer. Use the slider to adjust the transparency of the first color.
- Exposure: Adjusts the exposure of the fractal effect. The intensity of the results correspond directly to the to the brightness of the original colors, so bright areas are affected more strongly than dark areas. Positive values brighten the effect, and negative values darken it.
- Offset: Shifts the entire range of tonal values up or down. Values shifted beyond pure black or pure white will be clipped.
- Blend: Controls how the effect is combined with the contents of the layer to which it is applied.
Long Shadow
Generates a cast shadow based on the shape of your layer.
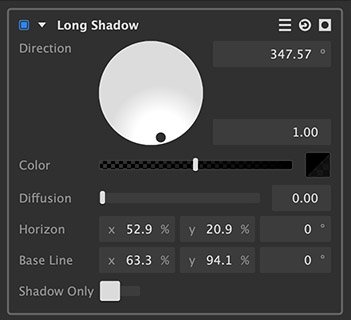
- Direction: Define the direction of the light source which is creating the shadow. The handle in the direction wheel can be dragged around the edge of the wheel to select the angle, and moved toward the center of the wheel to adjust the height of the light source. These values can also be edited directly using the readouts to the right of the wheel.
- Angle: Sets the angle of the light source in relation to the layer. 0º is directly in front of the layer, and 180º is directly behind it.
- Height: Set the height of the light source, in relation to the layer. 1.00 is right at the horizon, and 90 is directly overhead.
- Color: Choose the color of the shadow. Click the swatch to open a color picker and select any color you desire.
- Diffusion: Adjusts the penumbra, or edge softness, of the shadow The effect will become more pronounced as the shadow gets farther from the subject, just like real shadows.
- Horizon: Defines the top edge of the shadow effect.
- X: Sets the X (horizontal) position of the horizon control point.
- Y: Sets the Y (vertical) position of the horizon control point.
- Angle: Rotates the horizon line around the horizon control point.
- Baseline: Defines the bottom edge of the shadow effect.
- X: Sets the X (horizontal) position of the baseline control point.
- Y: Sets the Y (vertical) position of the baseline control point.
- Angle: Rotates the horizon line around the baseline control point.
- Shadow Only: Hides the layer and renders only the shadow effect.
Reflection
Creates a mirrored image, where one side of the image is duplicated and flipped one or more times.
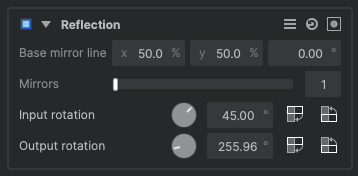
- Base mirror line: Controls the positioning of the line at which the mirroring occurs.
- X: Shifts the anchor point used for rotation of the image, along the mirror line. The value can be edited here, or you can drag the smaller circle in the canvas widget.
- Y: Moves the mirror line vertically within the image. 0% is the top of the image, and higher values move the mirror line lower. The value can be edited here, or you can drag the smaller circle in the canvas widget.
- Angle: Rotates the mirror line, based on the anchor point. The value can be edited here, or you can drag the larger circle in the canvas widget.
- Mirrors: Defines the number of mirror lines. The mirror lines will be equally spaced around the anchor point.
- Input rotation: Rotates the source image, independently from the mirror line position.
- Output rotation: Rotates the final image, including the original image and all mirrors, around the anchor point.
Scan Lines
Creates a consistent pattern of light and dark lines. Effective for replicating the look of television or other electronic displays, or creating a pattern for graphic purposes.
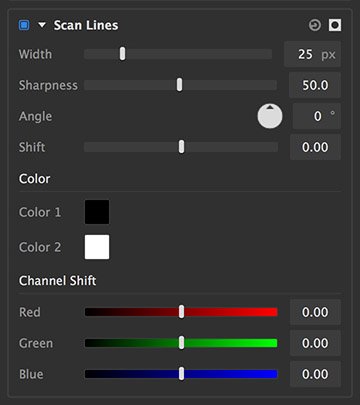
- Width: The width, in pixels, of each line in the pattern.
- Sharpness: Adjusts the sharpness of the lines. Lower settings make the lines softer, and more subtle, while higher settings create darker, hard-edged lines.
- Angle: The pattern of lines can be set to any angle you wish. Rotate the dial to define the angle, in degrees.
- Shift: Adjusts the position of the lines, perpendicular to the direction in which the lines themselves run. If important detail in your underlying image is obscured by the lines, you can use shift to fine-tune their position to better reveal the detail.
Color
- Color 1: Defines the color used for the odd-numbered lines. Click the swatch to open a color picker and select any color you desire.
- Color 2: Defines the color used for the even-numbered lines. Click the swatch to open a color picker and select any color you desire.
Channel shift
- Red: Adjusts the position of the red channel of the effect, perpendicular to the direction in which the lines run. Shifting individual color channels is a popular technique for adding digital grunge and cyber-styling.
- Green: Adjusts the position of the green channel of the effect, perpendicular to the direction in which the lines run. Shifting individual color channels is a popular technique for adding digital grunge and cyber-styling.
- Blue: Adjusts the position of the blue channel of the effect, perpendicular to the direction in which the lines run. Shifting individual color channels is a popular technique for adding digital grunge and cyber-styling.
Tile
The tile effect creates multiple copies of a layer, arranged into rows and columns.
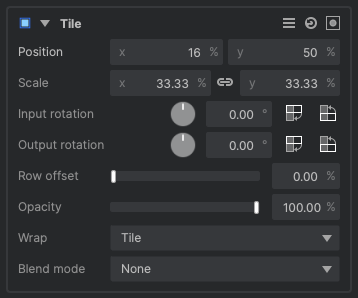
- Position: Adjusts the placement of the tiles, on the X (horizontal) and Y (vertical) axes.
- Scale: Defines the size of each tile, as a percentage of the layer’s original size. The effect will generate as many tiles as are required by the scale value to fill the layer.
- Input rotation: Adjusts the rotation of the contents of each tile, without changing the actual tile placement.
- Output rotation: Changes the angle of the rows and columns of tiles.
- Row offset: Adjusts the offset of each row, as a percentage of the tile width.
- Opacity: Determines how opaque the tiles are. As the opacity is lowered, the original layer will show through.
- Wrap: This control determines how border areas within each tile are handled, when the Input rotation is changed to a value where the original image does not fill each tile.
- None: The original image shows through any transparent border areas.
- Tile: The original image is tiled within each tile, to fill any transparent border areas.
- Reflect: The original image is tiled, but the tiles are reflected so that no hard edges are produced.
- Blend Mode: Choose the blend mode used to combine the tiles with the underlying source layer.
Vignette
Subtly or dramatically darken the edges of your frame using this effect. Vignettes help to naturally draw the viewer’s eye toward the center of the frame, and your subject.
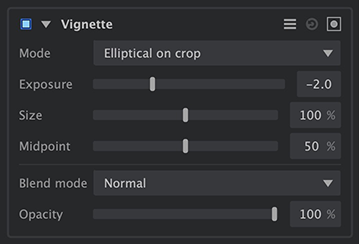
- Mode: Each mode available in this menu gives you a starting point from which to further edit the effect.
- Elliptical on crop: Creates an ellipse which just touches all four sides of the layer, as the basis for the vignette shape.
- Circular on crop: Creates a perfect circle which fits entirely within the layer, as the basis for the vignette shape. The diameter of the circle will be the distance between the two long sides of the layer.
- Circular on fill: Creates a perfect circle which fits entirely with a diameter equal to the longer dimension of the layer, as the basis for the vignette shape.
- Exposure: Your vignette can brighten or darken the underlying image. Set exposure to a negative number to darken the edges, or to a positive number to brighten the edges.
- Size: The edges of the ellipse on which the vignette is based can be shifted inward or outward from their original position.
- Midpoint: Adjusts the softness of the vignette edge.
- Blend Mode: Select the blend mode used to composite the vignette onto the layer’s contents. Full details of all blend mode options can be found on the Blending modes page of this manual.
- Opacity: Sets the opacity of the vignette. At 0% the vignette will not appear at all, while at 100% the vignette will be full strength, as defined by the values you have chosen.
Need more help with this?
Don’t hesitate to contact us here.