
What is a Celiveo Virtual Printer (CVP)?
The CVP is a module that is deployed on a user’s workstation, which enables a user to print directly to a printer, subject to rules based printing and usage reporting. On the Web Admin, you add a Celiveo Virtual Printer (CVP), and generate a deployment package. Later on, you install deployment package on the user’s workstation.
Workflow

Start the Add Virtual Printer Wizard
- At the Main menu, click on Printers
![]() .
. - At the Printer menu, click Add Virtual Printer
![]() to start the Virtual Printer Wizard.
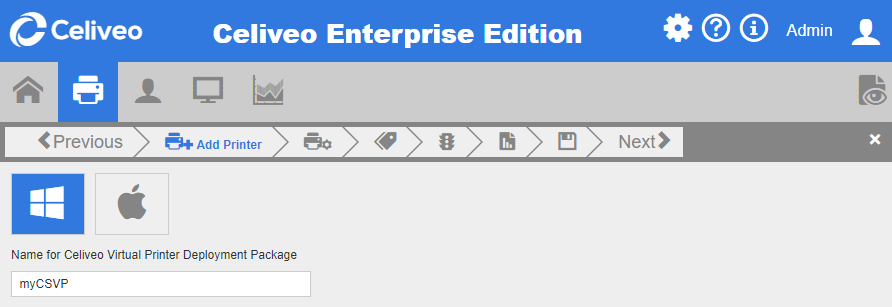
to start the Virtual Printer Wizard. - Chose Windows Icon and define a Celiveo Windows Virtual Printer name that will be shown in the deployed print queues for end-users.
![]()
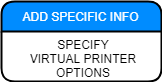
Specify Virtual Printer Options
- Specify a name for the CVP deployment package.
During the final stage, the Add Printer wizard generates and downloads a deployment package using the name you provide. Subsequently, you can install the deployment package on a user’s workstation.
- Click [Next>]. The next page displays.
![]()
- Click [Auto Update] to enable automatic update of Virtual printer settings. This will synchronize the Driver, Cost Definition Profile, and Access and Rules Profile settings for the virtual printer.
For example, if a printer driver was already installed in the workstation by Celiveo Virtual Printer, then the [Auto-update] option updates the driver settings configuration (if it had been modified); rather than downloading and installing the driver again.

- Choose the Celiveo Version. The latest version will be the listed first by default.
- Select [Print-Direct] and clear [Pull Printing].
![]()
- Click [Next]
- At [Revision], enter a version number for the deployment package.
- At [Revision Comment], enter any information that may be useful for the users. This field is also used to enable dynamic IP Address change:
When a printer IP is changed, it is updated in Web Admin after the printer reboots.
At print time, the CSS can check via SNMP if a printer is available. If not, it can retrieve the latest IP address in the CeliveoDB database and update the registry to allow the CSS to send the job to the correct new Printer IP Address. The CVP will check the printer at login triggering a SNMP query to printers to identify if the printer is available and if the IP is the same. If not, it will query the CeliveoDB to get the latest IP address.


To enable the feature, enter the following command in the Revision Comment section: (IPL:1,LTO:5).
IPL:1 – Means that IPlookup will be enabled
LTO:Value in minutes (Default value is 5) – Defines the amount of time before CVP queries again the SQL CeliveoDB.
Finalize
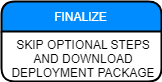
- Accept the defaults for the next few steps and click [Next>] until the Save Confirmation dialog displays.
- Ensure that the option for downloading the deployment package is selected, and click [Save].
Preserve the downloaded file so that you can expand it and deploy it on a Print Server. - Please Logout/Login or reboot the machine to complete the installation.
Tip: You can download the deployment package later, by selecting the CVP in Web Admin, and clicking ![]() .
.
Last modified:
3 March 2025
Post your comment on this topic.