
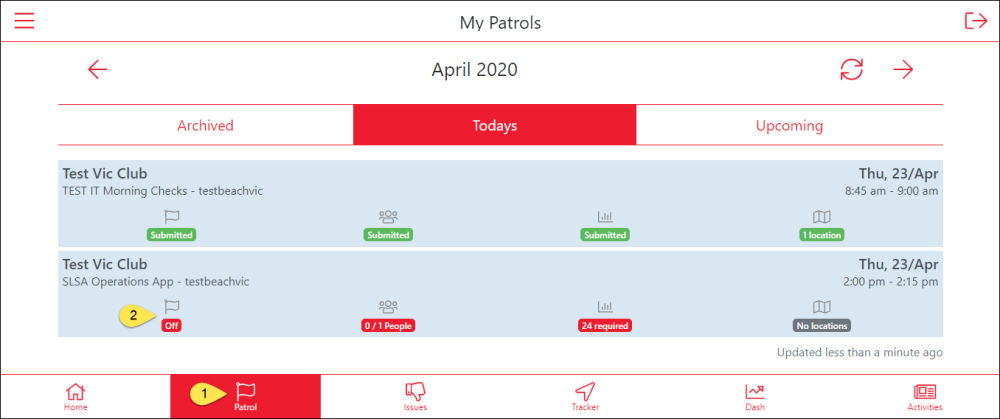
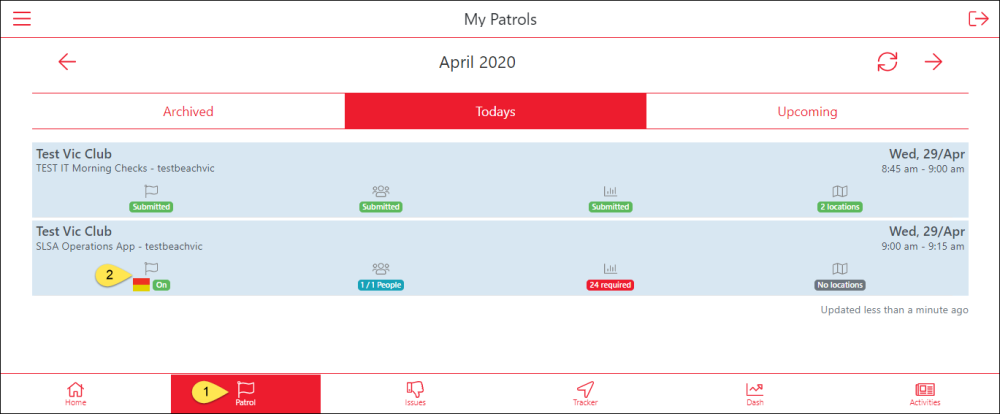
1. Select the ‘Patrols’ icon and then select the flag icon which will display as ‘Off’ for the patrol that you wish to sign on.
2. Selecting the Patrol Flag will take you to Patrol Status screen.
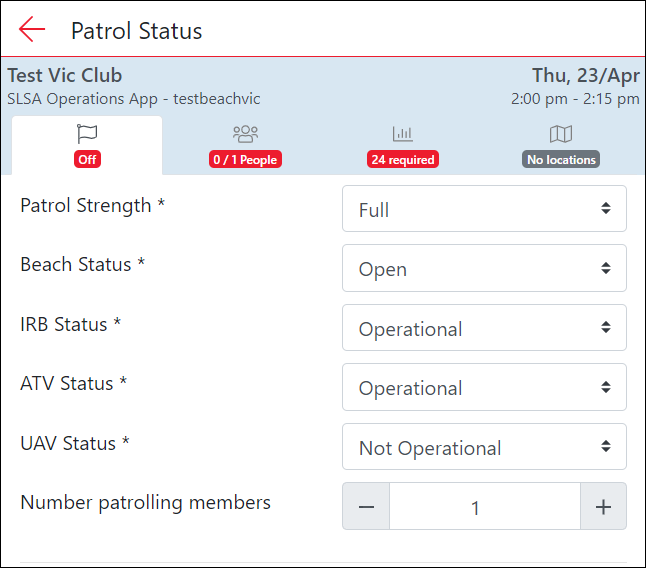
Use the arrow key at the top of the screen (next to Patrol Status) to return to the main menu.
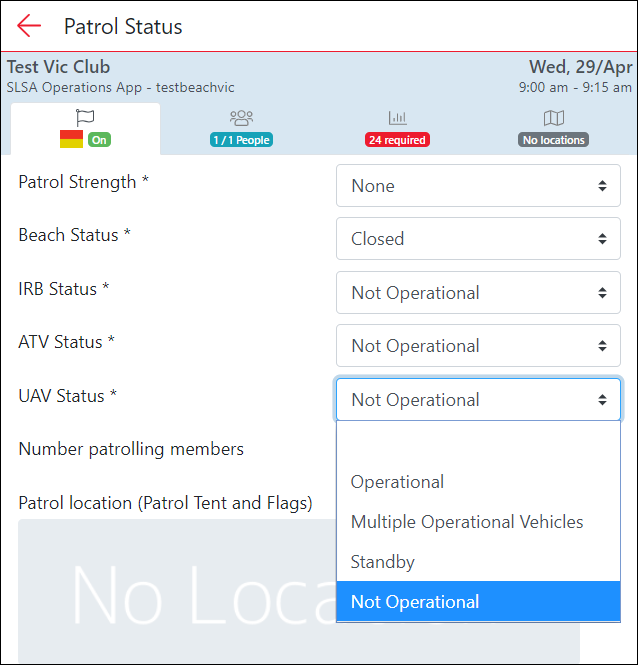
3. The Patrol Status screen displays and there are compulsory fields that must be completed.
Use the drop-downs to access a list of options for each strength/status.
The app will also display the number of patrolling members rostered to the patrol.
Users can adjust this number to reflect the number of patrolling members currently on patrol at sign on.
4. The app will ask you for the current beach attendance at sign-on and the patrol location.
The patrol location can be added by clicking on the “Patrol Location – No location’ field box.
A map of your current location will load and you can pin point your patrols current location.
Click ‘Select’ once you have marked your location.

5. A photo of the beach can be uploaded by clicking on the camera icon, any additional notes can be added.
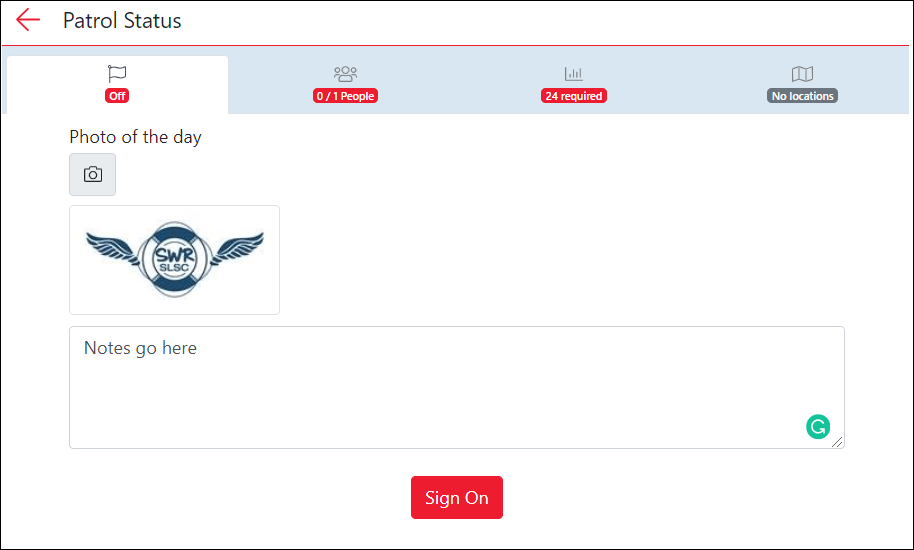
6 Once all compulsory fields have been completed select ‘Sign On’
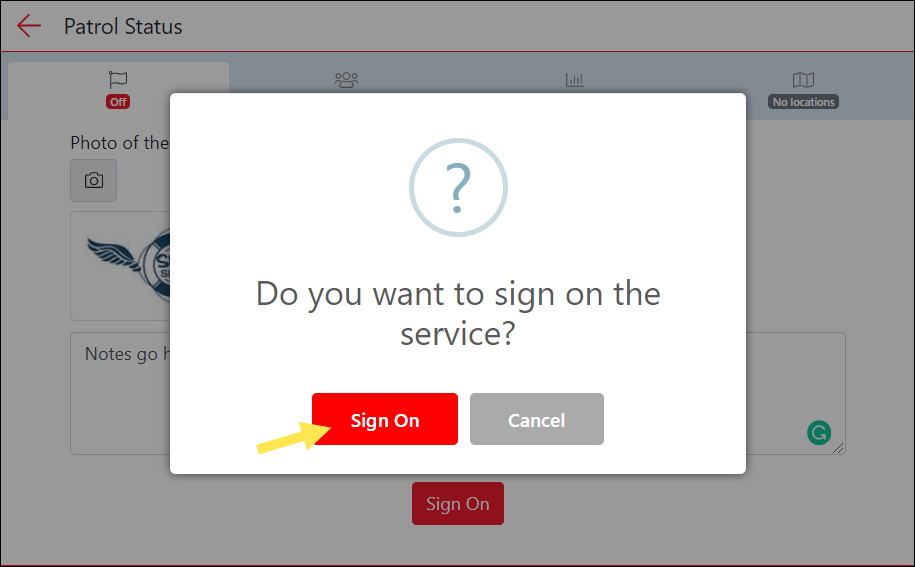
A pop-up will display asking you to confirm you want to sign the service on.
To return to the main menu – click on the arrow located at top of screen.
Updating Patrol Status During Patrol
1. Select the Patrol flag icon down the bottom of the page.
2. Select the Patrol flag which will be displayed as ‘On’ (for the patrol that you wish to update) and you will be directed to the Patrol Status menu.
3. Amend the Patrol Status sections as required.
To view a quick instructional video outlining this process see below:
Need more help with this?
Don’t hesitate to contact us here.