
Setting up CadConnect
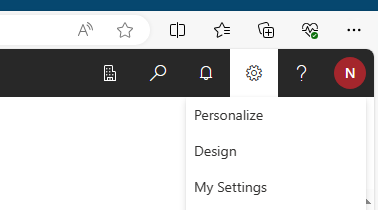
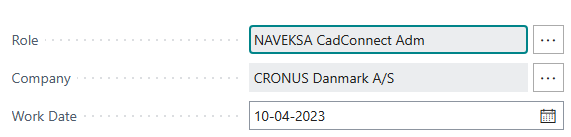
To get access to the different parts of the CadConnect Setup, the easiest way is to select and use the NAVEKSA CadConnect Adm Role in “My Settings”
Setting up CadConnect is done from a few different Menu items found in the Main menu of CadConnect under Setup.

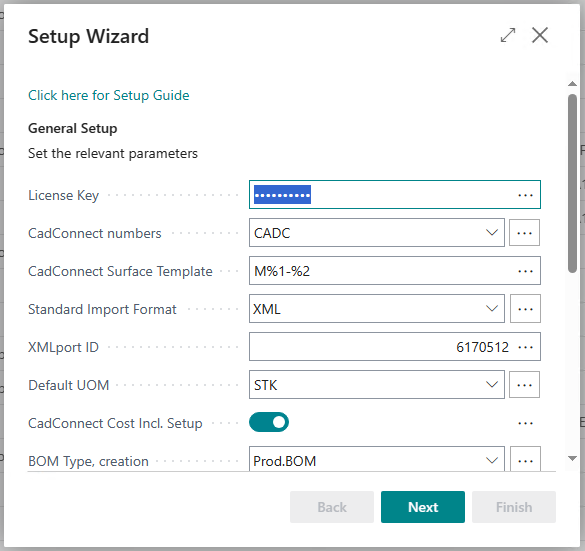
Setup Wizard
A Setup Wizard has been created to guide you through all the setup paramteres.
This Wizard will be proposed automatically by CadConnect. Once you have been through the Wizard, the proposal will disappear.
The idea is, that you get a guided tour through the Setup, and then if you on a later point of time need to modify any Setup parameter, you can go directly to the general CadConnect setup function.
CadConnect Setup
The setup screen for CadConnect is divided into different sections and looks like this:

Main parameters
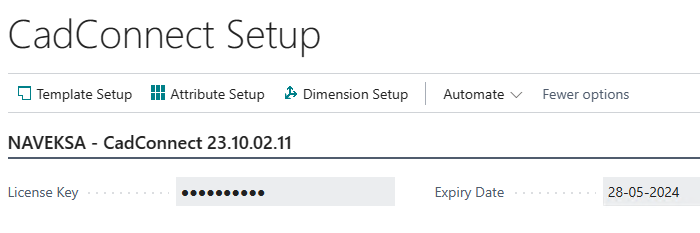
Running CadConnect in a production environment requires, that you pay for and get a License Key for the product.
This License Key must be entered here, and shall be renewed each 6 months.
You can see the Expiry Date and will be notified before you reach this date.
General parameters
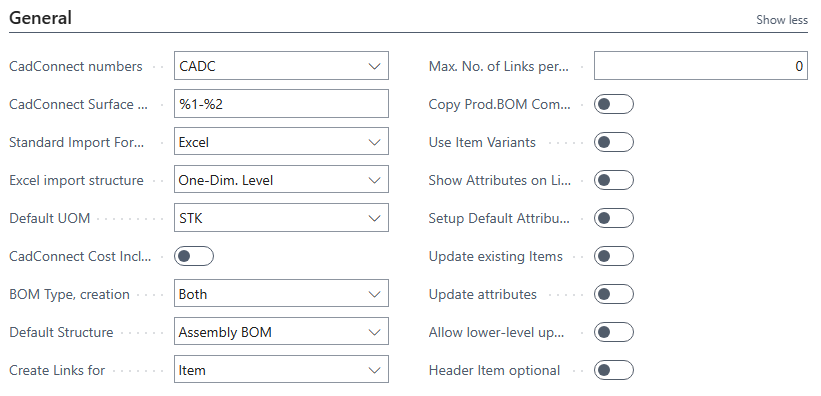
CadConnect Numbers
Each CadConnect construction is assigned a unique number, which can be entered either manually or created automatically from a number series definition from BC.
The selected Number series shall be entered here.
CadConnect Surface Template
For any possible variant of a subject designated for a surface treatment, it is coded here. It is possible to retrieve 2 table values, % 1 is item number and % 2 is the surface code. Surface codes (variants) can be created from the CadConnect Task main menu item – CadConnect – Variant.
Standard import format
2 different options are available: Excel and XML.
Excel import structure
3 different options are available:
- One dimension levelling
- Multi-dimension levelling
- Parent/Child
For further information on this subject, please refer to CadConnect manual, section Data structure:https://www.manula.com/manuals/naveksa/cadconnect/1/en/topic/exporting-data-to-excel-for-cadconnect-import
Default UOM (Unit of Measure) Code
If the input file does not contain a unit of measure code, the value in this field will be used as the default value.
CadConnect Cost incl. setup
Perfoming cost calculations in CadConnect can be done with or without the setup cost element, that is cost from setup operations added to the CadConnect structure.
This principle is fully equivalent to the costing principle in BC.
BOM type, creation
Specifies which kind of Bill of materials you want to create. You can select from the values:
- Production BOM
- Assembly BOM
- Both
Please notice that Assembly BOM can only be created as end-items with components. That is you cannot start in the middle of a production BOM adding assembly items.
If you select “Both”, you will be propted each time during data creation to select which type to be used.
Default Structure
If you have selected Both as “BOM Type, creation”-parameter, you will need to select which of the two values are used as default, that is the value you will use at most.
You can of course in the individual CadConnect construction choose another value. This choice can be made independently for each produced item in your construction.
Create Links for
If you intend to import Links along with your other data, you can here select whether thses Links shall end up as Links on the Item Card or on the BOM.
Max. No. of Links per Item
You can import up to 10 links per Item.
Copy prod. BOM comments to prod.order
A checkmark in this field enables a function where the bill of material header comments are copied to the production order as order comments. This copy takes place when the production order is being refreshed.
Use item variants
Use Standard BC variants. Selecting this option will open variant-fields in the field-mapping specification when you run the import.
Show Item attributes on lines
If you use CadConnect with Item Attributes you can have these attributes shown on each of the detail lines. In seperate columns. This makes it possible to modify the values imported.
Setup Default Attributes
Setting up Default Attributes will add these Attributes to all new CadConnect constructions and thereby reduce your work to selecting the actual values.
Update existing Items
If you want to be able to change fields on existing items then put a checkmark in this field. The update take place when you execute the update from a CadConnect.
Fields that will be updated are: Description, Description 2, No. 2.
Update Attributes
If you want to be able to change Attributes on existing items the put a checkmark in this field.
You can read more about using Item Attributes here: https://www.manula.com/manuals/naveksa/cadconnect/1/en/topic/using-item-attributes
Please note, that as an item can hold only one value for each BC item attribute, selecting the update will remove the existing attribute values from the item and adding new attributes according to the CadConnect you are updating from.
Allow lower-level updates
If you do not allow lower-level updates (default) then CadConnect will not let you change any existing BOMs and routings beneath the top level.
If you allow lower-level updates then CadConnect will let you change all BOMs and routings nomatter the level.
Header Item optional
Normally you will define the Item in the CadConnect header as your final product, and CadConnect will create BOM and Routing belonging to this Item.
If you select this parameter, CadConnect will allow you to work with constructions based on lines only, that is no information, Item, BOM or Routing will be created based on the Header if the Item field in the Header is left blank.
If you select this parameter, but do fill in the Item No. field in the Header, CadConnect will create everything from the header as normal.
Templates

Use Template Type
New items are created based on the standard BC item creation template / Configuration Template function.
You can here select whether you want CadConnect to use BC Item Templates or BC Configuration Templates.
Depending on this selection the 4 basic Templates (for use on End-items, Produced items, Purchased items or Assembly items) will refer to the created Templates in BC.
Use advanced templates
If you checkmark this field the advanced template use system is initiated.
You can read about the use of Templates in CadConnect here: Using advanced templates
Routing
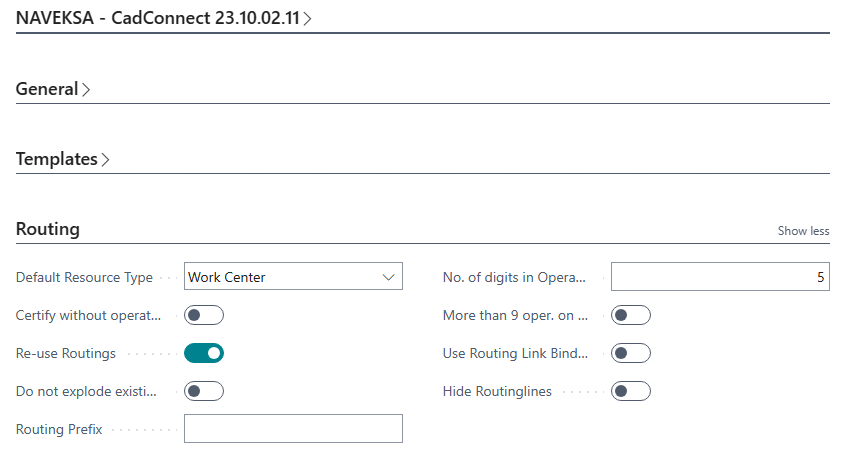
Default Resource Type
If you intend to import operations with reference to specific capacities, you must here select whether these capacity-numbers are Word Centers or Machine Centers.
Certify without operationtimes
As default CadConnect will require, that you have setup and/or run times defined on all operations lines.
If you want to assign these operationtimes at a later point in time and therefore want to be able to create routings without operationtimes, you must select this parameter.
Re-use routings
When you add a routing to an item, through one of the methods available, CadConnect will as default create a new routing with the same number as the item number and add a reference on the item to this new routing.
If you want to re-use existing BC routings and you do not want new “identical” routings created, you can select this option.
In that case selecting an existing routing on a CadConnect line will add a routing to the item, but keep the routing number as is. That is no new routing will be created and the item will be added a reference to the selected existing routing.
Selecting the “Re-use routings” parameter will pen the following parameter.
Do not explode existing routes
When you add a routing to an item, by selecting an existing routing, CadConnect will as default create new lines showing each operation from the routing. When you select this option the routing number will be saved as the Routing Template on the CadConnect item, and no operation lines will be added. When the item is being created the item will be added a reference to this selected existing routing.
Routing Prefix
As mentioned above new routings will as default get the same number as the Item they belong to. You have here the possibility to add a Prefix to the Routing number.
Number of digits in Operation No.
When creating BC Routings and operations from CadConnect, each line will need to have an Operation No. assigned.
You define the layout of this Operation No. here by choosing the lenght.
More than 9 oper. on a Routing
If you have more than 9 operations on any Routing, the above specified Numbering will create a conflict, as you have only 9 values for CadConnect to use.
To solve this issue you will need to mark this parameter and the Operations No.s will change accordingly.
Use Routing Link Bindings
If you want to have Routing Link codes to be copied from an operation to the items/components to be use in that operation, you can have CadConnect to do so automatically by selecting this parameter.
Hide Routinglines
This parameter will hide CadConnect lines of type Routing, that is only showing the specific opeartion lines.
Selecting this parameter will not influence the way CadConnect work during definition and creation of Routings. This is merely a visuel matter to make the overview of a construction more simple by reducing the number of lines shown.
Certifications
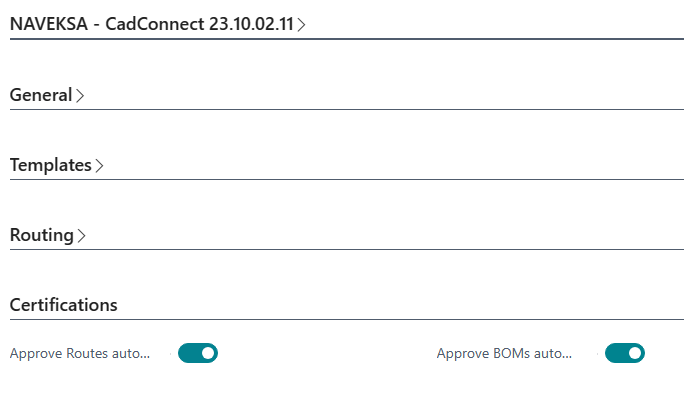
Approve Routings / BOMs automatically
You need to decide (select) whether the newly created BC BOM’s and/or Routings shall be certified, that is set to Status = Certified, or stay in status New after the creating process.
Version Control
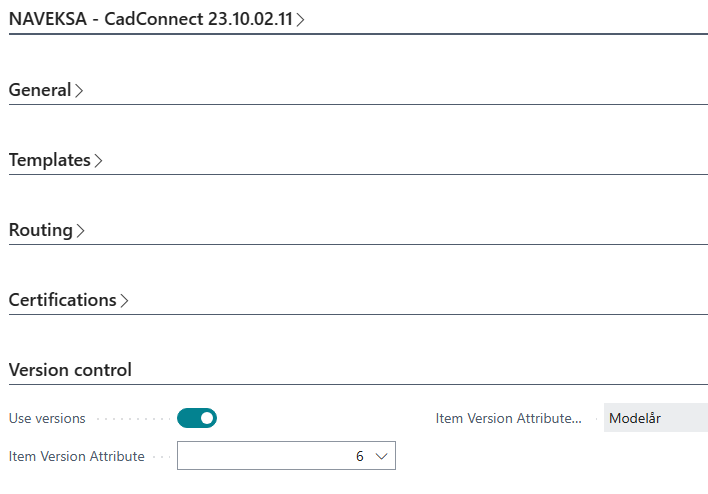
Use Versions
A checkmark in this field allows you to run with version control on items, BOM’s and routings.
Item version Attribute
If you want to have imported version codes added to new items as an attribute value, you can assign an item Attribute set for this here.
You can read more about the use of Item Attributes her: Item Attributes
CadConnect Item Templates
When you have chosen to use Advance Templates, you have an additional access to the setup here.
Operation Time Setup
In standard BC, you can through Routing setup define standard values for setup, wait and move time on Machine Centers.
We have added the same functionality in CadConnect for Workcenters here.
Manufacturing Setup
We have added direct access to the standard BC Manufacturing Setup in CadConnect, as these setup-parameters are highly related.
Har du brug for mere hjælp med dette?
Visit our support site