
Anamorphic Lens Flare
 Anamorphic Lens Flare is available in the VFX: Lighting Pack.
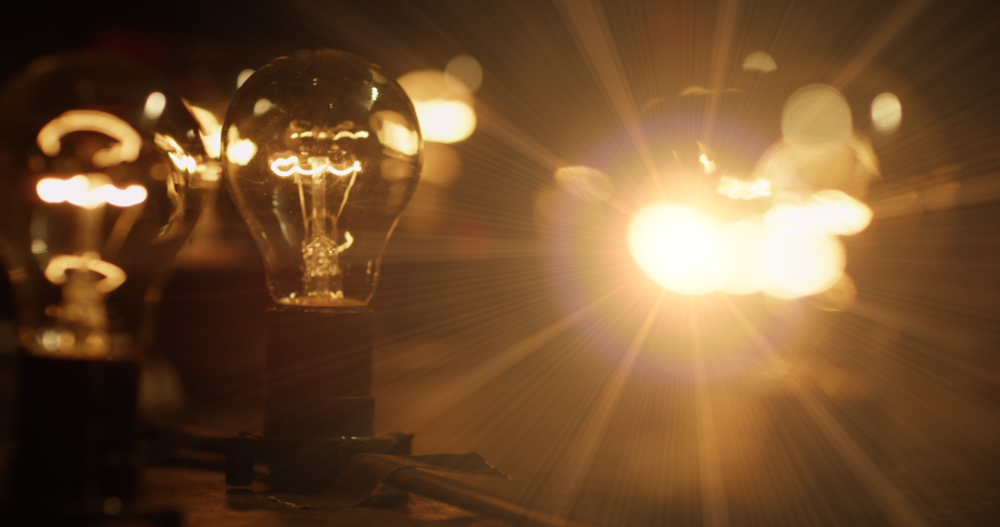
Simulates the use of an anamorphic lens, creating broad flares based on the source layer.
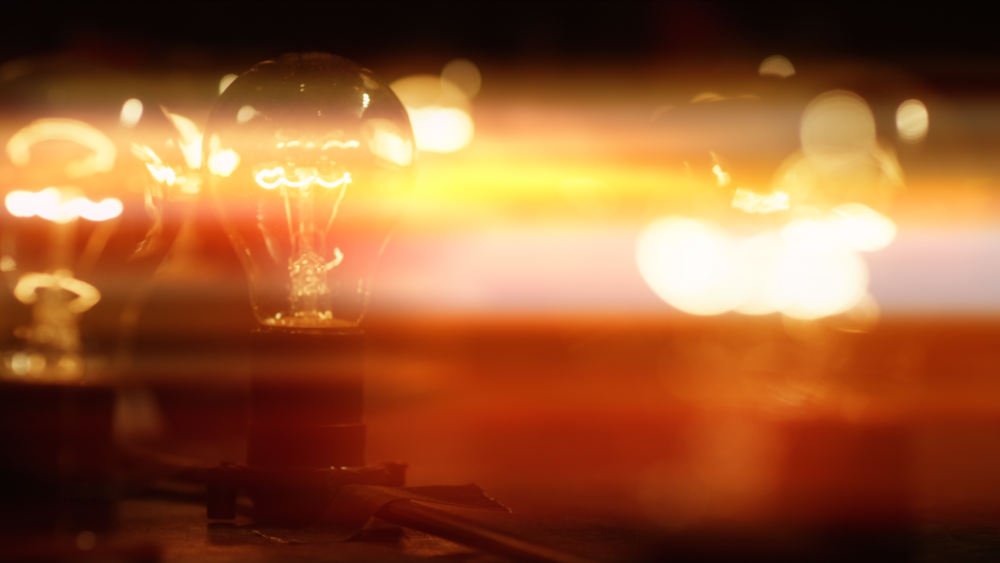
The threshold determines how much of the source layer produces flaring. The resultant effect can be adjusted with the intensity property.
The blur flare property creates a less distinct flare, which can often look more realistic.
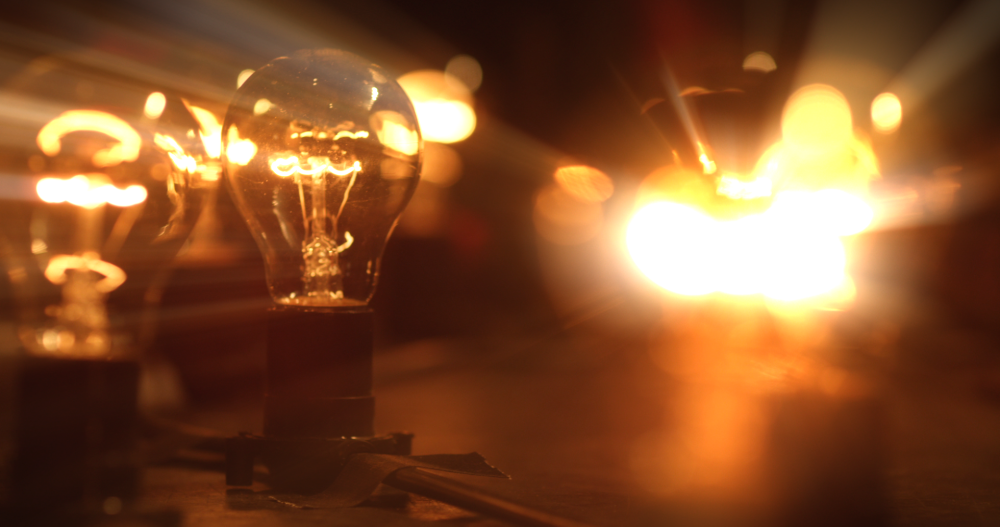
Additional streaks can be added using the number of streaks property, with each streak individually customizable.
Auto Light Flares
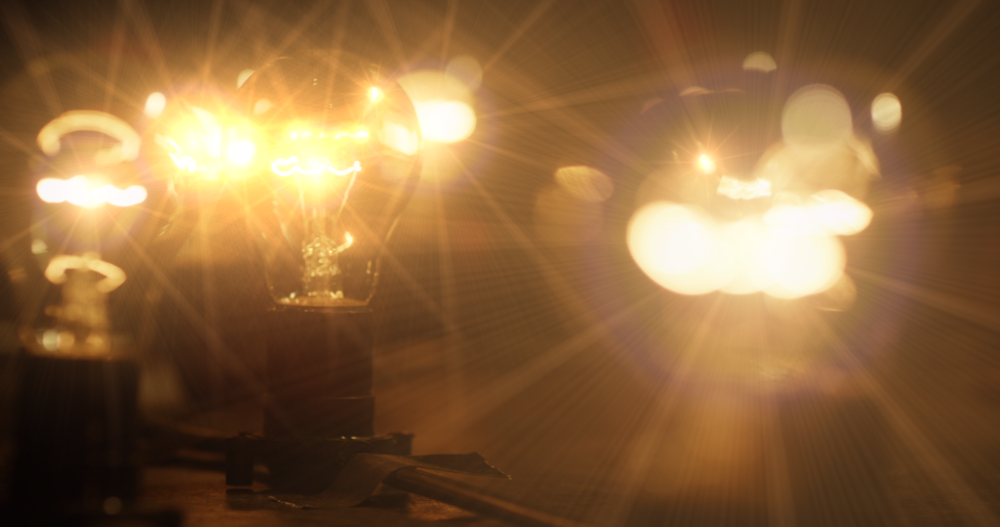
The auto light flares effect shares many properties with the light flares effect. The primary difference is that auto light flares identifies bright areas in the layer and applies light flares automatically, adjusting intensity and scale based on the source.
The Hotspot property group is different in auto light flares, providing control over where the light flares appear.
- Threshold sets how bright a pixel has to be for a light flare to be drawn. At high thresholds, flares will only appear on the brightest parts of the layer. Lowering the threshold will produce more light flares on less bright areas.
- Max flares determines how many flares can be drawn.
Flare appearance can be adjusted as with the standard light flares effect.
Gleam
Gleam is available in the VFX: Lighting Pack.
Creates the impression of rays of light shining out from a central point.
The appearance of the rays can be heavily customized.
The general appearance of the rays is determined by its properties, rather than by its interaction with the layer itself. In this respect it differs from the Light rays effect.
Glow
Adds a glowing aura to bright areas of the layer.
Per Channel Intensity properties enable you to shift the glow color.
Advanced options provide further customization of the glow’s appearance, including creating a specific color gradient.
Inner Glow
Creates a soft glow effects around the inside of your layer, with full control over the size and color of the glow effect. The glow is a gradient that transitions from its most opaque at the edge of the layer, to complete transparency inside the layer, at the distance set by the width control.
- Color: Select the color you want to apply to the glow.
- Values: You can enter new RGB values for a specific color.
- Pipette: Use the pipette to select a color from within your frame. Click on the pipette, hold the mouse button down, and drag to the color you wish to select. Release the mouse button to select the color.
- Color Swatch: Click the color swatch to open a color picker and choose any color you wish.
- Opacity: Defines the amount of the glow, from completely transparent at 0.00 to fully opaque at 1.00.
- Size: Adjusts the width of the glow, in pixels.
- Spread: Shifts the mid-point of the gradient, to make it more solid or more subtle. Increasing the value shifts the mid point closer to the center of the layer, giving the glow more body.
- Offset: By default the glow is centered on the layer. Use offset to shift it on the X (horizontal) or Y (vertical) axis.
Light Flares
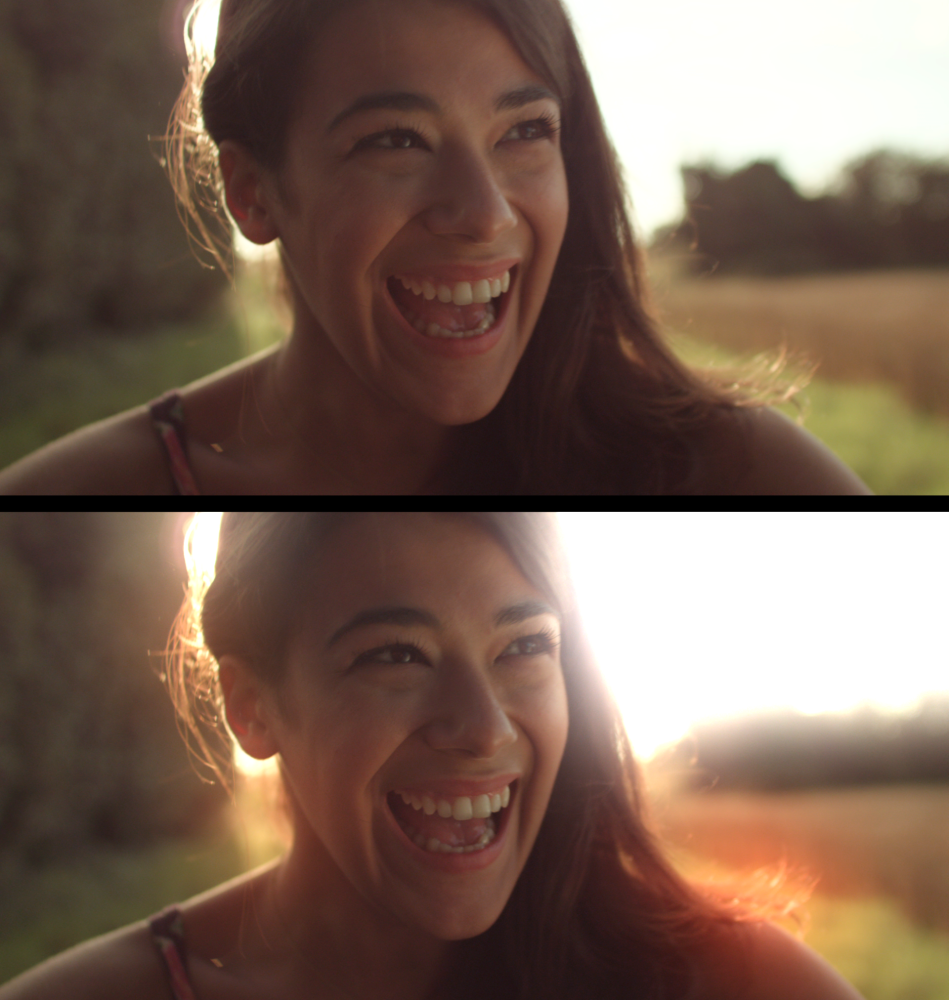
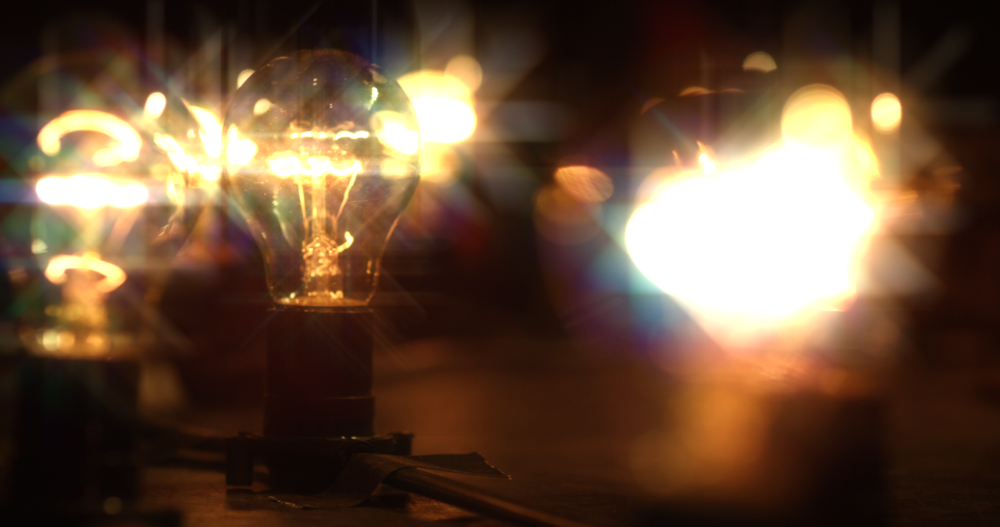
Generates a wide variety of realistic lens flares and lights. Each flare type can be heavily customized to create a limitless variety of alternatives.
Flares are made up of a hotspot, rays and unique tertiary elements. Each part can be adjusted individually.
The positioning of a flare is determined by its hotspot and its pivot. The pivot point is used for automatically animating the rays and additional elements, while the hotspot is used for the position of the main flare itself.
Below are two examples of light flares, both created starting with the chromatic halo type to show the level of possible customization:

Light Leak
Light Leak is available in the VFX: Lighting Pack 2.
Generates an evolving pattern of color gradients, simulating unwanted light leaking into the camera during shooting.
Light Rays
Light Rays is available in the VFX: Lighting Pack 2.
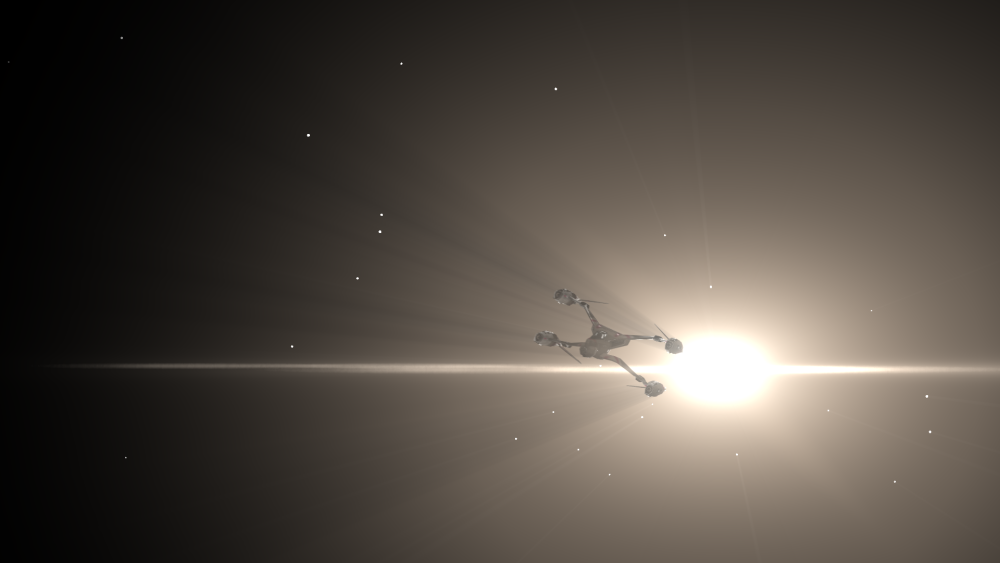
Though similar in immediate appearance to Gleam, Light rays generates a more realistic illusion of light emitting from a central point.

Used in conjunction with a 3D point, light rays can be used to create realistic volumetric lighting effects as in this 3D model shot:
Light Streaks
Light Streaks is available in the VFX: Lighting Pack 2.
Creates a range of light streaks based on the source layer. Ideal for creating the kind of lens aberrations caused by anamorphic lenses.
Neon Glow
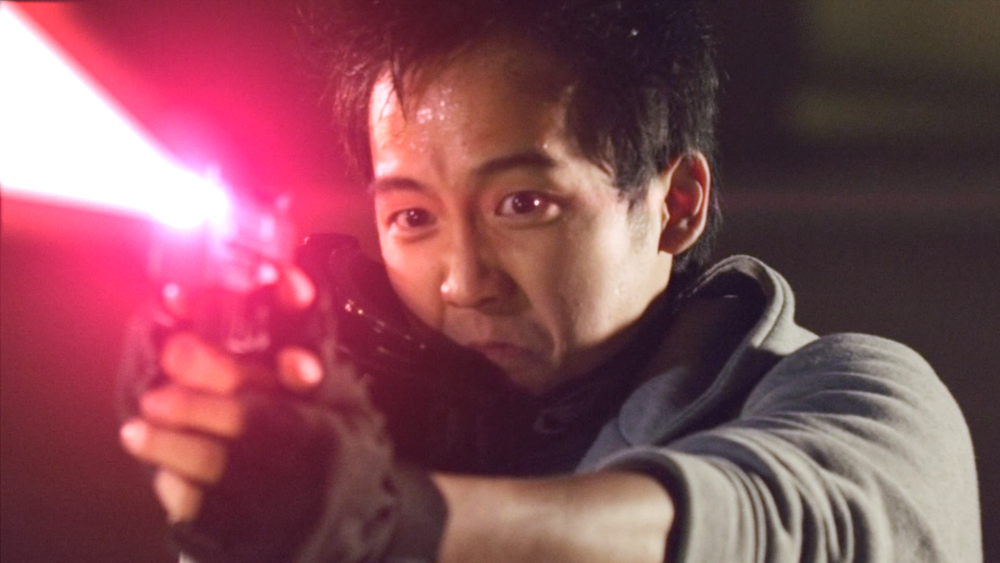
Creates a glowing edge around a layer’s alpha channel. This is particularly useful for effects such as lasers and lightsabers.
Outer Glow
Creates a soft glow effects around the outside of your layer, with full control over the size and color of the glow effect. The glow is a gradient that transitions from its most opaque at the edge of the layer, to complete transparency farther outside the layer, at the distance set by the width control.
- Color: Select the color you want to apply to the glow.
- Values: You can enter new RGB values for a specific color.
- Pipette: Use the pipette to select a color from within your frame. Click on the pipette, hold the mouse button down, and drag to the color you wish to select. Release the mouse button to select the color.
- Color Swatch: Click the color swatch to open a color picker and choose any color you wish.
- Opacity: Defines the amount of the glow, from completely transparent at 0.00 to fully opaque at 1.00.
- Size: Adjusts the width of the glow, in pixels.
- Spread: Shifts the mid-point of the gradient, to make it more solid or more subtle. Increasing the value shifts the mid point farther outside of the layer, giving the glow more body.
- Offset: By default the glow is centered on the layer. Use offset to shift it on the X (horizontal) or Y (vertical) axis.