
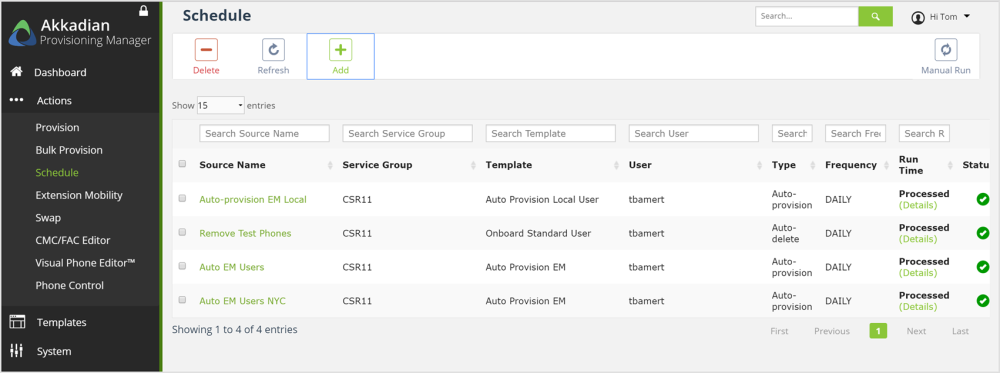
Scheduling provides the ability to view, edit, add and delete scheduled provisioning actions directly from the scheduling window.
To use scheduling:
- Select Schedule from the Actions menu
- On the menu, click Add to schedule a job
- Select the job type
- For bulk provision select a CSV file from your local computer
- Set the Date and Time to perform the job
- Click Add to create the job in the queue
The schedule for any Job can be edited by clicking on the Source Name or the job can be deleted by checking the box next to the scheduled job you wish to delete and clicking the Delete button.
Post your comment on this topic.