
STEP 1: Add the Module to the PLC Network
| From the Catalog window, drag and drop the ConveyLinx-Ai in reduced ZPA mode DAP into the Network View window | 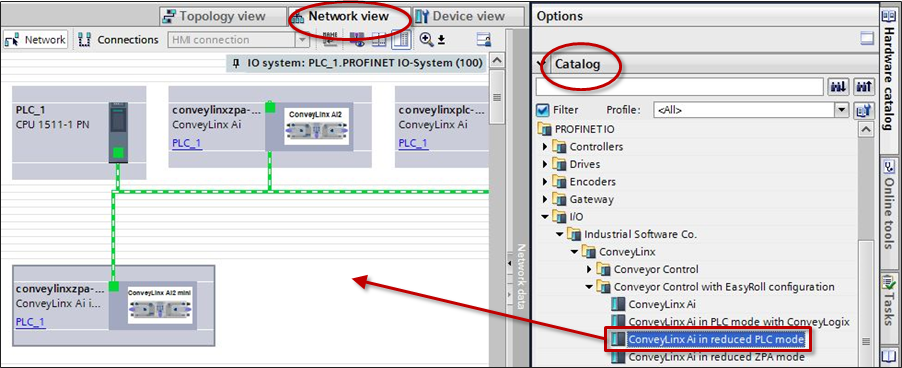 |
| To attach the module to the PLC, click on the Not Assigned link and select the desired Profinet Interface of the PLC | 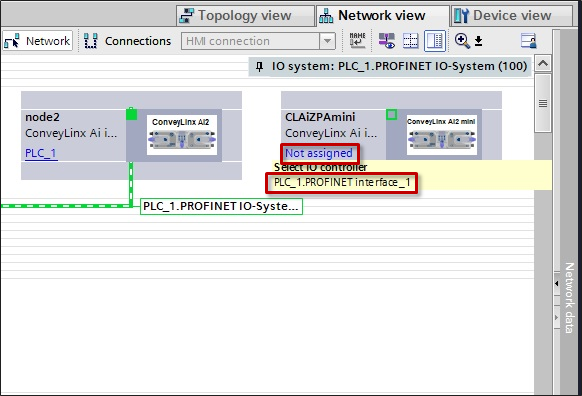 |
| When attached, you will see the green graphic linking the PLC and the module together | 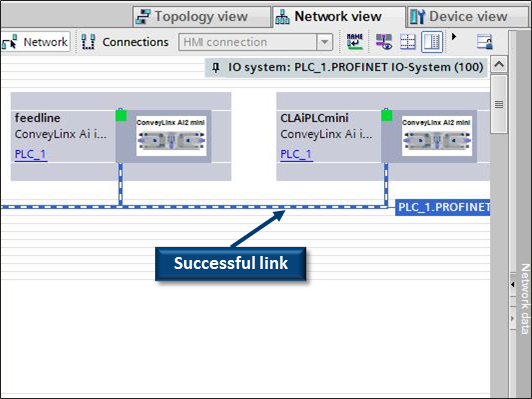 |
STEP 2: Assign the EXACT Profinet Name to the Module
Follow the same STEP 2 as in Full ZPA Example. For this example the correct Profinet Name per our Example Table is conveylinxplc-20-123
STEP 3: Enter the I.P. Address
Follow the same STEP 3 as in Full ZPA Example. For this example the correct I.P. Address per our Example Table is 192.168.20.123
STEP 4: Select Update Time Interval
Follow the same STEP 4 as in Full ZPA Example. Because this module’s I/O and motors are under complete PLC control, the fastest Update time of 4ms is recommended.
Post your comment on this topic.