
Beginning in version 23.3, Orchid Recorder now supports forensic timestamps. This means that each time the server writes video to disk, it is embedding timestamp information as a subtitle or a closed caption track. When you view this video (using a video player such as VLC Media Player), the date and time will appear as a subtitle on the video.
Forensic timestamps can be incredibly helpful when video is being used as evidence. There are some cameras, however, that currently lack the ability to include timestamps. This feature fills a critical gap for customers with these cameras. In cases where this feature is not needed, it can be disabled by Administrators.
There are a couple of different settings available to configure and format the forensic timestamps. To edit these, you may use either of the following methods:
- You can use the Advanced Settings feature in the software (which is described in the Orchid Recorder Administrator Guide).
- You can modify the Orchid Recorder properties file (as described below).
- Open the Orchid Recorder properties file. (If you need help, refer back to the How to Edit a Configuration File section that corresponds to your operating system.)
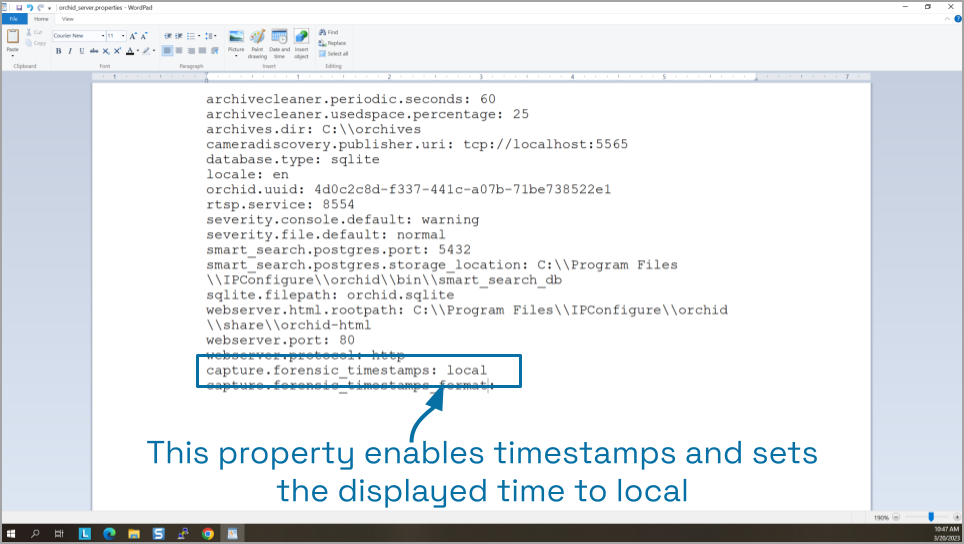
- Work with the capture.forensic_timestamps property to enable or disable forensic timestamps. Applicable settings include the following:
- utc: Will enable forensic timestamps and display the date and time in coordinated universal time. This is the default setting.
- local: Will enable forensic timestamps and display the date and time to match the local time.
- disabled: Will disable the forensic timestamps feature.
- Add the capture.forensic_timestamps_format property to change the way the timestamp will appear on the video.
- The default format contains this string: %a %m-%d-%Y %H:%M:%S %Z. The resulting timestamp will look similar to this one: Thu 08-23-2022 14:55:02 CDT
- The timestamp format is set using the function “strftime”. If you want to change the format of the timestamps, you will need to rearrange or select different specifiers. Please refer to the Configuration Settings topic for a detailed list of available specifiers.
- Save and close the file.
- After you update the Orchid Recorder properties file, you must restart the Orchid Recorder services. (If you need extra help, refer back to the How to Manage the Orchid Recorder Services section that corresponds to the operating system you are using.)
- Once the restart is complete, you may return to Orchid Recorder.
Post your comment on this topic.