
If, some time after installation, you need to move the Orchid Recorder archives to a new location, please follow the procedure below.
- Sign out of the Orchid Recorder application, and then stop both of the associated services (Orchid Recorder service, and Orchid Recorder ONVIF Autodiscovery service). (If you need extra help, refer back to the How to Manage the Orchid Recorder Services section that corresponds to the operating system you are using.)
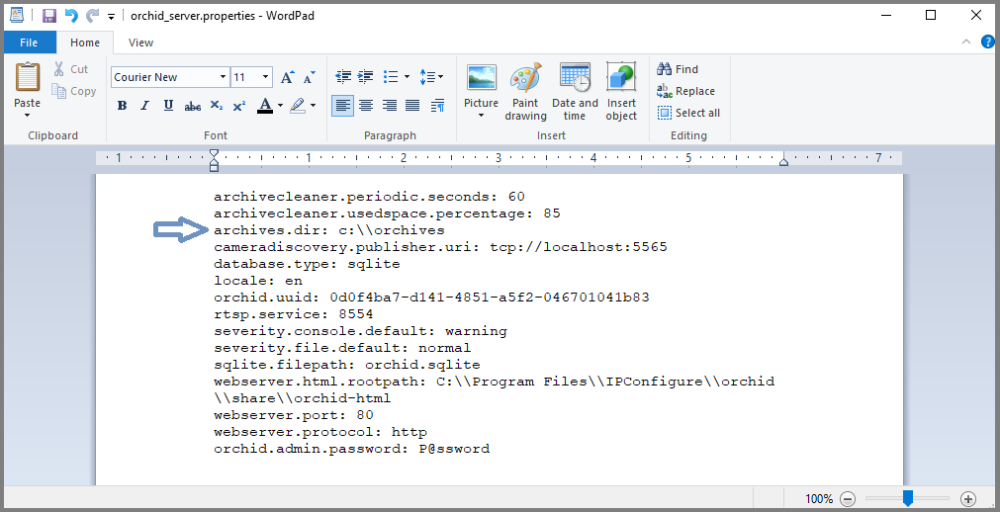
- Move all of your archive files (including the parent directory) from the old location to the new location. For example, in the image below, you would move the orchives folder (and all of its contents) to a new location.

- After you physically move the files, you’ll need to update the Orchid Recorder configuration file. Change the archives.dir property (shown in the image below) to reflect the new program storage location. (If you need extra help, refer back to the How to Edit a Configuration File section that corresponds to the operating system you are using.)
- Save and close the file.
- After you update the Orchid Recorder configuration file, you can restart the Orchid Recorder services. (If you need extra help, refer back to the How to Manage the Orchid Recorder Services section that corresponds to the operating system you are using.)
- Once the restart is complete, you can sign into Orchid Recorder.
Post your comment on this topic.