
| |
This indicates that the property is in use. |
| |
This indicates that the property is supported, but not in use. |
| |
This indicates that the property must be changed by editing the Configuration file directly*. |
*For details on how to edit the Configuration file, please refer to the Orchid Core VMS Installation Guide.
Creating a New Property
The Advanced Settings feature allows Administrators to add new, undocumented properties to the Configuration file.
- Click the New Property button at the top of the Advanced Settings screen. A new, blank property field will appear at the top of the list.
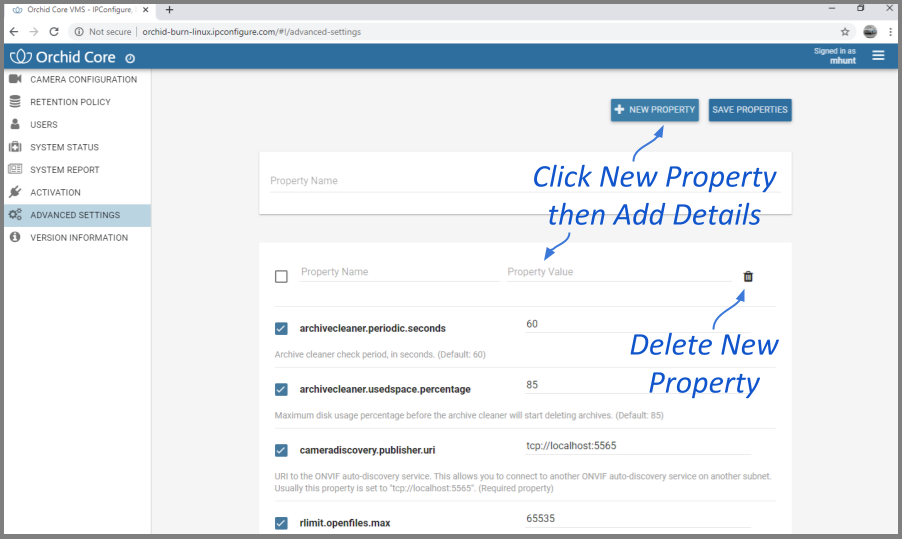
- Mark the checkbox to activate the new property. (The property must be enabled and saved in order to be added to the Properties list.)
- Enter a name for the new property in the Property Name field. [Property names are not allowed to contain colons (:), equals signs (=), blank spaces, or control characters.]
- Click the Tab key to move to the Property Value field.
- Enter a value for the property.
- Click the Tab key to move to another field.
- If you decide not to add the new property, just click the Delete (Trash Can) icon.
- If you have no other changes to make, click the Save Properties button. Be sure to complete the save (as described later).
Editing Advanced Properties
- To change an active property, click into the field displaying the property value.

- Type in a new value.
- Click the Tab key to exit the field or click into another field.
- If you have no other changes to make, click the Save Properties button. Be sure to complete the save (as described later).
Activating a New Property
- To activate an unused property, click the checkbox to add a mark.
- Click into the field displaying the property value and enter a new value.
- Click the Tab key to exit the field or click into another field.
- If you have no other changes to make, click the Save Properties button. Be sure to complete the save (as described later).
De-Activating a Property
- To de-activate a property currently in use, click the checkbox to remove the mark.
- If you have no other changes to make, click the Save Properties button. Be sure to complete the save (as described below).
Saving Changes to Advanced Properties
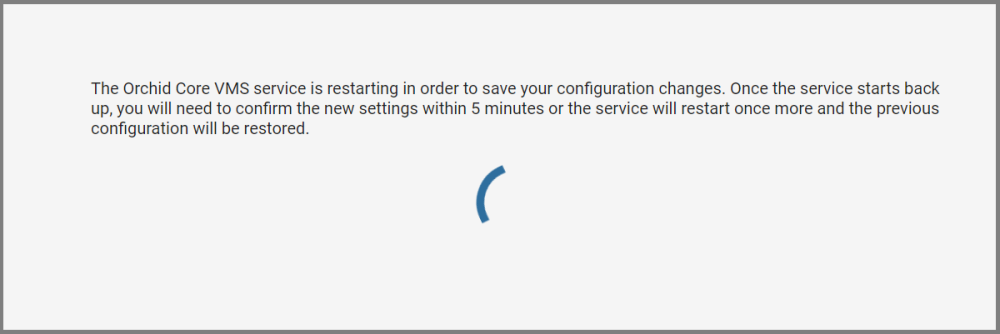
Anytime you make changes to these properties, the Orchid Core VMS service must be restarted in order for the changes to take effect. Be sure to follow this procedure completely to ensure changes are saved.
- To save changes, click the Save Properties button. You’ll receive a message that asks you to confirm changes and begin the restart.

- Click the Save and Restart button to save your changes. The service will restart (as shown in the image below.)
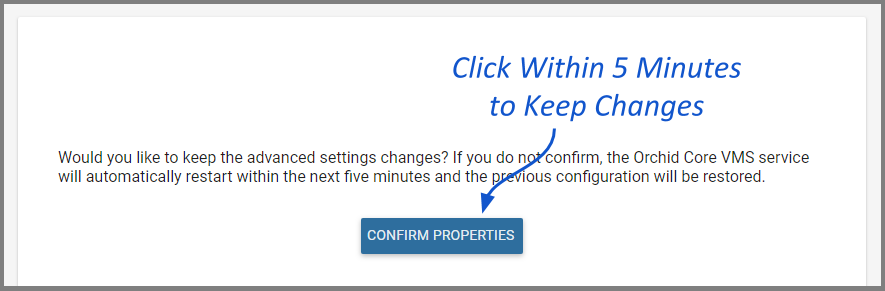
- When the restart is complete, you must instruct the system to keep the changes. (You must do this within 5 minutes or the changes will be discarded.) Click the Keep Changes button (shown below) to keep the new settings.
Post your comment on this topic.