
Texture Mapping is the process of applying textures to the surface of a 3d model. In SHAPE we can virtually project textures on a models with 2 different projection types, perspective and planar.
Perspective
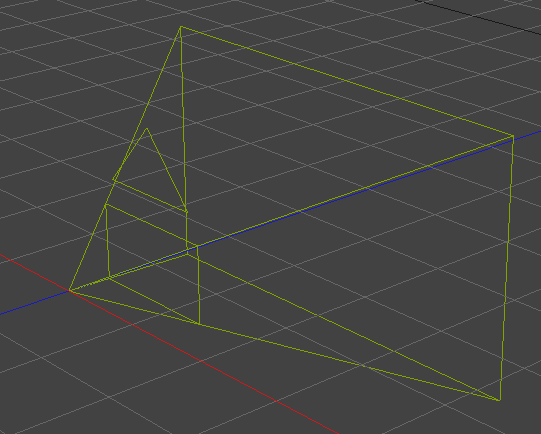
The typical need for perspective texture mapping in SHAPE is when video content has been rendered from a camera. In SHAPE you place the perspective texture mapper in the same place as the camera or (import your .dae or .c4d project file into SHAPE). And then play the content back from that point of view.
Texture mapping allows you to use models without UV Maps and project onto multiple objects.
To create a perspective texture mapper, go to,
Menu Bar, Create, Texture Mapper,  Perspective.
Perspective Mapping Properties
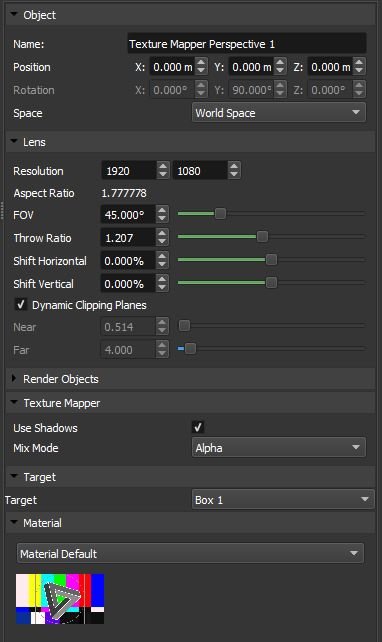
Object
Lens
- FOV: This should match the cameras FOV from the application used to create the content.
- Throw Ratio: This should match the cameras Throw Ratio from the application used to create the content.
- Aspect Ratio: This should match the cameras Aspect Ratio from the application used to create the content.
- Dynamic Clipping Planes: With this enabled, Clipping Planes, Near and Far will automatically set themselves to the region of interest.
- Near: This sets the closest plane the texture mapper will begin to render within.
- Far: This sets the furthest plane the texture mapper will will stop to render within.
Render Objects
These options only work when shadowing is enabled.
- Scene Objects: Decide what objects you want the Texture mapper to render on.
- Selection Group: Decide what selection group you want the texture mapper to render on.
Texture Mapper
- Use Shadows: Decide if you want the texture mappers to create shadows or simply carry on projecting through objects in the world.
- Mix Mode: Choose the mixmode for that mapper, the current render order of mappers is the order they are added to the scene.
Target
- Target: Choose an object for the texture mapper to always target.
Material
- Material: This is the material that the texture mapper will render.
Here you can clearly see the region of interest that the mapper will show its material in. 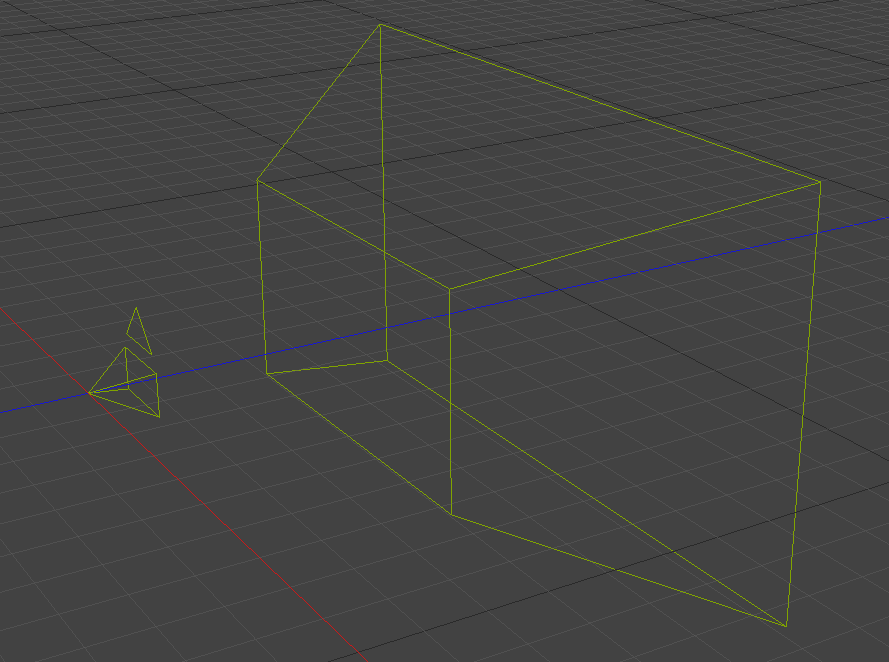 |
Planar
Planar mapping pushes pixels through the world on one plane. It works well on relatively flat objects and can be applied to multiple objects.
To create a perspective texture mapper, go to,
Menu Bar, Create, Texture Mapper,  Planar
Planar Mapping Properties
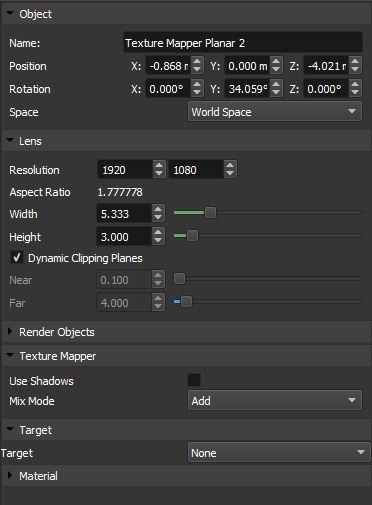
Object
Lens
- Near Clip: This value tells the texture mapper where to start drawing pixels. The box area that the texture mapper renders inside is called the region of interest.
- Far Clip: This value tells the texture mapper where to stop drawing pixels.
- Width: How wide is the planar mapper
- Height: How high is the planar mapper
- Dynamic Clipping Planes: With this enabled, Clipping Planes, Near and Far will automatically set themselves to the region of interest.
- Near: This sets the closest plane the texture mapper will begin to render within.
- Far: This sets the furthest plane the texture mapper will will stop to render within.
Render Objects
These options only work when shadowing is enabled.
- Scene Objects: Decide what objects you want the Texture mapper to render on.
- Selection Group: Decide what selection group you want the texture mapper to render on.
Texture Mapper
- Use Shadows: Decide if you want the texture mappers to create shadows or simply carry on projecting through objects in the world.
- Mix Mode: Choose the mixmode for that mapper, the current render order of mappers is the order they are added to the scene.
Target
- Target: Choose an object for the texture mapper to always target.
Material
- Material: This is the material that the texture mapper will render.
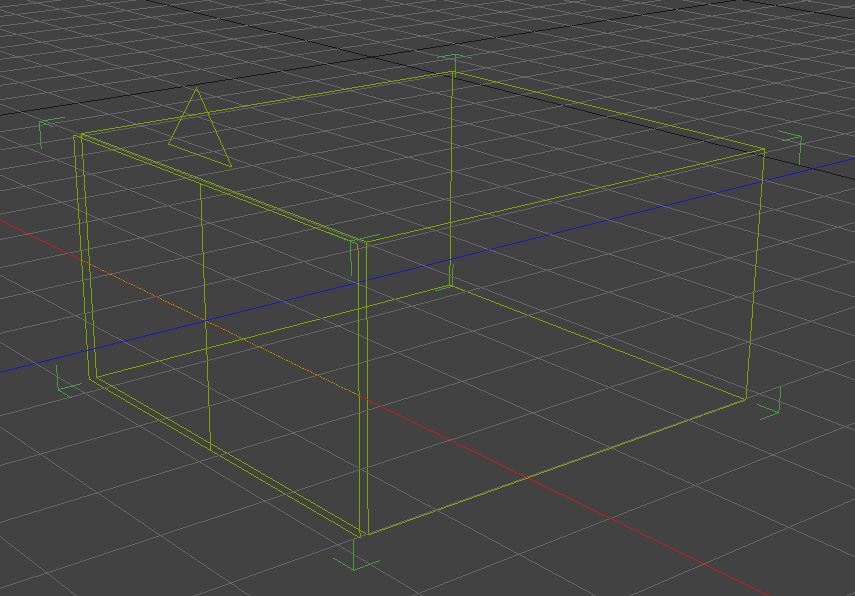
Here you can see the clipping planes have been changed and where the planars region of interest is  |