Input Manager deals with video content and images coming into SHAPE.
To open Input Manager, click
 Input Manager (Ctrl+Shift+I)
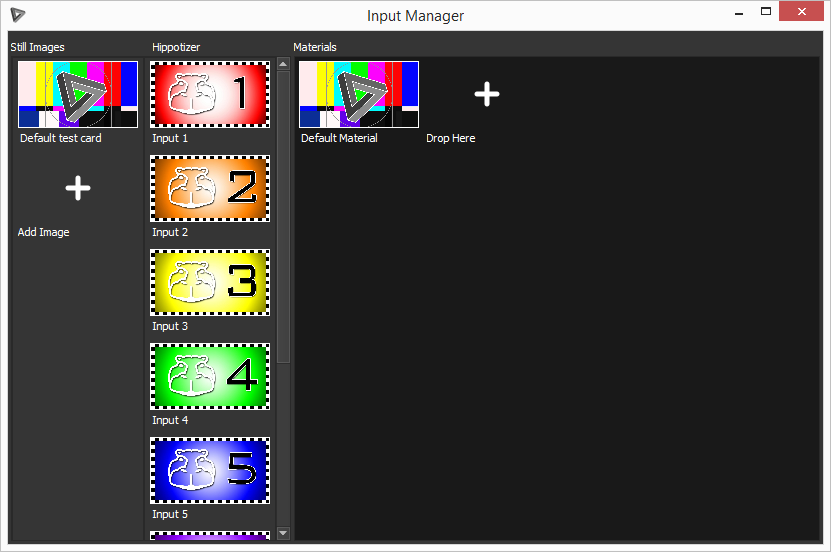
There are 3 columns, images, Hippotizer Inputs and Materials.
Images can be used in SHAPE for previewing and projection analysis. To add new images Click on the +.
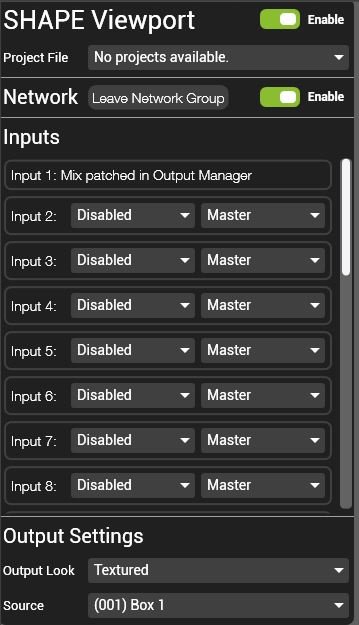
Hippotizer has up to 8 inputs into SHAPE which are configurable in the Hippotizer Viewport. Once you have configured your Hippotizer viewport to your inputs in SHAPE drag the coloured Hippotizer inputs into the materials area in the Input Manager to be avaible for objects.
Materials are what we add to models and texture mappers in SHAPE. When you first start SHAPE you will notice all the models and texture mappers have the default material applied to them. To add images or hippotizer inputs into the Materials area simply drag and drop them on the next available slot.
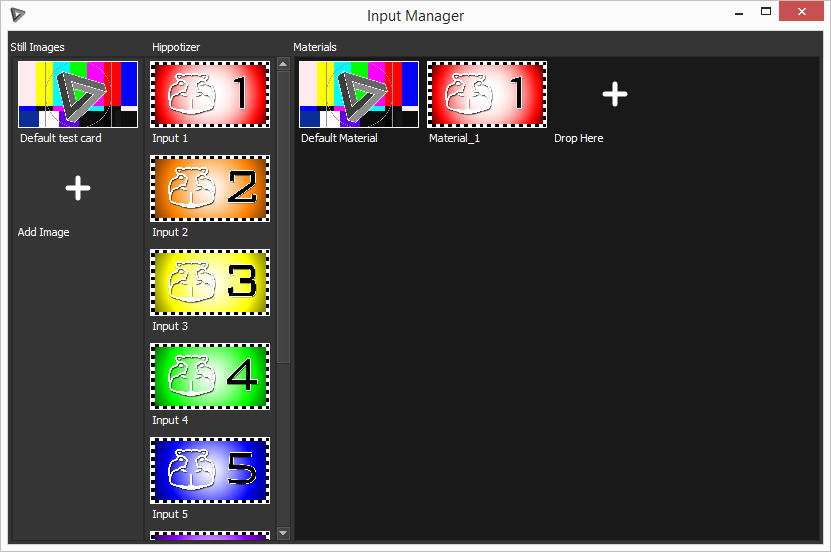
To apply your new material to a model or texture mapper simply navigate to material in the objects properties panel and select the material.
| TIP: If you have been using an image on a model for planning or analysis and now want to have a Hippotizer input on the model drag and drop the Hippotizer Input ontop of the Images Material to replace it. The materials work similar to the idea of slots in Hippotizers media manager. |
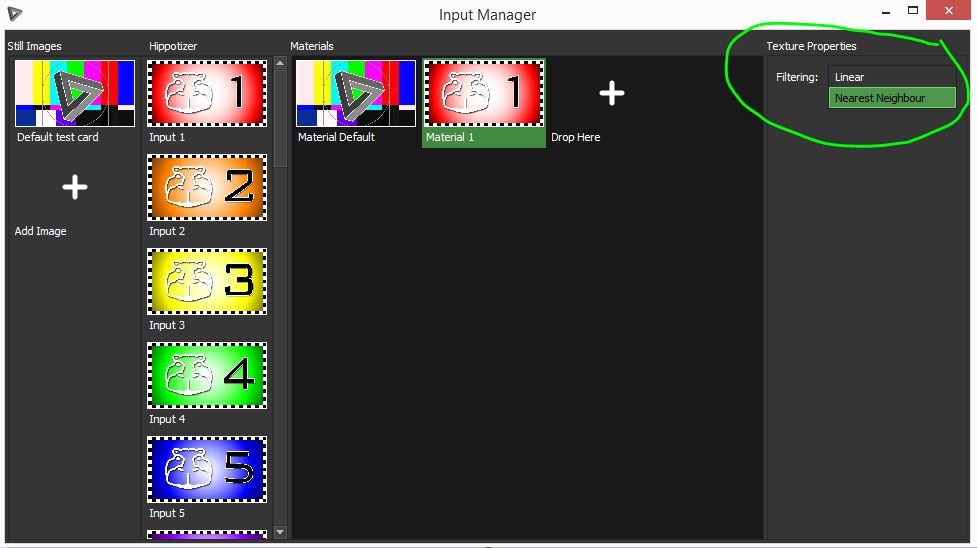
Sampling
If you select a material in Input manager you now have the option of changing the way we sample it. You can choose between Linear and Nearest Neighbour.
- Nearest-neighbor interpolation: – Assigns the value of the nearest pixel to the pixel on the output. This is the fastest interpolation method but the resulting image may contain jagged edges. However if you are mapping seperate LED tiles you may find this method prevents ‘spill’ that could be generated by linear interpolation.
- Linear interpolation: Surveys the 2 closest pixels, drawing a line between them and designating a value along that line as the output pixel value. This will create a smooth output but may cause issues when mapping LED tiles.
![]()