
Denoise
Denoise is a quick and effective way to reduce digital noise in your images.
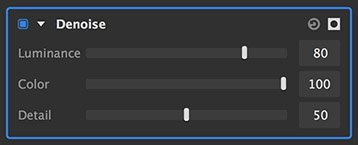
- Luminance: Sets the percentage of noise which is removed from the luminance channel of the image. Luminance noise tends to be less offensive to viewers than color noise, and also has a more noticeable impact on the sharpness of the image. Watch the sharpness of the image while adjusting this value, to see how far you can go.
- Color: Color noise tends to be more obvious than luminance noise, and is usually more important to remove. In general the Color value should be set higher than the Luminance value.
- Boost: Adjusts the amount of edge detail and sharpness which is retained. Lower values retain more fine detail, but potentially also retain more noise. Higher values remove more noise, but potentially also remove more edge detail. Find a balance that works best for your image.
Grain
Adding grain to your images can be useful for a variety of purposes, including matching existing grain in other elements of a composite, artificially aging an image, or artistic purposes. Grain is similar to noise, but more organic in nature. In general, grain is a property of film stock in traditional photography, in contrast to noise, which is created by digital cameras.
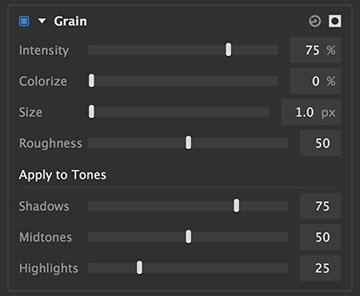
- Intensity: Sets the opacity of the grain that is overlaid onto your image.
- Colorize: Adjusts the amount of color in the grain. 0% gives a monochrome black grain, and increasing the value gradually introduces more color into the grain.
- Size: Sets the size of the individual grains.
- Roughness: Adds a second, finer layer of grain over the primary grain. Higher values add more of the finer grain.
Apply to Tones
The grain created by cameras tends to affect shadows more than other areas. For added realism, you can control the degree to which different tones of your image are impacted by the grain settings.
- Shadows: Sets how much grain is added to the shadow areas of your image.
- Midtones: Sets how much grain is added to the midtone areas of your image.
- Highlights: Sets how much grain is added to the highlight areas of your image.
Highpass
Highpass processing isolates detail, based on local contrast, while removing all other color data. The high pass image can then be blended back onto the original layer to improve sharpening.
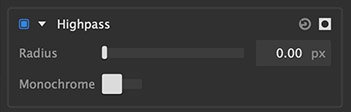
- Radius: Sets the radius, in pixels, which will be evaluated to identify contrast. Increasing the radius allows larger details to be retained.
- Monochrome: Enable this option to desaturate the highpass image.
Highpass Sharpen
Sharpening is a common application for highpass filtering. To create the sharpening, a duplicate of the layer is created, a highpass filter is applied to the duplicate, and the result is then blended back onto the original. All of this is handled internally by the Highpass Sharpening effect, greatly simplifying the process.
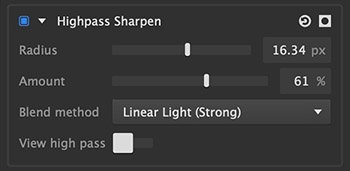
- Radius: Sets the radius, in pixels, which will be evaluated to identify contrast.
- Amount: Adjusts the intensity of the sharpening.
- Blend Method: Choose the blend method used to create the sharpening
- Soft Light (Soft): Soft Light method gives the most subtle results.
- Overlay (Medium): Overlay is the traditional blend mode used for highpass sharpening, and is good for general use.
- Linear Light (Strong): Creates a stronger, more intense sharpening.
- View Highpass: Enabling this option shows the highpass filter used for the sharpening, in the viewer. Useful for viewing how large of an area around the edges is being affected.
Noise
Adding noise to your images can be useful for a variety of purposes, including matching existing noise in other elements of a composite, artificially aging or distressing an image, or artistic purposes. Noise is similar to grain, but digital in nature. In general, noise is created by digital cameras, in contrast to grain, which is a property of film stock in traditional photography.
- Luminance: Raising this value increases the amount of luminance noise in your image. Luminance noise is black and white.
- Color: Raising this value increases the amount of chrominance noise in your image, which randomly affects the three color channels of the image.
Sharpen
Sharpening is used to increase micro contrast around fine edges on the image, which causes the edges stand out more and appear to be in sharper focus. Oversharpening can result in unwanted halos near the edges, so this effect should be applied judiciously for best results. The settings used will vary based on the resolution of the image and the intended purpose of the final image. Sharpening for print will generally use slightly higher settings than sharpening for viewing on a screen, for example, and the size of the fine details in an image that is 600 × 800 pixels will be different than the same details in an image 4000 × 6000 pixels.
- Amount: Defines the intensity of the sharpening effect.
- Radius: Sets the distance from the edges, in pixels, that the sharpening will affect. The radius should be kept fairly low in most cases, and the lower your image resolution, the lower the radius should be.
- Threshold: Controls the edge detection, to determine which edges in the image will be affected. The threshold sets the level of contrast which will be identified as an edge. In general, edges in your image are located where one color stops, and another begins. However, non-edge areas can also contain transitions of color. A very low threshold mans that only the areas of highest contrast are sharpened, while increasing the threshold will add sharpening to more detected edges.
While sharpening can be very useful for improving soft edges or drawing attention to a specific area of the frame, it cannot move the focal point to actually correct an out of focus image, nor can it remove motion blur that was captured in the camera. Best results will always come from capturing a properly focused image in camera.
Need more help with this?
Don’t hesitate to contact us here.