
Access the EcoDomus PM software at https://pm.ecodomus.com
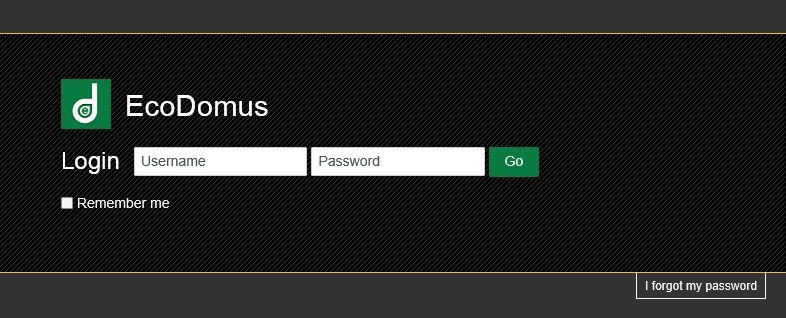
1 – Enter your username and password and click the Login button.
- If you do not remember your password click the “I forgot my password” link. Enter your username and the email and click the Submit button. You will receive an email with your password.
- If your username is incorrect, or the email you provided does not match the email on your EcoDomus profile then you will see the message “Authentication Error”.
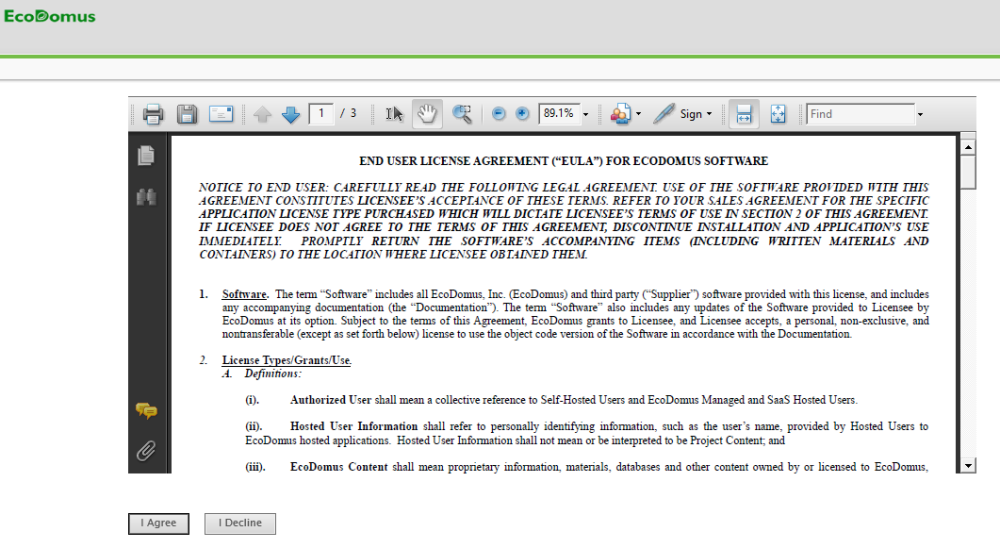
2 – After login you will be redirected to the End User License Agreement page. Please read the agreement and accept it by clicking the “I Agree” button. If you do not agree with the terms click the “I Decline” button and exit the system.
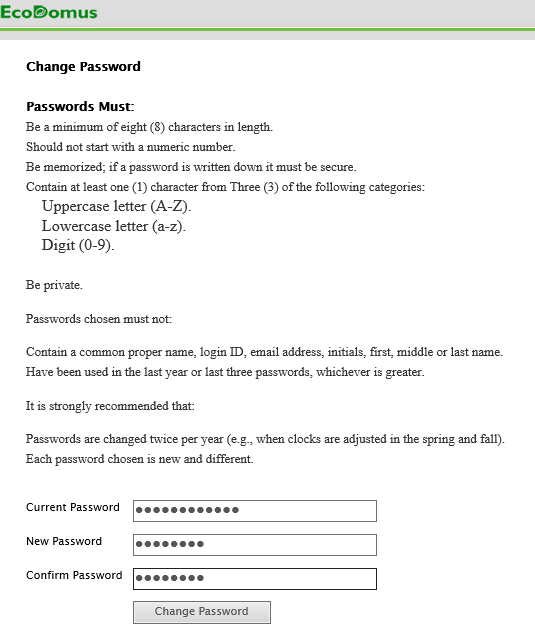
3 – You will then be redirected change your password. Please change your password applying the security rules described.
4- Next, you will see a list of projects. Choose a project to view. 
You will be redirected to the Dashboard page, where you will Select a Project. You will see a list of projects you are assigned to. If you do not see any projects please contact your Organization Admin and ask to be assigned to a project. Click on the Project you want to view. Organization Admins can edit that page and create new projects.. If you are assigned to several projects, you can switch between the projects by going to the Projects page, accessible via the Settings dropdown in the upper right part of the page, and clicking on another project’s name.
5- Here is the Project Profile page.
6- You can access your Profile by clicking on your name in the header, or selecting the My Profile option from the Settings dropdown.
9 – EcoDomus BIM Connector (the plug-in to export data from the BIM Authoring applications), EcoDomus Viewer, and other installers are available on the Downloads page, under the Settings in the top right menu.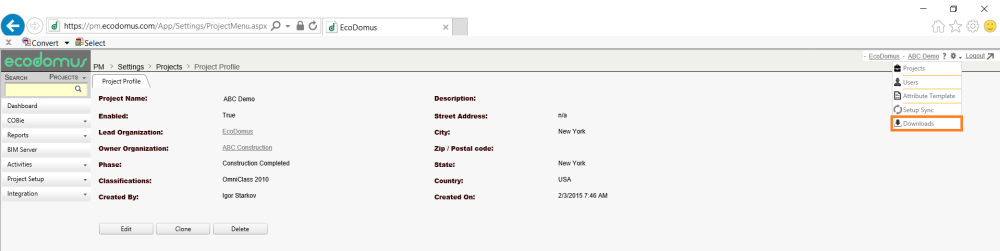
10 – Download the appropriate version to your computer and install the software. For example, if you are using Internet Explorer 9 then install the x64 (64bit) Viewer, and if you are using Internet Explorer 11 then install the x86 (32bit) Viewer (IE11 does not support 64bit ActiveX yet).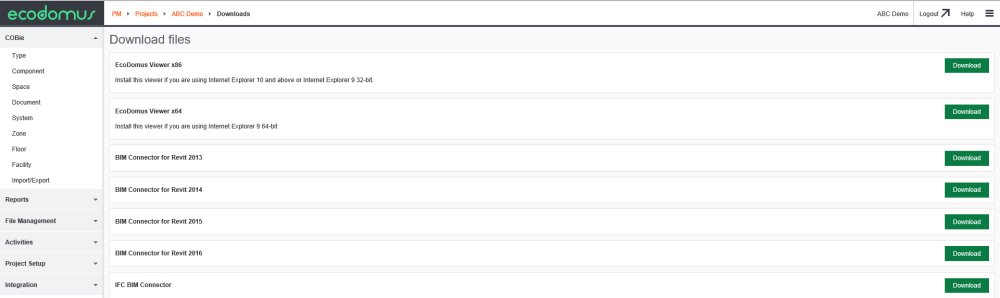
11 – You can access your Organization’s profile page by clicking on the name of your organization in the header. If you have an Organization Admin access level you can edit that information. The tab ‘Contacts’ show the list of system users from your organization. The tab ‘Projects’ lists the projects your organization is assigned to. The tab ‘Links’ is used to set attribute links. The tab ‘Phase’ is used to set up project phases and milestone data quality control requirements. 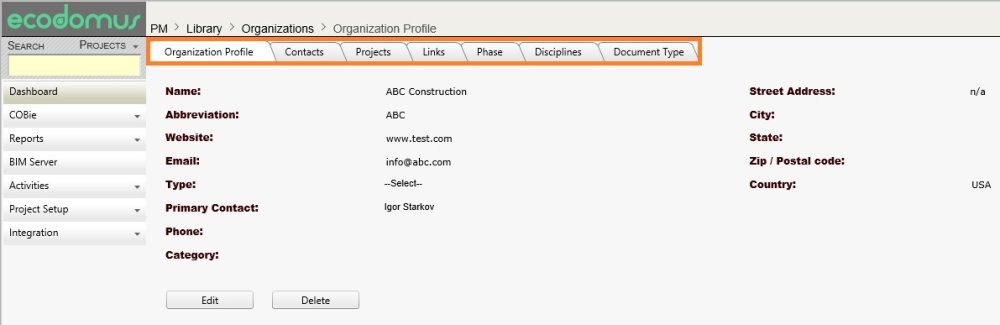
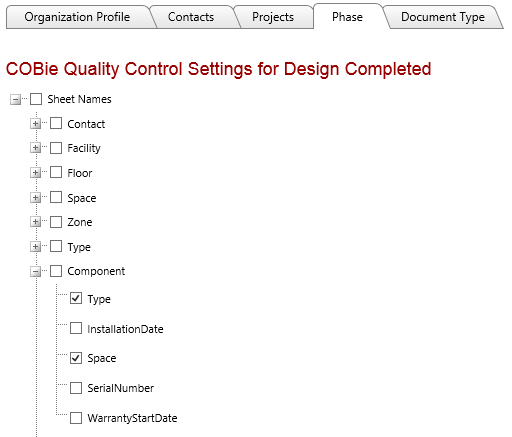
12 – Three phases are created by default when a new project is created: Architectural Programming, Design Completed, Construction Completed. Organization Admins can edit, delete, and add phases. Click on the phase name to open its QC settings page. For example, at the end of the Design Completed phase the providers need to have Component’s Type and Space values populated, but SerialNumber, InstallationDate, and WarrantyStartDate are not required since the installation did not occur yet. This information will be used for the COBie QC report.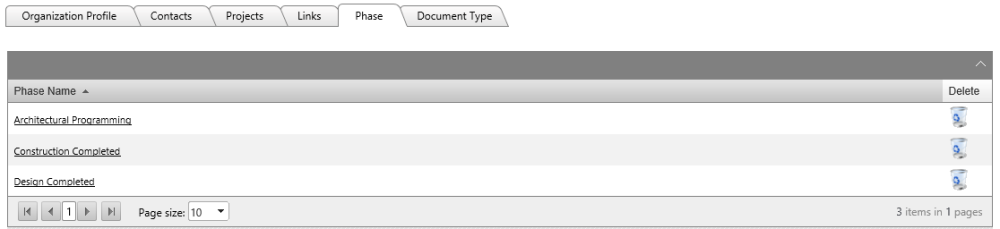
13 – The tab Document Type is used to set up document categories to be used when collecting project documentation. Click the ‘Add New’ button, enter the value and click Save. You can delete the document type by clicking the trash can for that record in the Delete column.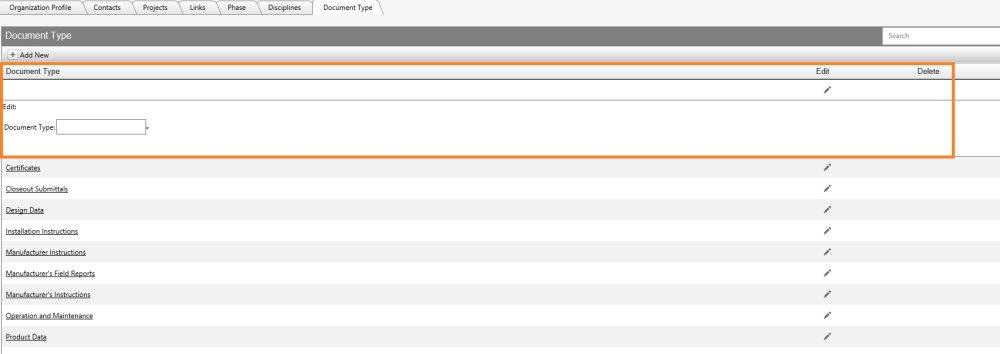
Post your comment on this topic.